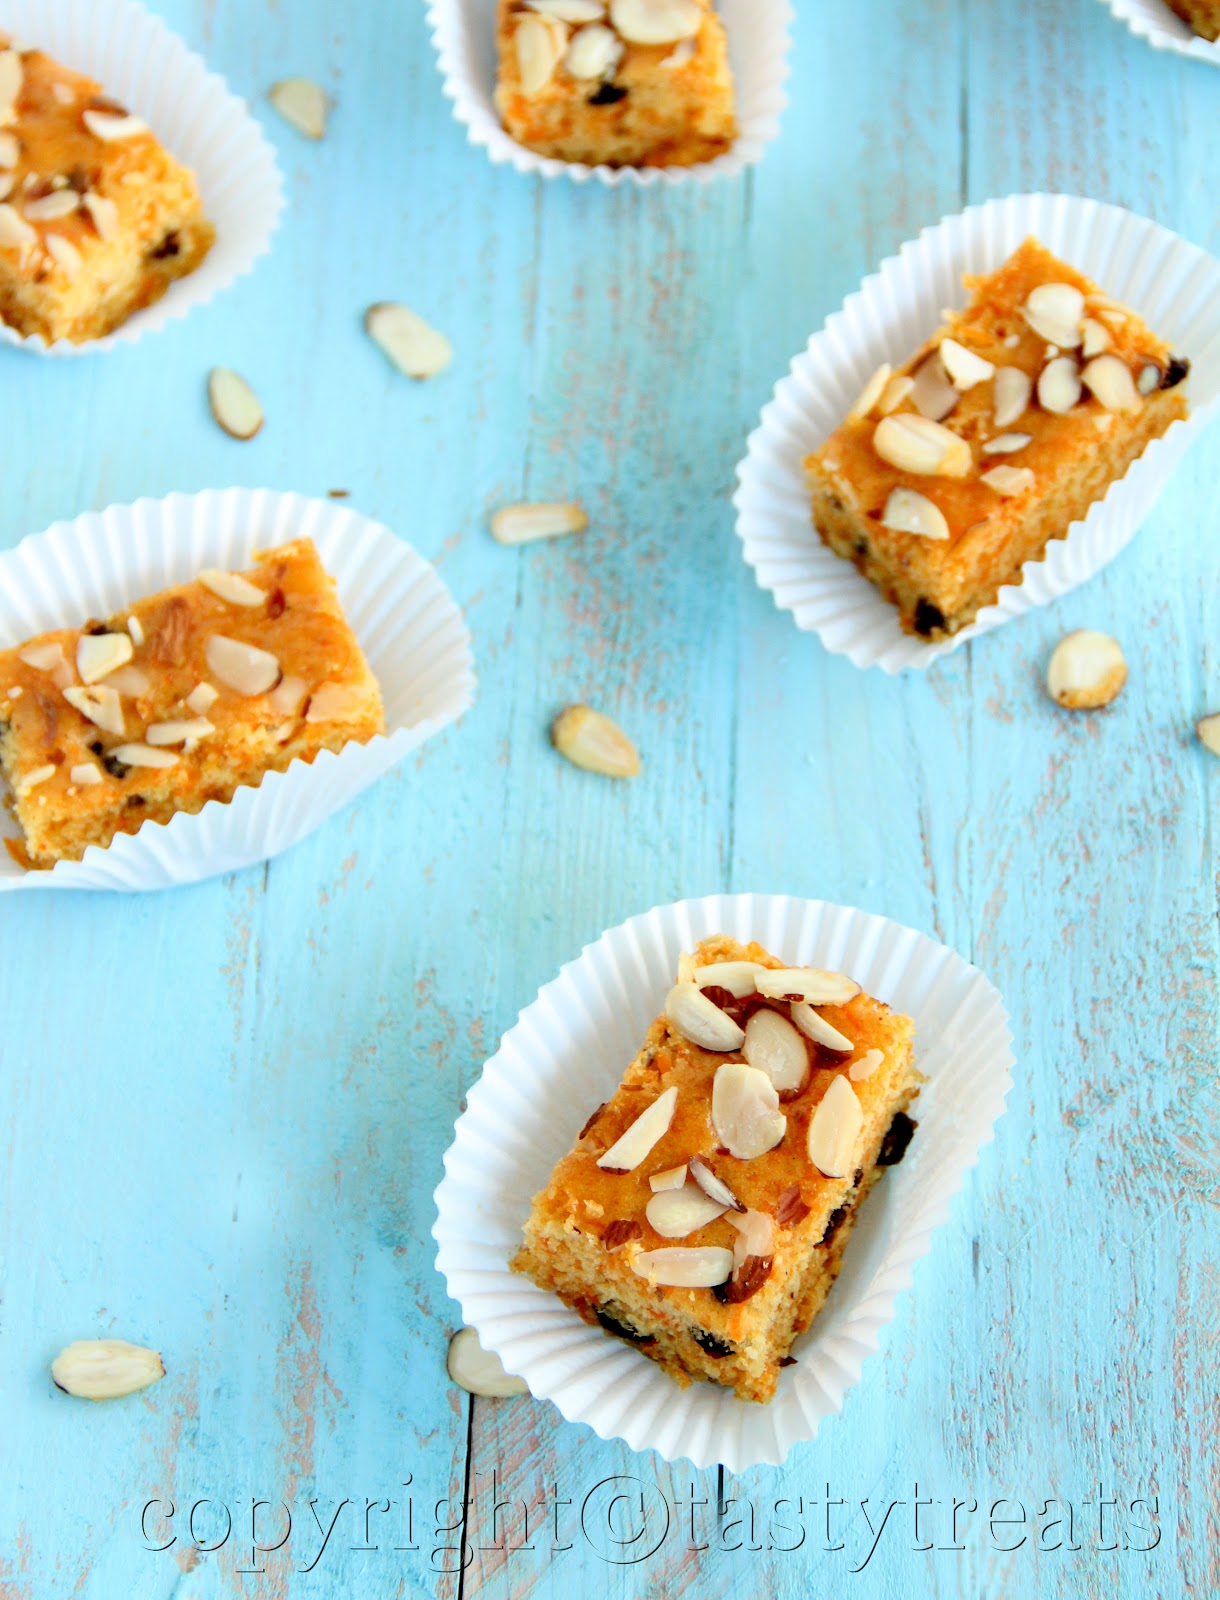
Carrot Halwa Blondie Bars


Anushka has been attending playschool for the last three months and the best part was that it required parent participation. Now that its closed for summer, I can't decide which one of us misses it more. The crafts, songs, playtime, new friends...it was awesome going back to school. The last week of school was most exciting, as there were three potlucks, meaning a chance to try three new recipes!! I love a potluck and am most comfortable taking along something sweet. Made brownie bites, brownies and these carrot halwa blondie bars.
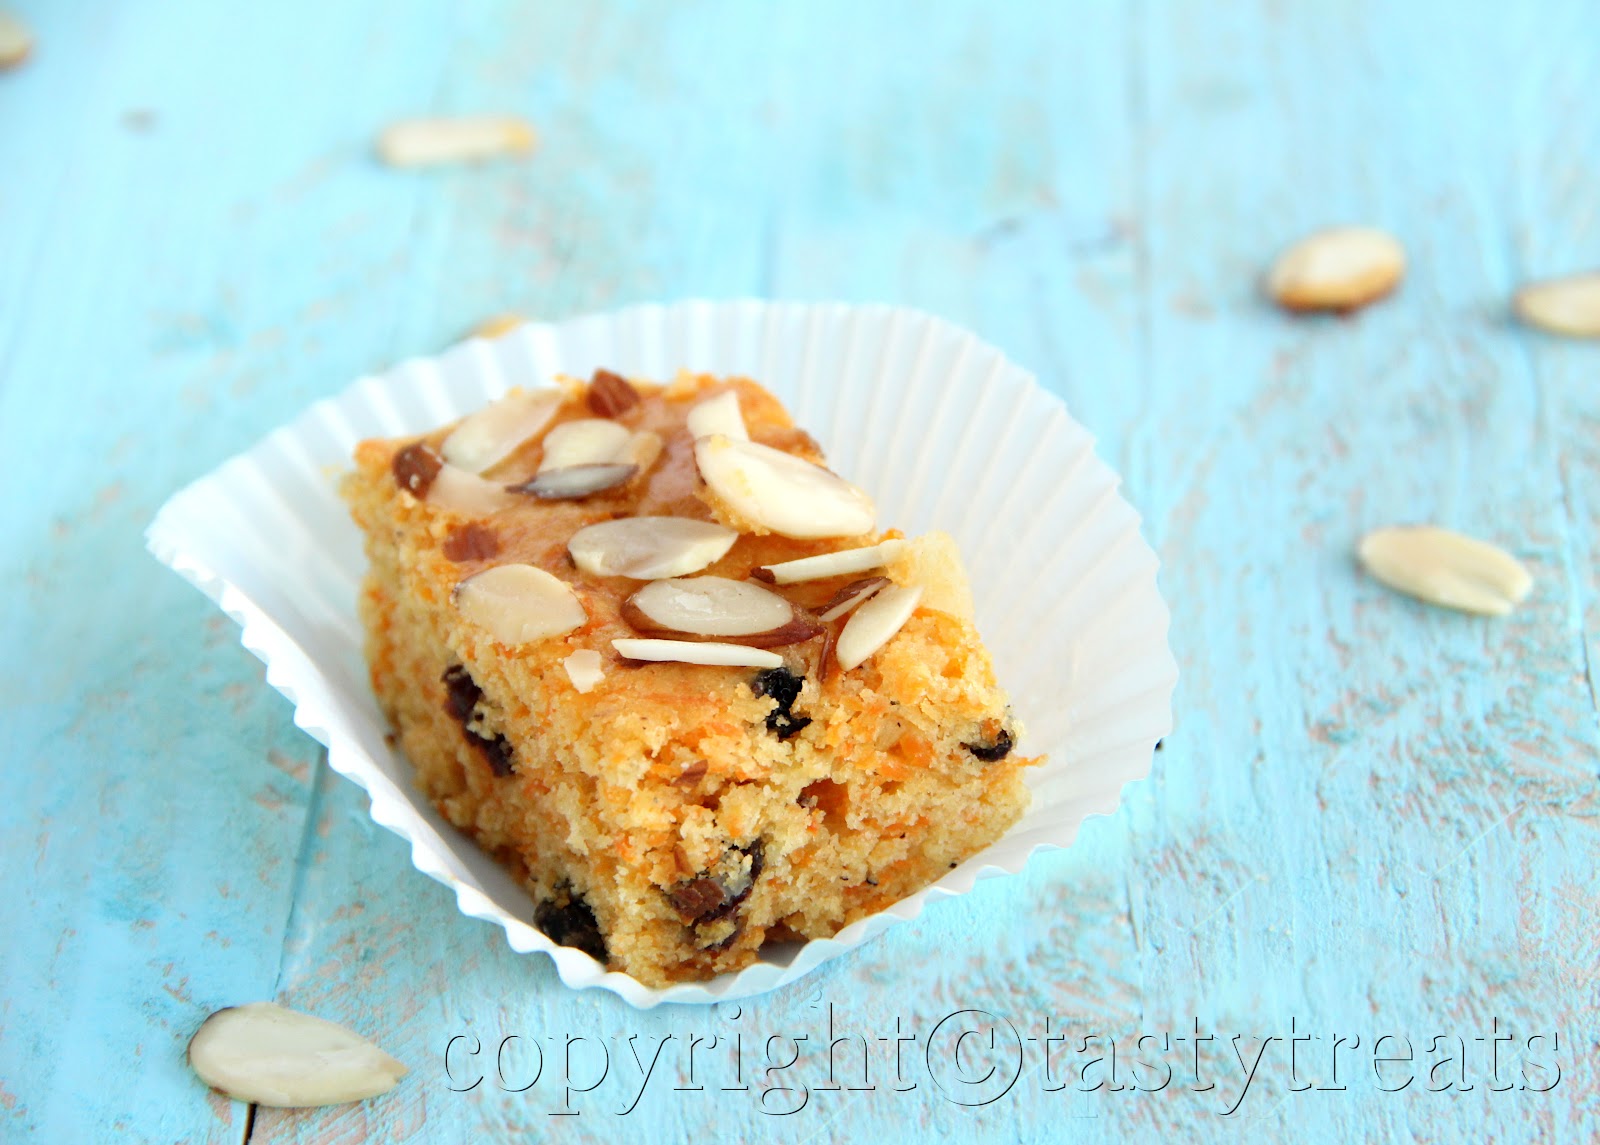

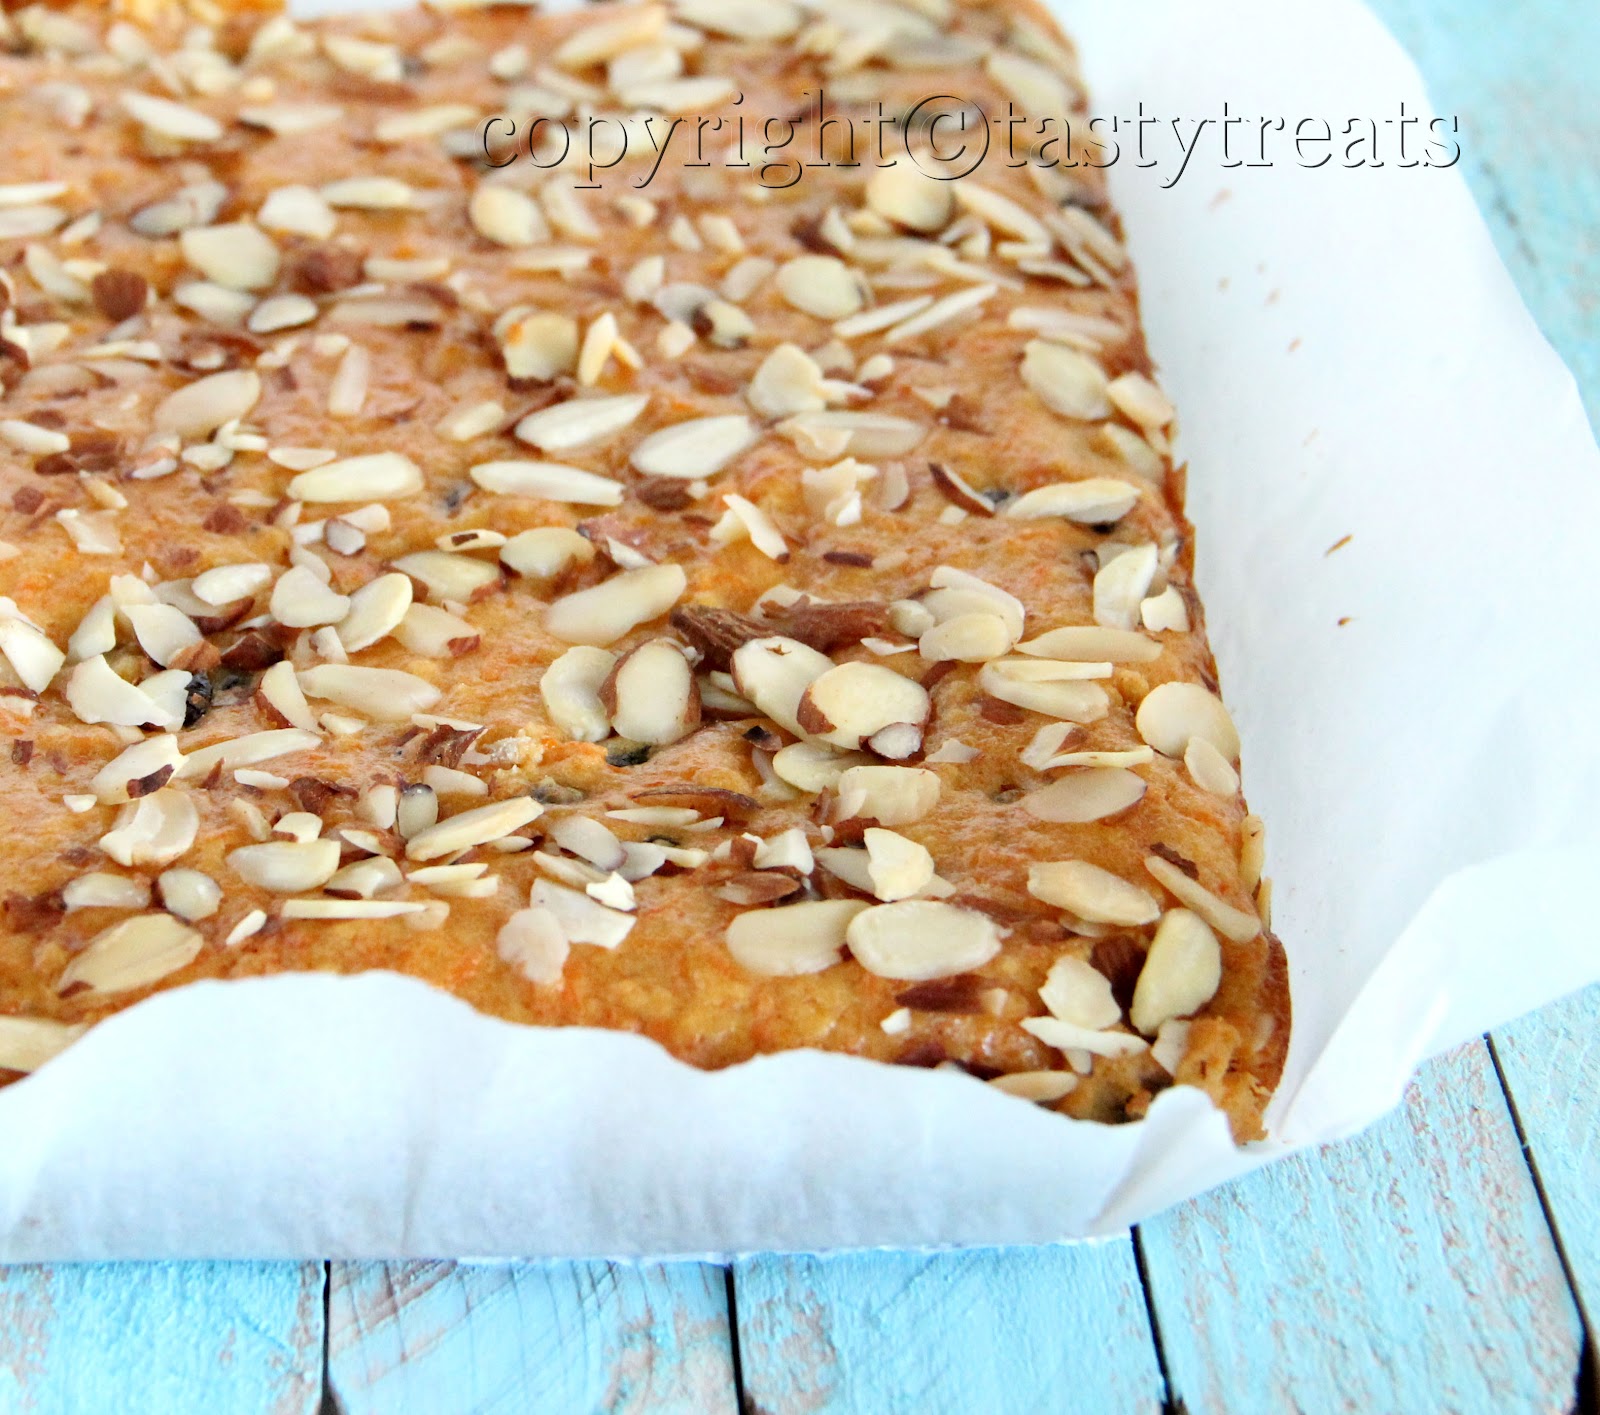
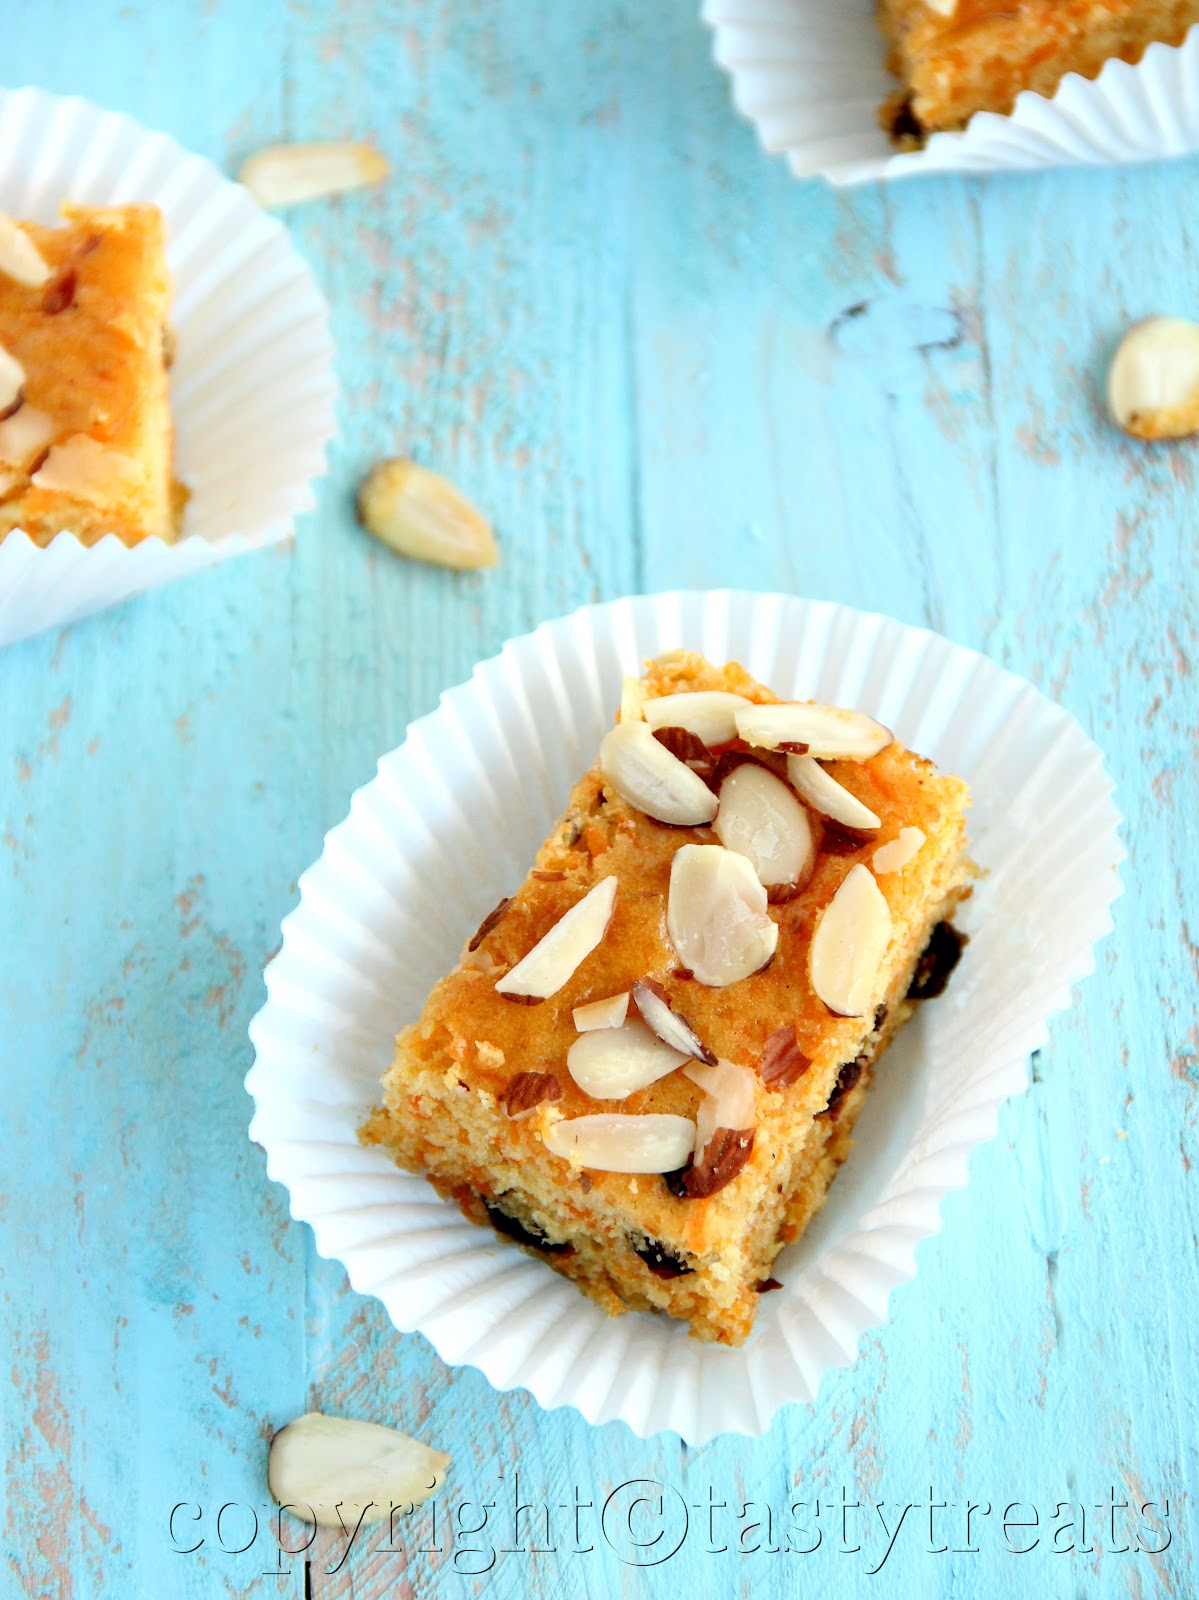
This is Nivedita's winning recipe in the Indian category on Cooking Channel's Perfect 3 program and it was such a deserved win!! These bars are fabulous and you'll be so surprised with the first bite, because they do taste just like the halwa. Manoj and I couldn't stop taking bites and I had to actually hide them so I would have enough for the potluck. They were a big hit, even with those not familiar with carrot halwa. Made a second batch for Manoj's friends last week and received a ton of compliments, all thanks to Niv!

Carrot Halwa Blondie Bars

Ingredients:
2 cups all purpose flour
3 tsps double acting baking powder
1/8 tsp ground nutmeg
8 cardamom pods, seeds removed and finely crushed
2 cups shredded carrots
1/2 cup raisins
5 tbs sugar
1 14oz can sweetened condensed milk
1/2 cup whole milk
8 tbs unsalted butter, melted
1/2 cup sliced almonds

Method:
Preheat the oven to 350F/ 180C. Grease and line a 9"x13" pan.
Whisk together the flour, baking powder, nutmeg powder and the crushed cardamom seeds in a big bowl until well combined.
Combine the carrots, raisins, sugar and the condensed milk in a microwave safe bowl. Rinse out the can of condensed milk with the whole milk and add to the bowl. Mix well. Microwave on high for about 5-8 minutes until the carrots lose their raw texture and taste. Stir in the melted butter. 
Pour this mixture into the center of the flour mixture and fold gently just until combined. Do not overmix.
Spread the mixture on the baking pan and sprinkle the sliced almonds on top. 
Bake until the top is golden, about 20 minutes.
Cool on a wire rack completely before cutting and serving. 
Keep at room temperature in an airtight container for upto 2 days or freeze for upto a month.

Beetroot Pulao


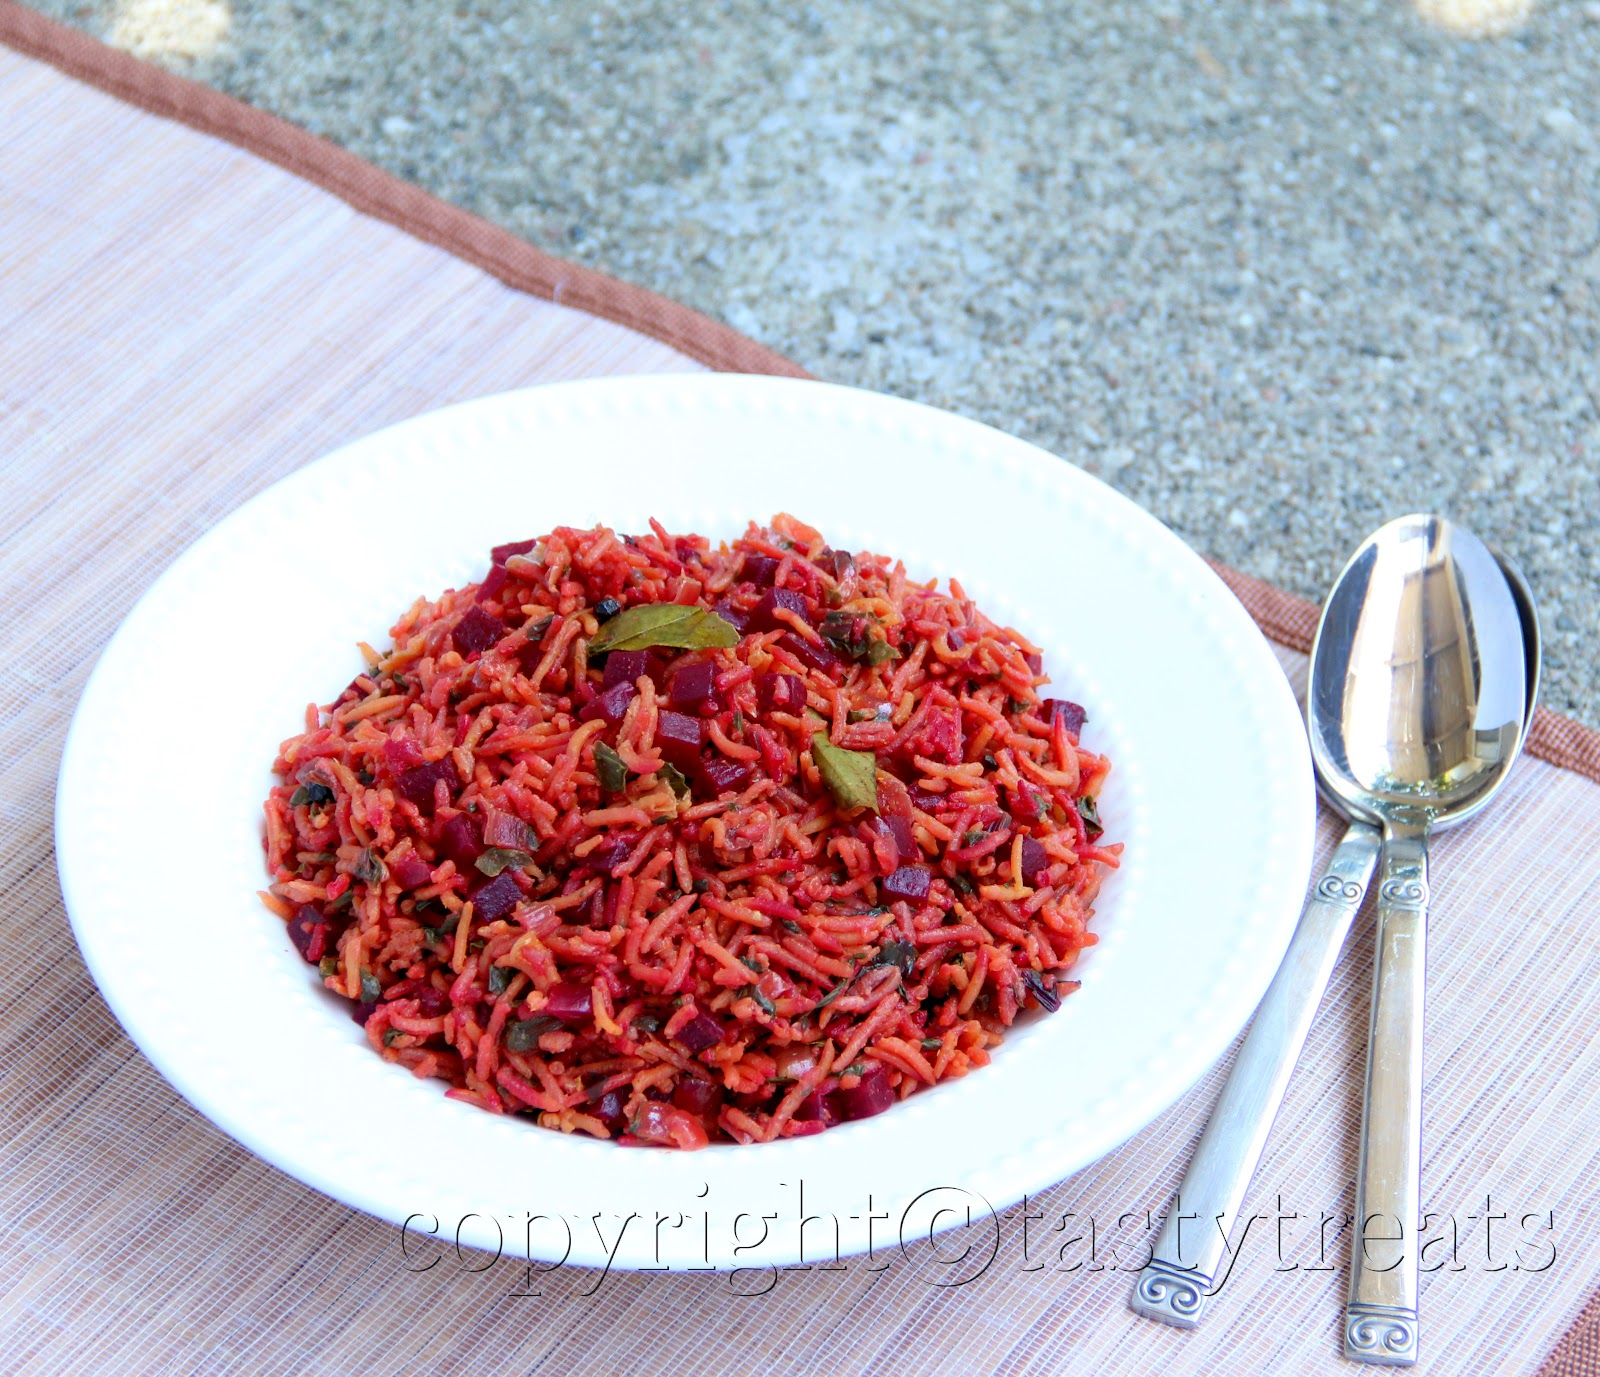
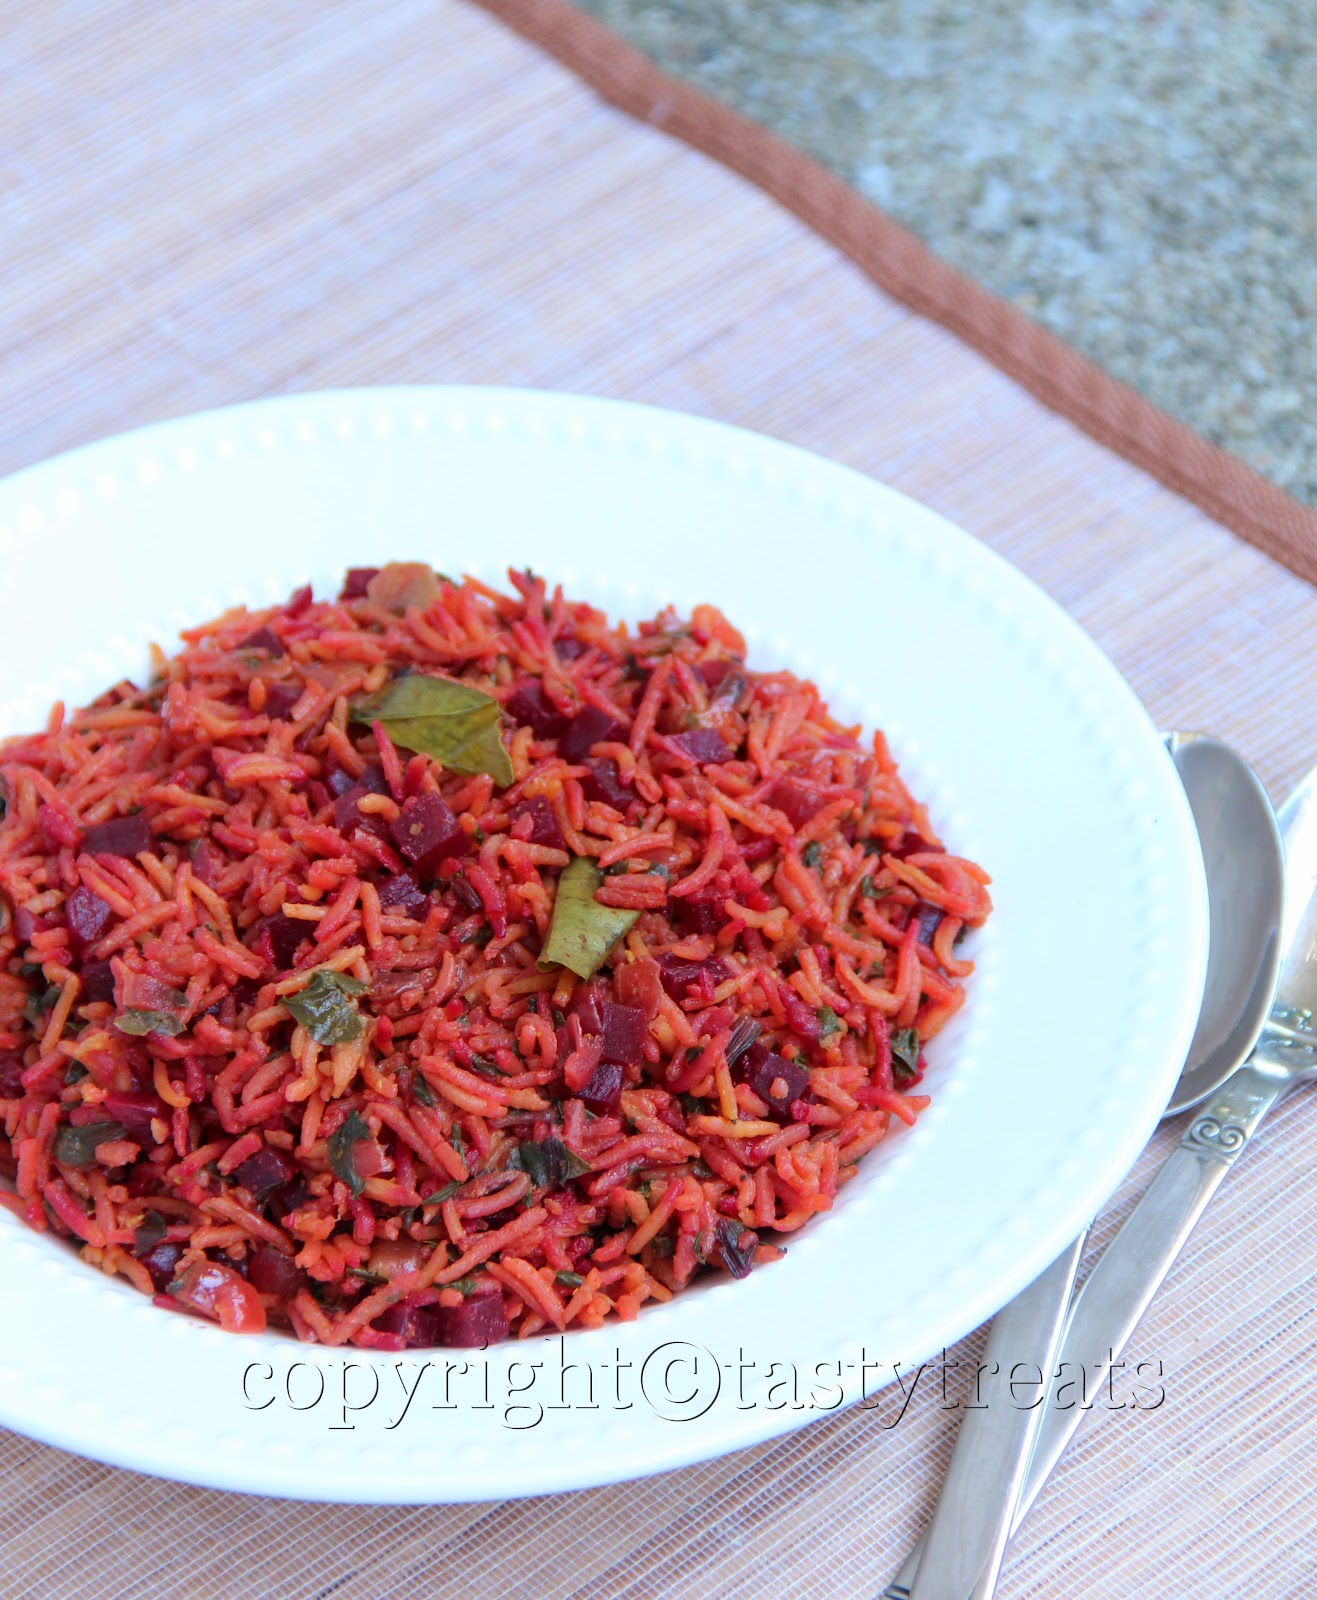
One of the things I look forward to on a Sunday morning is visiting the farmers market. I always enjoy my time there and its so much more fun than shopping in a closed supermarket. One thing I buy regularly is a bunch of beets. They are so tender, fresh and juicy, with the greens still attached, something I don't find at the store where I shop for my other groceries. While a simple beetroot thoran is what I love best, this pulao makes a delicious, healthy and quick one pot meal, all you need with it is some yogurt.

I'm also sending this post to Aparna's Photography Exercise 2 and the theme for this month is "Less is More". She has asked us to keep the composition minimalistic, without the use of many props or other distractions, so that all the focus will be on the main subject. I shot the pictures with my Cannon T3i with the 18-135mm lens, in manual mode.

Beetroot Pulao


Ingredients:
1 medium beet with greens and tender stems
1 tbs oil
1 onion, diced
2 tsps ginger garlic paste
1 tsp coriander powder
1 tsp cumin powder
1/2 tsp garam masala
1 tsp red chili powder
1/4 tsp turmeric powder
salt to taste
curry leaves
1 cup basmati rice
1 cup water
1 cup thin coconut milk


Method:
Wash the rice a couple of times and soak in some water for about 30 minutes.
Heat 1 tbs oil in  a pan and saute the onions and curry leaves until the onions are golden. Add the ginger garlic paste and stir until it no longer smells raw.
Add the dry spice powders and fry for a few seconds. Stir in the beetroot and mix well. Drain the rice and add to the pan along with the salt and fry everything for about 30 seconds.
Stir in the water and coconut milk and bring to a boil. Reduce the heat to low, cover and cook for 15 minutes. Remove from heat, but do not uncover for another 10 minutes.
Uncover and fluff the pulao with a fork and serve hot with some raita or just plain yogurt.

Spicy Broccoli and Red Pepper Quiche and an Exercise in Photography


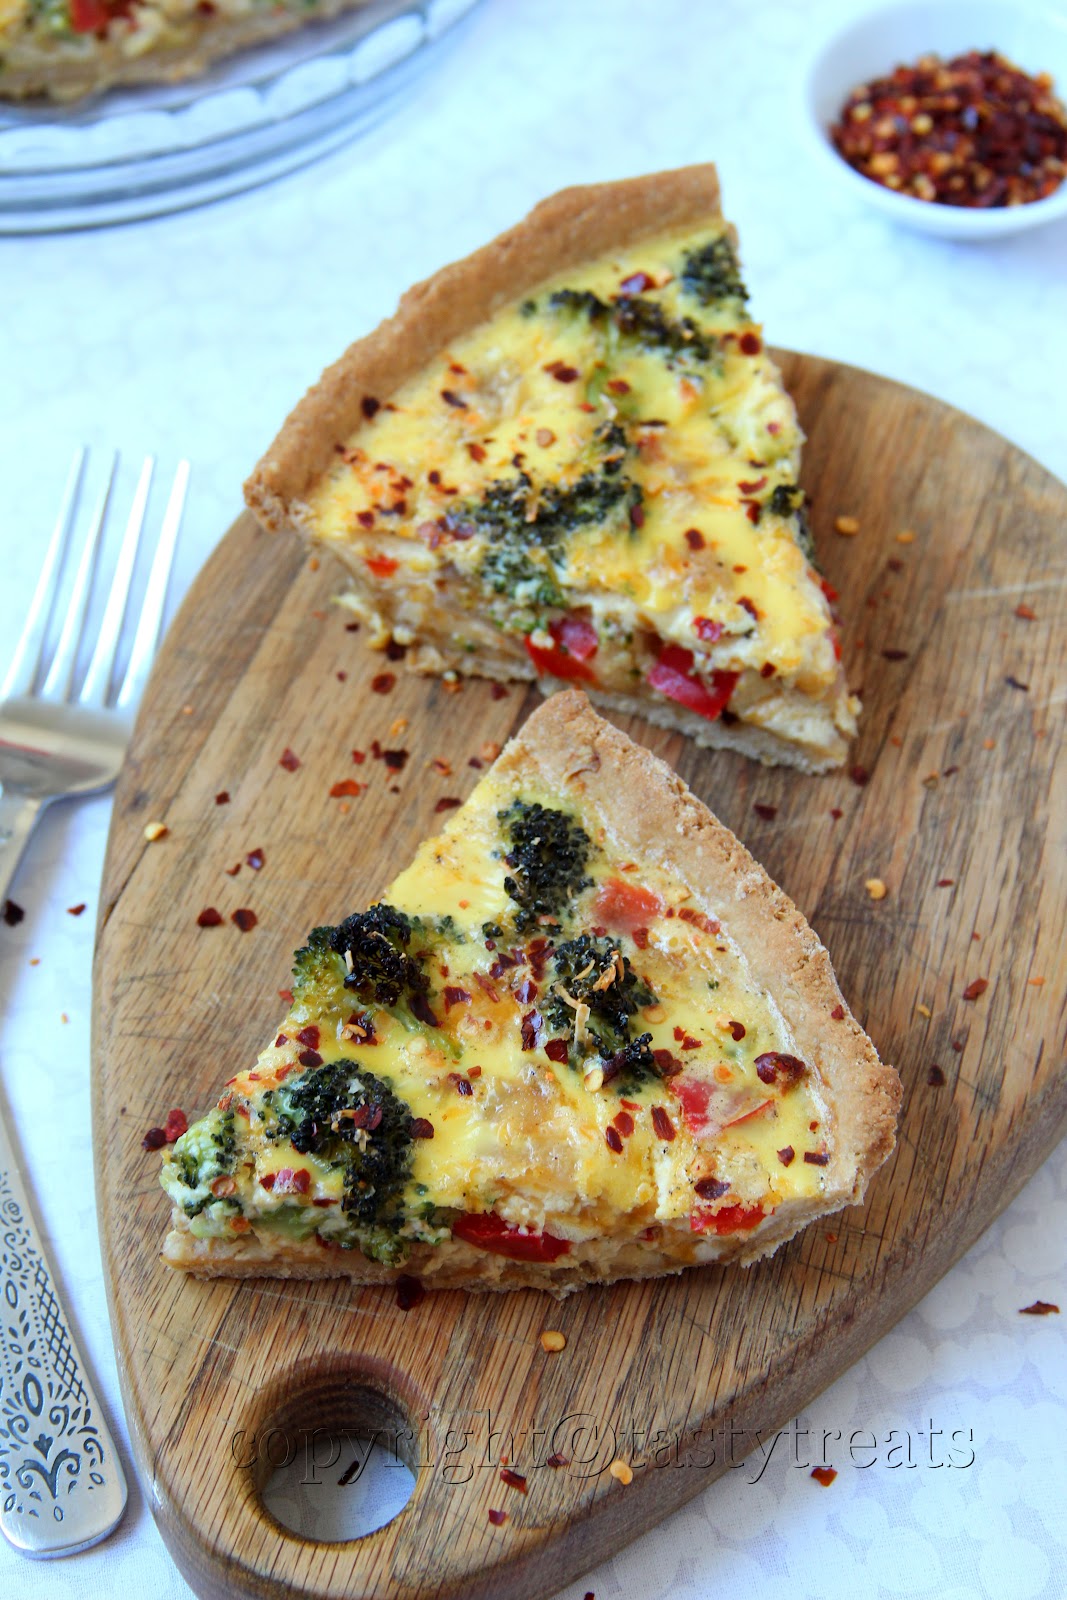
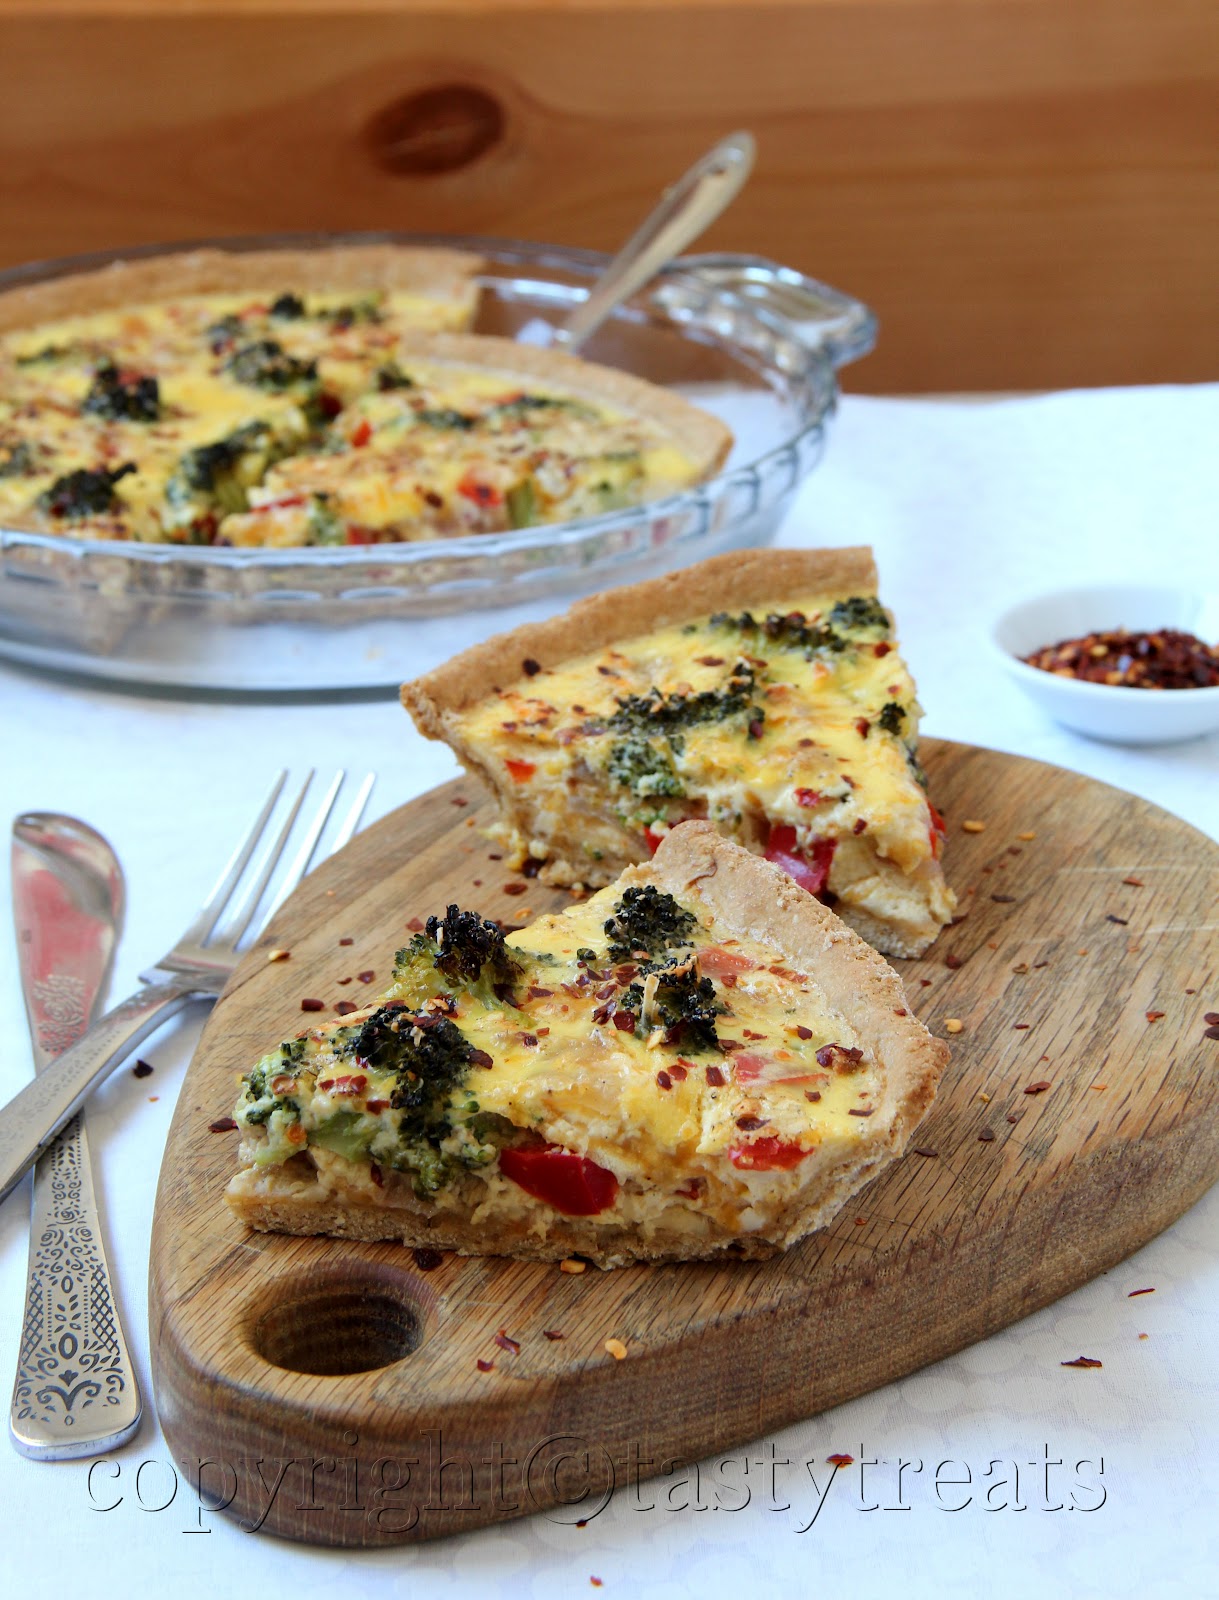
I have always loved photography, I carry my camera everywhere shooting anything that catches my eye and I know that my pictures are pretty decent. But food photography is a totally different concept. Change a few settings here and there and you can make an ordinary plate of food look exotic. It took me some time to understand the settings on my camera and I still have a lot to learn and experiment with. Aparna of My Diverse Kitchen has taken an amazing initiative where she will give a photography exercise every month. I think its a great idea and will definitely help to learn new skills and improve your photos. This month was all about Aperture and DOF. We had to shoot the same object twice, at two different apertures while keeping all other settings constant. You should notice a change in the DOF. I used a 18-135mm lens to shoot the pictures, at a focal length of 50mm.


Left Image : F5.0, Shutter speed 1/50 sec, ISO 400
Right Image : F9.0, Shutter speed 1/13 sec, ISO 400

I always shot my pictures in the Aperture priority mode, but always used the default setting and never bothered much playing around with different apertures. I'm definitely going to experiment a lot more.

I heard about Quiche for the first time when I was learning french a very long time back and I remember asking our instructor about it and she described it as an omelette baked in a pie shell. I was fascinated! I had some for the first time with a group of friends from the same class at a cafe in Nariman Point, Mumbai and although I don't remember how it tasted, I was probably impressed because I always order a slice if I see it in a restaurant menu. But the one thing I really miss is some spice, very often I have found them to be very bland. That's why I prefer a homemade Quiche any day. I love that I can spice it up, add all the vegetables I like and cut down on a lot of calories too. This recipe is definitely healthier and tastes awesome. Perfect item for a brunch/ lunch menu. The recipe for the crust is adapted from Sanjeeta's Litebite.

Spicy Broccoli and Red Pepper Quiche 
(makes a 10" quiche)


Ingredients:
For the crust:
1 1/2 cups whole wheat flour
3/4 cup oats, roasted and ground coarsely
1/2 tsp salt
3/4 tsp baking powder
1/3 cup olive oil
water as needed


For the filling:
4 eggs
1 cup milk/ cream/ half and half (I used whole milk)
1/2 cup cheese, grated/ crumbled (I used medium sharp cheddar)
1 tsp oil
1 small onion, diced
2 green chilies, chopped fine
1 red bell pepper, chopped into small chunks
1 small head of broccoli, small florets
1/2 tsp pepper powder
salt to taste
red pepper flakes and/or some more cheese for sprinkling on top (optional)

Method:
For the crust:
Preheat the oven to 450F/ 230C. Grease a 10" pie/ quiche/ tart pan.
Combine all the dry ingredients in a bowl. Add the olive oil and mix it in using your fingers until it forms a breadcrumb like consistency. Add enough water to form a firm dough. 
Dust the working surface with flour and roll out the dough to a big circle. Line the pie dish with the dough and trim out the edges. If its too small, take it out and roll into a bigger circle. Do not stretch the dough to fit as it will shrink back on baking. 
Prick the dough all over with a fork and bake for 15-20 minutes or until golden. Keep aside to cool.
(The excess dough can be rolled, cut into wedges and baked on  a tray. Makes a wonderful crisp snack.)

For the filling:
Heat the oil in a pan and saute the onions and green chilies until the onions begin to soften. Add the broccoli and red bell pepper and saute on medium high heat until the vegetables are tender crisp. Remove from heat and cool.
Beat the eggs and milk with a wire whisk until combined. Stir in the salt, pepper powder and 1/4 cup grated cheese.
Spread the remaining 1/4 cup cheese over the cooled crust. Top with the stir fried vegetables. Pour the prepared  egg mixture over the vegetables so it spreads evenly. Sprinkle with some more cheese and red pepper flakes if using.


Bake the quiche in a preheated oven at 375F/ 190C, for 45 - 60 minutes or until cooked. A knife inserted into the center should come out clean and it should not jiggle when shook.
Cool for about 20-30 minutes before slicing.

Orange Whipped Cream Cake


Happy Mother's Day to all you awesome moms out there. I miss not being close to mom everyday, but even more so today. I wish I was back home so I could something/ anything to show her how much she means to me. The one thing I'm sure I would have done if I were back home was bake her a cake. Amma loves snack cakes and every time I thought of baking when I was there, mom would ask me to make something 'simple'. This is one cake I would love to bake for her when we meet next time, I know she would love this and I so wish she were here to taste it now.


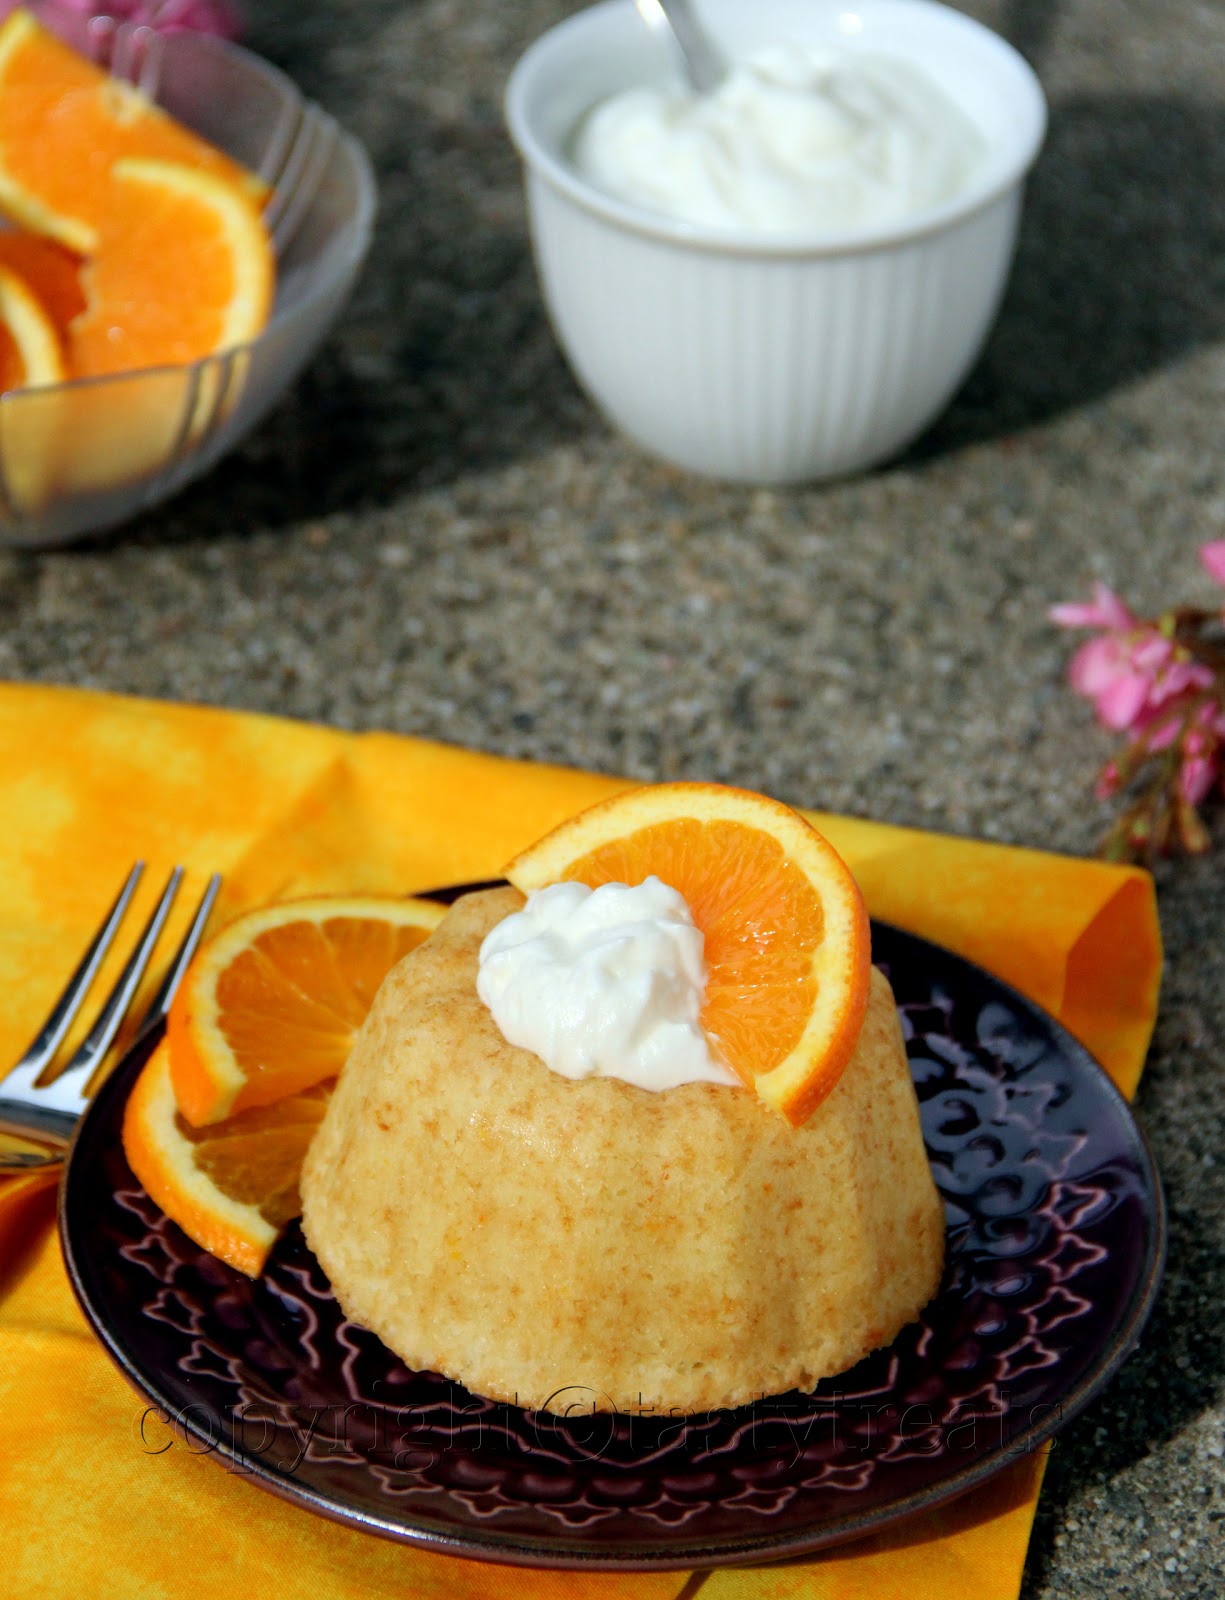
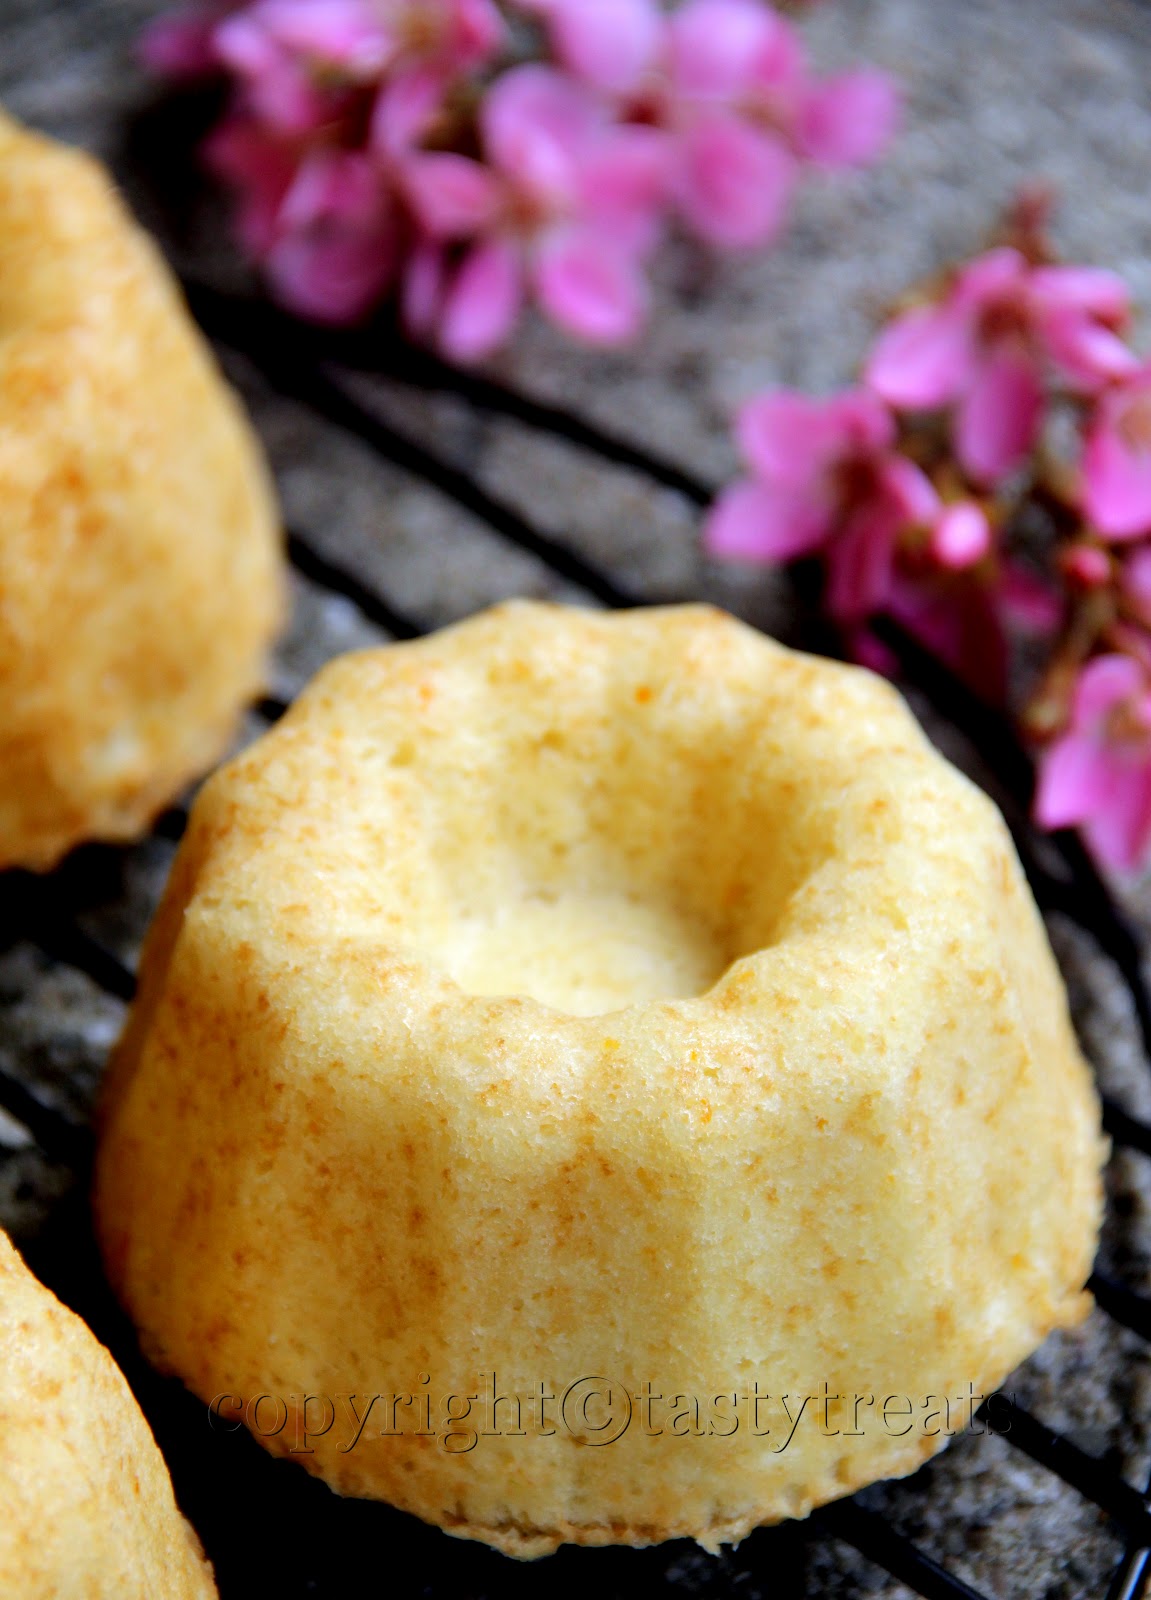
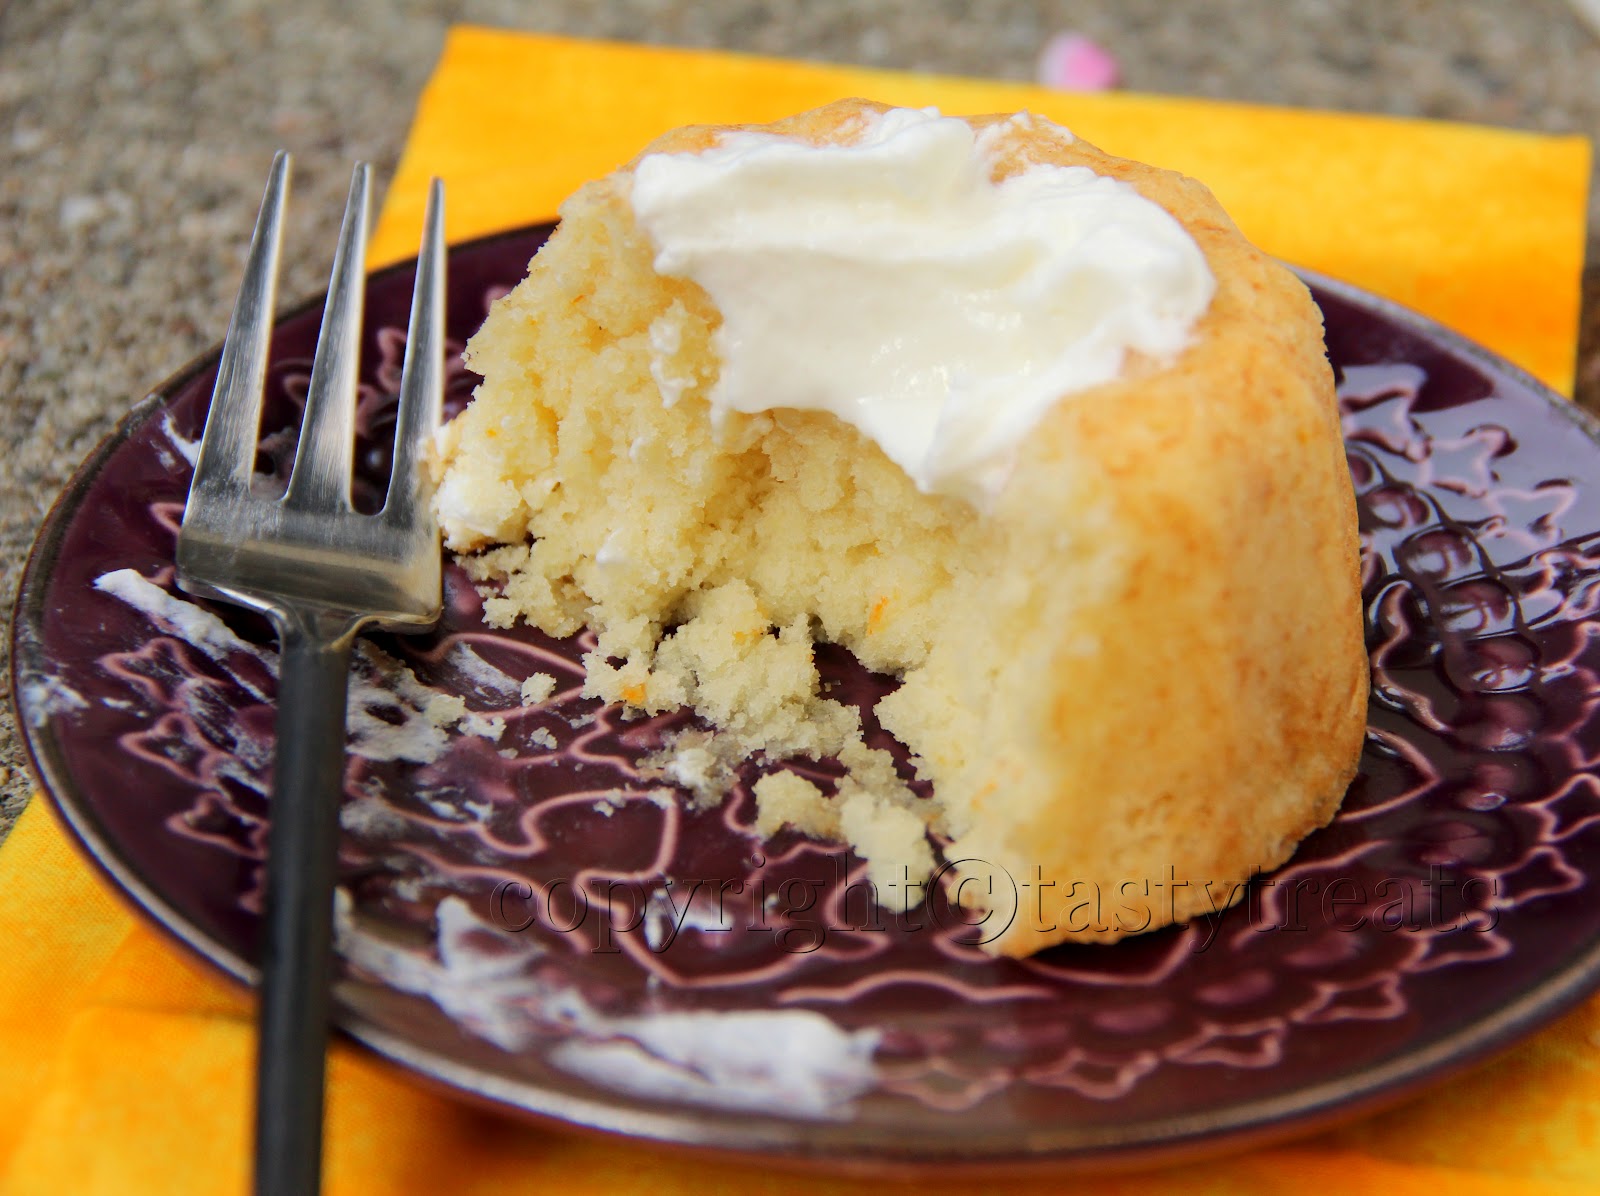
This is a very popular cake where butter or oil in the recipe is replaced by heavy cream making the cake amazingly light and moist . I borrowed Rose's Heavenly Cakes from the library last month and made it for the first time. We absolutely loved it. I made it again last week, but this time I tried adding some orange flavor to the cake. I think citrus makes everything better and it did for this cake too. We loved it even more! 
This is for you Amma, We love you!!

Orange Whipped Cream Cake


Ingredients:  
225 gms/ 8 oz cake flour(2 1/4cups) or bleached all purpose flour (2 cups), measured by sifting into the cups and leveling it off
2 tsps baking powder
3/4 tsp salt
1 1/2  cups/ 348 gms/ 12.3 oz cold heavy cream
3 large eggs at room temperature (150 gms/ 5.3oz)
1/2 tsp pure vanilla extract
1 cup plus 2 tbs/ 8oz/225gms superfine sugar
1/8 cup freshly squeezed orange juice
2 tsps orange zest


Method:
Grease and dust a 10 cup bundt pan (I used mini bundt pans and a ring pan). Preheat the oven to 375F/ 190C (350F/ 175C if using dark pans).
In a medium bowl mix together flour, baking powder and salt and then sift them together to make the mixture easier to incorporate.
Whip the cream using a whisk attachment, starting on low speed gradually raising the speed to medium high as it thickens, until stiff peaks form when the beater is raised.
In another bowl whisk the eggs, vanilla, orange juice and zest just until combined. On medium high speed, gradually beat the egg mixture into the whipped cream. It will thicken to a mayonnaise consistency. Gradually beat in the sugar. It will take about 30 seconds to incorporate it.
Add half the flour mixture into the cream mixture, and with the whisk stir and fold in the flour until most of it disappears.Add the rest of the flour mixture and continue folding and mixing until all traces of the flour have disappeared. 
Scrape the batter into the prepared pan. Run a small metal spatula or dull knife through the batter to prevent large air bubbles, taking care to avoid the bottom of the pan. Smooth the top with a spatula.
Bake for 25-35 minutes or until a toothpick inserted comes out clean. The cake should spring back when pressed lightly in the center. The sides should shrink away from the pan only after removal from the oven.
Let the cake cool in the pan on a wire rack for 10 mins. Loosen the top edges of the cake and unmould onto a greased wire rack and cool completely. 
Serve with a dusting of powdered sugar or with lightly sweetened whipped cream.