Spicy Broccoli and Red Pepper Quiche and an Exercise in Photography


I have always loved photography, I carry my camera everywhere shooting anything that catches my eye and I know that my pictures are pretty decent. But food photography is a totally different concept. Change a few settings here and there and you can make an ordinary plate of food look exotic. It took me some time to understand the settings on my camera and I still have a lot to learn and experiment with. Aparna of My Diverse Kitchen has taken an amazing initiative where she will give a photography exercise every month. I think its a great idea and will definitely help to learn new skills and improve your photos. This month was all about Aperture and DOF. We had to shoot the same object twice, at two different apertures while keeping all other settings constant. You should notice a change in the DOF. I used a 18-135mm lens to shoot the pictures, at a focal length of 50mm.


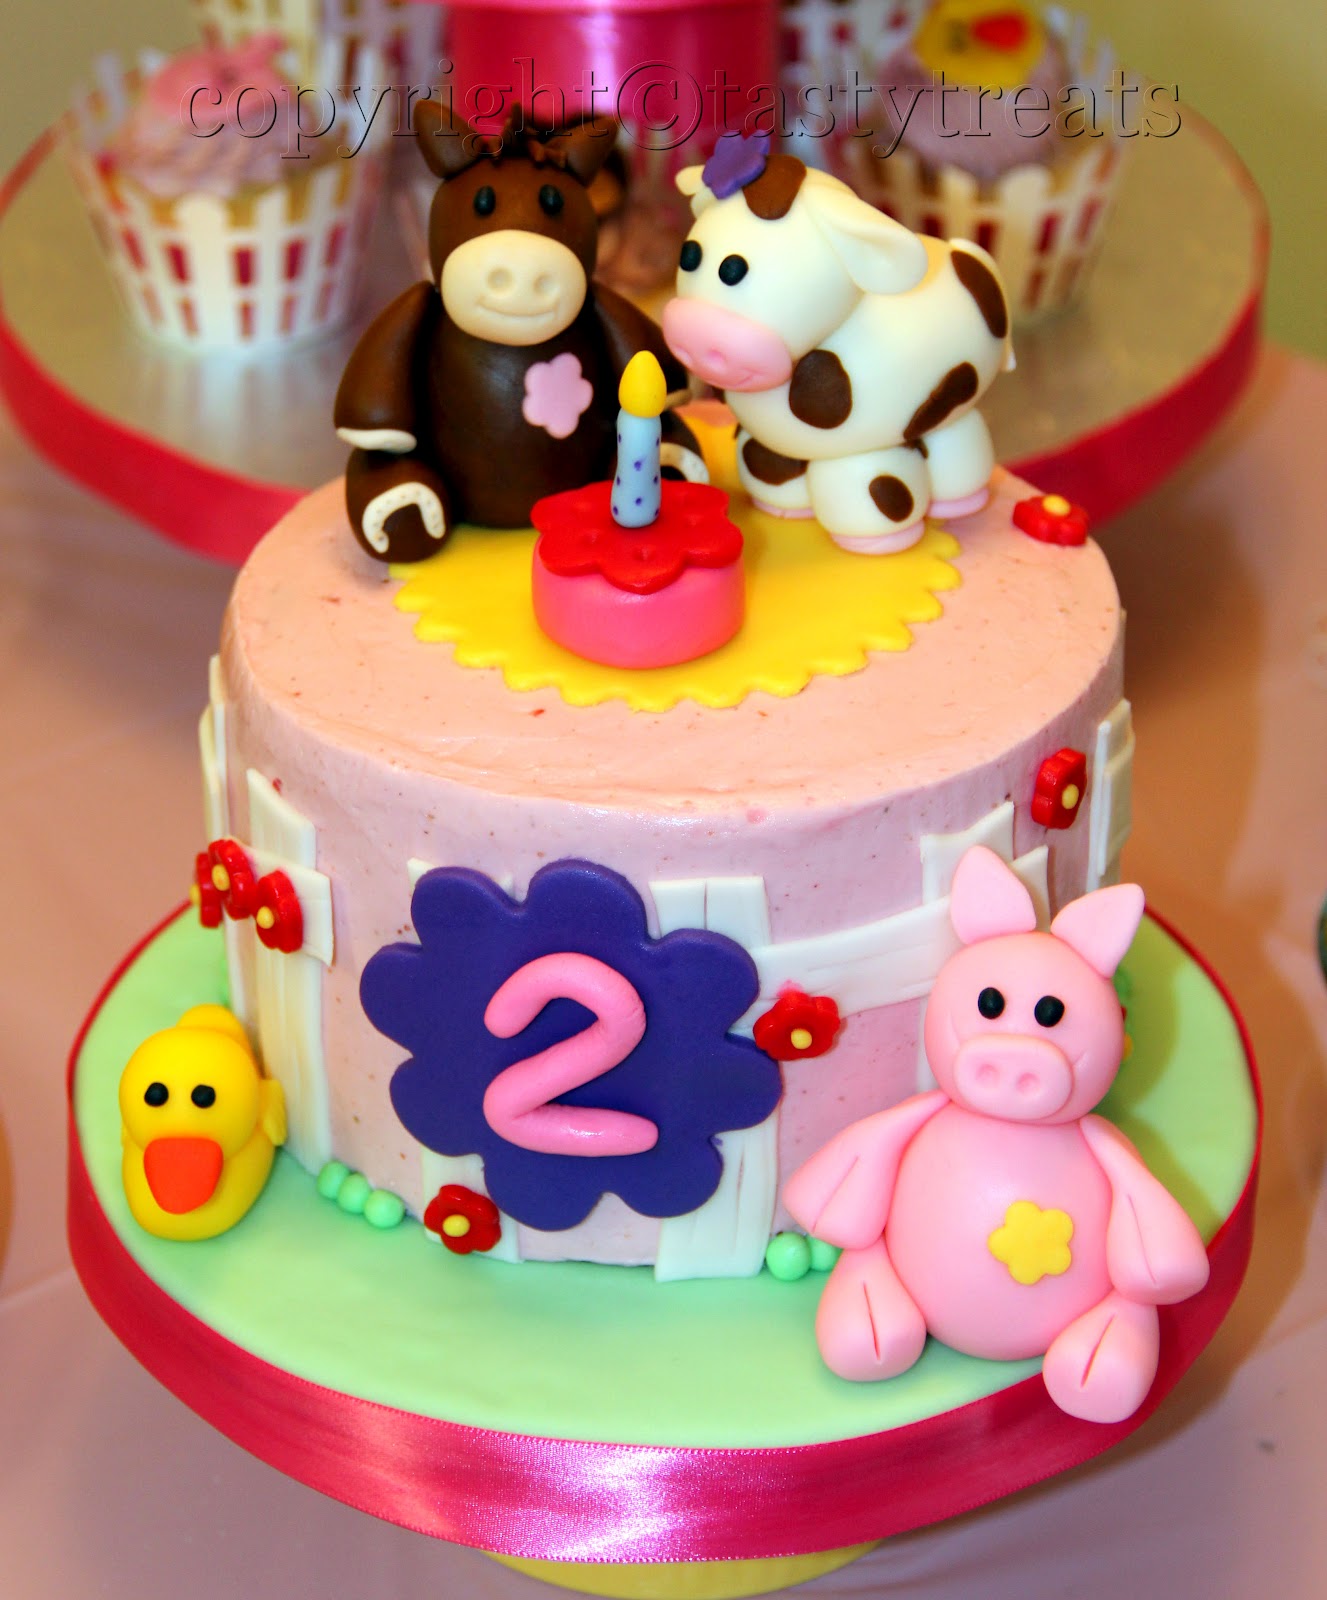
Left Image : F5.0, Shutter speed 1/50 sec, ISO 400
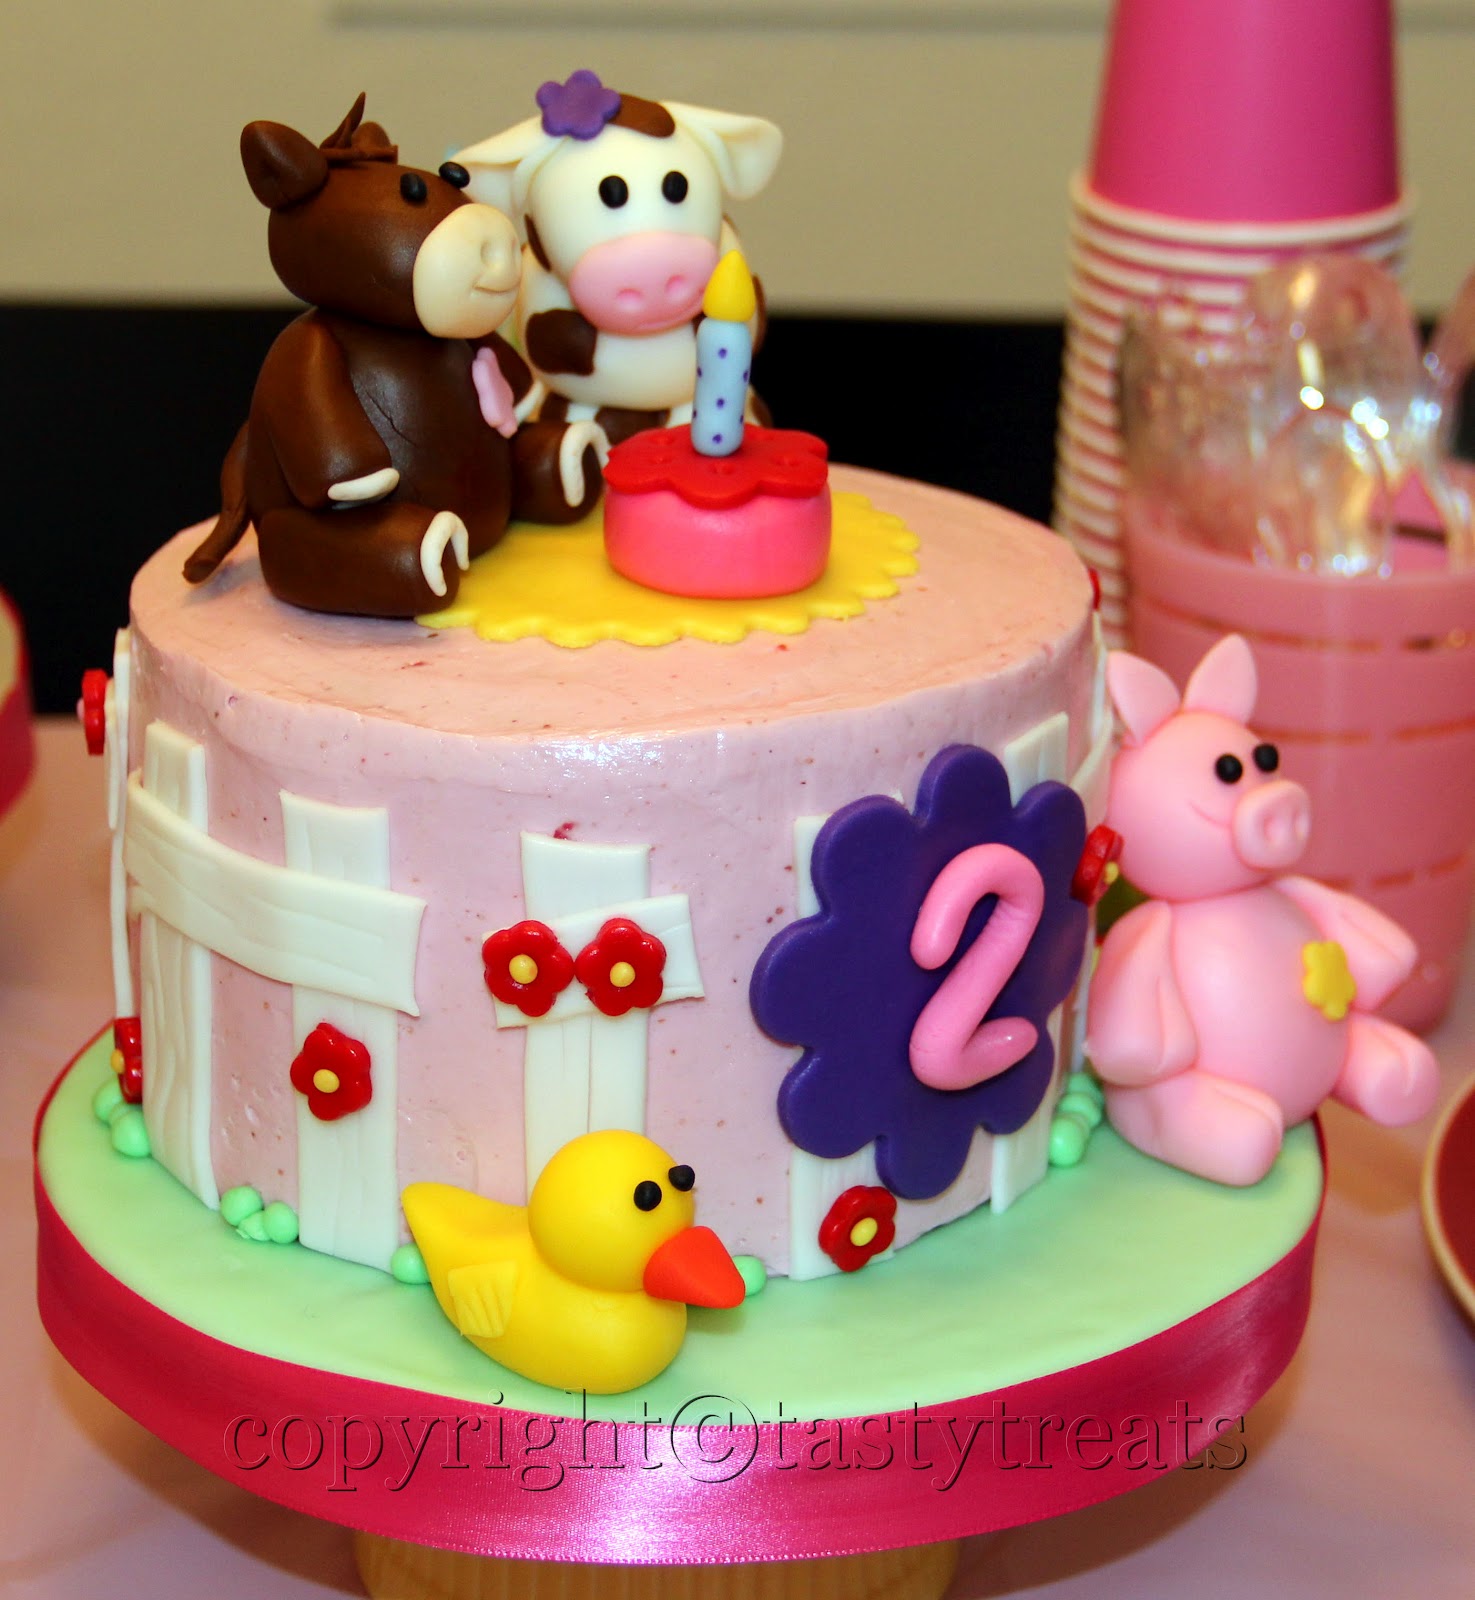
Right Image : F9.0, Shutter speed 1/13 sec, ISO 400

I always shot my pictures in the Aperture priority mode, but always used the default setting and never bothered much playing around with different apertures. I'm definitely going to experiment a lot more.

I heard about Quiche for the first time when I was learning french a very long time back and I remember asking our instructor about it and she described it as an omelette baked in a pie shell. I was fascinated! I had some for the first time with a group of friends from the same class at a cafe in Nariman Point, Mumbai and although I don't remember how it tasted, I was probably impressed because I always order a slice if I see it in a restaurant menu. But the one thing I really miss is some spice, very often I have found them to be very bland. That's why I prefer a homemade Quiche any day. I love that I can spice it up, add all the vegetables I like and cut down on a lot of calories too. This recipe is definitely healthier and tastes awesome. Perfect item for a brunch/ lunch menu. The recipe for the crust is adapted from Sanjeeta's Litebite.

Spicy Broccoli and Red Pepper Quiche 
(makes a 10" quiche)


Ingredients:
For the crust:
1 1/2 cups whole wheat flour
3/4 cup oats, roasted and ground coarsely
1/2 tsp salt
3/4 tsp baking powder
1/3 cup olive oil
water as needed


For the filling:
4 eggs
1 cup milk/ cream/ half and half (I used whole milk)
1/2 cup cheese, grated/ crumbled (I used medium sharp cheddar)
1 tsp oil
1 small onion, diced
2 green chilies, chopped fine
1 red bell pepper, chopped into small chunks
1 small head of broccoli, small florets
1/2 tsp pepper powder
salt to taste
red pepper flakes and/or some more cheese for sprinkling on top (optional)

Method:
For the crust:
Preheat the oven to 450F/ 230C. Grease a 10" pie/ quiche/ tart pan.
Combine all the dry ingredients in a bowl. Add the olive oil and mix it in using your fingers until it forms a breadcrumb like consistency. Add enough water to form a firm dough. 
Dust the working surface with flour and roll out the dough to a big circle. Line the pie dish with the dough and trim out the edges. If its too small, take it out and roll into a bigger circle. Do not stretch the dough to fit as it will shrink back on baking. 
Prick the dough all over with a fork and bake for 15-20 minutes or until golden. Keep aside to cool.
(The excess dough can be rolled, cut into wedges and baked on  a tray. Makes a wonderful crisp snack.)

For the filling:
Heat the oil in a pan and saute the onions and green chilies until the onions begin to soften. Add the broccoli and red bell pepper and saute on medium high heat until the vegetables are tender crisp. Remove from heat and cool.
Beat the eggs and milk with a wire whisk until combined. Stir in the salt, pepper powder and 1/4 cup grated cheese.
Spread the remaining 1/4 cup cheese over the cooled crust. Top with the stir fried vegetables. Pour the prepared  egg mixture over the vegetables so it spreads evenly. Sprinkle with some more cheese and red pepper flakes if using.


Bake the quiche in a preheated oven at 375F/ 190C, for 45 - 60 minutes or until cooked. A knife inserted into the center should come out clean and it should not jiggle when shook.
Cool for about 20-30 minutes before slicing.

Orange Whipped Cream Cake


Happy Mother's Day to all you awesome moms out there. I miss not being close to mom everyday, but even more so today. I wish I was back home so I could something/ anything to show her how much she means to me. The one thing I'm sure I would have done if I were back home was bake her a cake. Amma loves snack cakes and every time I thought of baking when I was there, mom would ask me to make something 'simple'. This is one cake I would love to bake for her when we meet next time, I know she would love this and I so wish she were here to taste it now.


This is a very popular cake where butter or oil in the recipe is replaced by heavy cream making the cake amazingly light and moist . I borrowed Rose's Heavenly Cakes from the library last month and made it for the first time. We absolutely loved it. I made it again last week, but this time I tried adding some orange flavor to the cake. I think citrus makes everything better and it did for this cake too. We loved it even more! 
This is for you Amma, We love you!!

Orange Whipped Cream Cake


Ingredients:  
225 gms/ 8 oz cake flour(2 1/4cups) or bleached all purpose flour (2 cups), measured by sifting into the cups and leveling it off
2 tsps baking powder
3/4 tsp salt
1 1/2  cups/ 348 gms/ 12.3 oz cold heavy cream
3 large eggs at room temperature (150 gms/ 5.3oz)
1/2 tsp pure vanilla extract
1 cup plus 2 tbs/ 8oz/225gms superfine sugar
1/8 cup freshly squeezed orange juice
2 tsps orange zest


Method:
Grease and dust a 10 cup bundt pan (I used mini bundt pans and a ring pan). Preheat the oven to 375F/ 190C (350F/ 175C if using dark pans).
In a medium bowl mix together flour, baking powder and salt and then sift them together to make the mixture easier to incorporate.
Whip the cream using a whisk attachment, starting on low speed gradually raising the speed to medium high as it thickens, until stiff peaks form when the beater is raised.
In another bowl whisk the eggs, vanilla, orange juice and zest just until combined. On medium high speed, gradually beat the egg mixture into the whipped cream. It will thicken to a mayonnaise consistency. Gradually beat in the sugar. It will take about 30 seconds to incorporate it.
Add half the flour mixture into the cream mixture, and with the whisk stir and fold in the flour until most of it disappears.Add the rest of the flour mixture and continue folding and mixing until all traces of the flour have disappeared. 
Scrape the batter into the prepared pan. Run a small metal spatula or dull knife through the batter to prevent large air bubbles, taking care to avoid the bottom of the pan. Smooth the top with a spatula.
Bake for 25-35 minutes or until a toothpick inserted comes out clean. The cake should spring back when pressed lightly in the center. The sides should shrink away from the pan only after removal from the oven.
Let the cake cool in the pan on a wire rack for 10 mins. Loosen the top edges of the cake and unmould onto a greased wire rack and cool completely. 
Serve with a dusting of powdered sugar or with lightly sweetened whipped cream.


Another Birthday and A Tiramisu Cake


For Manoj's first birthday after we were married I made him a Back Forest Cake (it's his favorite) and he has asked for the the same cake every year since. A couple of weeks before his birthday this year, we were at the mall and he had a tiramisu cupcake and loved it. Then a few days later I was talking (grumbling actually) about making the usual black forest when he asked me if I could make a Tiramisu cake this time. I almost jumped with happiness/ reief! This is a cake that has so many great reviews and I had waited a long time to make it, I finally had the perfect opportunity.

We had a few close friends over for dinner that evening and being a poor party planner, I was scurrying until the last moment to get everything ready. Our friends had arrived, one helped with the appetizers, another tidied my kitchen, while I quickly took some pictures of the cake. It's awesome to have such friends!

The horrible lighting in the kitchen didn't do the cake justice, but this was definitely one of the best cakes I ever baked. The sponge was light and moist and the not so sweet mascarpone frosting was incredible. Everyone liked the cake and it was all gone except for the slice I saved for a picture.

Tiramisu Cake
Baking: From My Home To Yours


Ingredients:
For the cake:
2 cups cake flour
2 tsps baking powder
1/8 tsp baking soda
1/4 tsp salt
1 1/4 sticks (10 tbs) unsalted butter, at room temperature
1 cup sugar
3 large eggs
1 large egg yolk
1 1/2 tsps pure vanilla extract
3/4 cup buttermilk

For the expresso extract:
2 tbs instant expresso powder
2 tbs boiling water

For the expresso syrup:
1/2 cup water
1/3 cup sugar
1 tbs ameretto/ Kahlua or brandy 

For the filling and frosting:
1 8-ounce container mascarpone
1/2 cup confectioners sugar, sifted
1 1/2 tsps pure vanilla extract
1 tbs ameretto/ Kahlua or brandy
1 cup cold heavy cream
2 1/2 ounces bittersweet or semisweet chocolate, finely chopped or 1/2 cup mini chocolate chips (I used 4 ounces grated bittersweet chocolate)

Chocolate covered expresso beans for decoration (optional)
cocoa powder for dusting (again I used grated chocolate)

Method:
Preheat the oven to 350 F/ 180C. Grease and dust two 9" round pans and line with parchment paper. Place the pans on a baking sheet.


The cake:
Sift together flour, baking powder , baking soda and salt.

In a large bowl, beat the butter in medium speed until soft and creamy. Add the sugar and beat for another 3 minutes. Add the eggs one by one, followed by the yolk, beating for one minute after each addition. Beat in the vanilla, don't be concerned if the mixture looks curdled.
Reduce the speed to low and add the dry ingredients alternately with the buttermilk, add the dry ingredients in three additions and the buttermilk in two (beginning and ending with the dry ingredients), scrape the bowl as needed and beat only until the ingredients disappear into the batter.
Divide the batter between the two pans and smooth the top with a rubber spatula.

Bake for 28-30 minutes, rotating the pans at the halfway point. When fully baked the cakes will be golden and springy to the touch and a knife inserted into the center will come out clean. Transfer the cakes to a wire rack and cool for 5 minutes. Then run a knife around the edge of the cakes and unmould them. Peel off the paper liners. Invert and cool the cakes to room temperature, right side up.


Expresso Extract:
Mix the expresso with the boiling water and stir until blended. Keep aside.

Expresso syrup:
Stir the water and sugar in a pan and bring just to a boil. Pour the syrup into a small heat proof bowl and stir in 1 tbs of the expresso extract and the amaretto/ Kahlua or brandy.

Filling and frosting:
Put the mascarpone, sugar, vanilla and liqueur in a large bowl and whisk just until blended and smooth.

Whip the heavy cream until it holds firm peaks. Using a rubber spatula stir about a quarter of the cream into the mascarpone. Fold in the remaining cream with a light touch.

Assembling the Cake:
Level the cake. Place one layer, right side up on a cardboard round or cake plate, protected by strips of wax of parchment paper. Using a pastry brush or a small spoon, soak the layer with about 1/3rd of the expresso syrup. Top with some of the mascarpone mixture (use about 1 1/4 cups) and gently press the chopped chocolate into the filling.
Put the second layer on the counter and soak it with half of the remaining expresso syrup. Them turn the layer over and position it soaked side down on top of the filling. Then soak the top with the remaining syrup.


For the frosting, whisk 1 - 1 1/2 tbs of the remaining expresso extract into the remaining mascarpone frosting, taste as you go to decide how much you want to add. If the frosting looks too soft to spread over the cake, put some plastic wrap over its surface and refrigerate for 15 minutes or so. Refrigerate the cake also.

With a long icing spatula, smooth the frosting over the sides and top of the cake. Decorate the cake with chocolate covered expresso beans if using. Refrigerate the cake for atleast 3hours or upto one day before serving. The elements need time to meld.

Just before serving dust the tops of the cake with cocoa powder or top with grated chocolate.


Notes: 
I did not soak the cake with enough syrup, I thought I did, But looking at the color of the layers, obviously did not.
Anushka, Manoj and I, tasted so much of the filling (it is divine!!), I was sure I would be short, so I folded in more whipped cream into the mascarpone cream. Got to keep them out of the kitchen the next time:)

The Birthday Cakes


My little girl turned two last month and she had two parties and three cakes and a bunch of cupcakes!! Anushka loves farm animals and she has been making their sounds forever, so I was pretty set on having a farm themed cake. Ofcourse I changed the design a million times and the cake was nothing like what I had planned. But I loved the way it turned out!


I had so much fun making the animals, the cupcake toppers and all the other tiny details. But I have to say this, if you plan to do something like this, do it well in advance, as they take a long time or you'll end up going crazy trying to get it done on time! The cake was my favorite chocolate cake with strawberry swiss meringue buttercream and it was awesome! The flavors were amazing and I love swiss buttercream, I just cannot praise it enough! The cupcakes were vanilla with the same frosting and decorated with the animal cupcake toppers. They were super fun to make.


The second party was a last moment decision and so were the cakes. With absolutely no design in mind I just made a lot of flowers the previous day using all the cutters I could find and a hello kitty figurine for the small eggless cake. The hello kitty cake was an eggless chocolate cake with vanilla buttercream. The cake did turn out great, but I found the frosting to be too sweet, but there's not much choice if you want to go eggless!


The big flower cake was a neopolitan cake, one I've been wanting to bake for a long time. It was a huge 10" cake, so you can imagine the work involved, especially since I don't have a stand mixer. I baked the cakes in advance and they all turned out great. I honestly had no idea how much frosting I would be needing and making swiss buttercream is not easy, you have to whip and whip endlessly (it's totally worth the effort though). So after two batches I had no energy or time left. I filled the cakes but I did not have enough to frost it completely, so I used regular vanilla buttercream. I wish I hadn't!! Again I found it too sweet, and I was honestly disappointed with the big cake. I'll definitely be making this one again, with my favorite buttercream. 

Here are the the recipes I used..
Chocolate Cake : Recipe here.


Strawberry Swiss Meringue Buttercream
(Recipe from here)
Ingredients
2 egg whites
1/2 cup sugar
12 tbs butter, softened but cool
1/2 tsp vanilla
4 oz strawberries, rinsed, hulled and pureed


Method:
Make sure your bowl, whisk and all other tools you use to make the meringue are completely free of any grease. Take the egg whites and sugar in a big metal bowl and place the bowl over a pot of simmering water. Whisk gently but constantly until the mixture reaches a temperature of 140 degrees F on a candy thermometer, or until the egg whites are hot and you cannot feel the sugar granules when you rub the mixture between your fingers. 
Remove from heat and whip the hot mixture, until it turns thick and glossy and white and and about doubles in volume. The bowl will be neutral and not hot at this point.
Then add the butter, a few tablespoons at a time, beating continuously until it has a silky smooth texture. The mixture may look curdled at some time, but just keep mixing and it will come together soon!
Mix in the vanilla and the strawberry puree and whip till smooth and creamy. It may look curdled again, but will come together soon.

Eggless Chocolate Cake : Recipe here.

Classic Vanilla Buttercream
Recipe from here


Ingredients:
1 cup/ 2 sticks unsalted butter, softened but not melted
3-4 cups powdered sugar, sifted
1/4 tsp salt
1 tbs vanilla extract
upto 4 tbs milk or heavy cream


Method:
Beat butter on medium speed for for a few minutes. Reduce the speed to low and add 3 cups of sifted confectioners sugar. Once the sugar has been incorporated increase the speed to medium and add the salt, vanilla and 2 tbs milk/ cream. Beat for 3 minutes. If you want a more stiff frosting add the remaining sugar. For a thinner consistency add the remaining milk/ cream. Frost as desired.