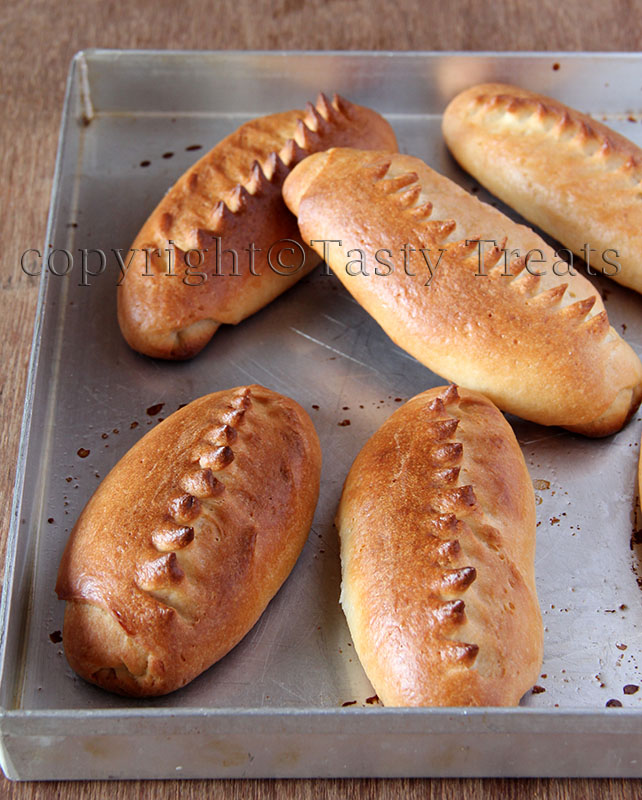
The bread for this month for the We Knead to Bake group chosen by Aparna is a simple but classic french bread. Petit pain au lait means little milk breads/ rolls. The rolls are mildly sweet and they bake to a beautiful golden brown. They are slightly rich and are soft and almost flaky on the inside because of the way they are shaped and rolled.
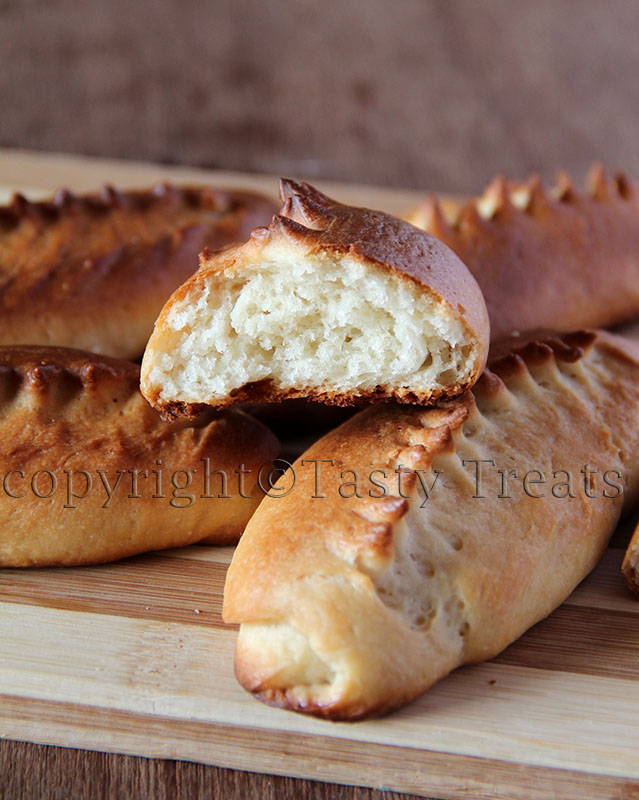
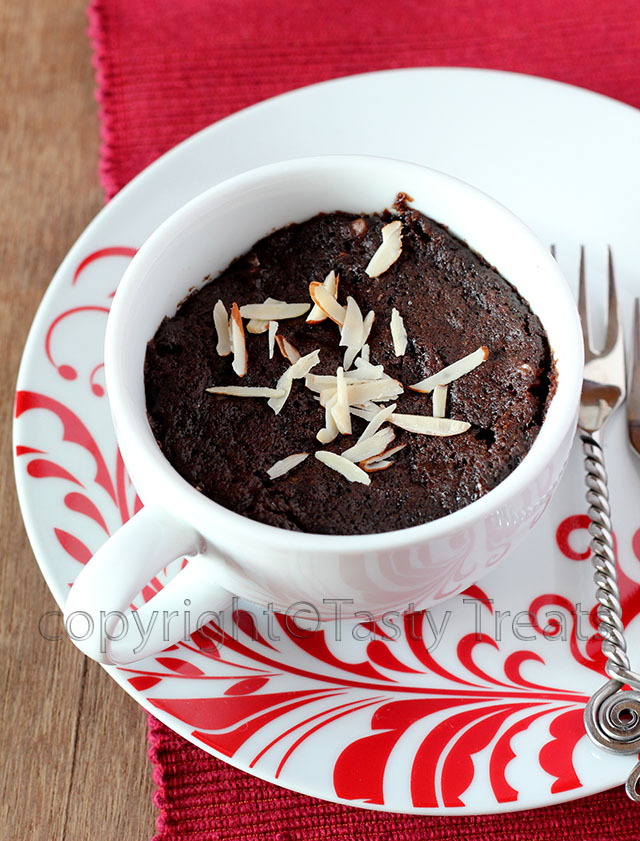
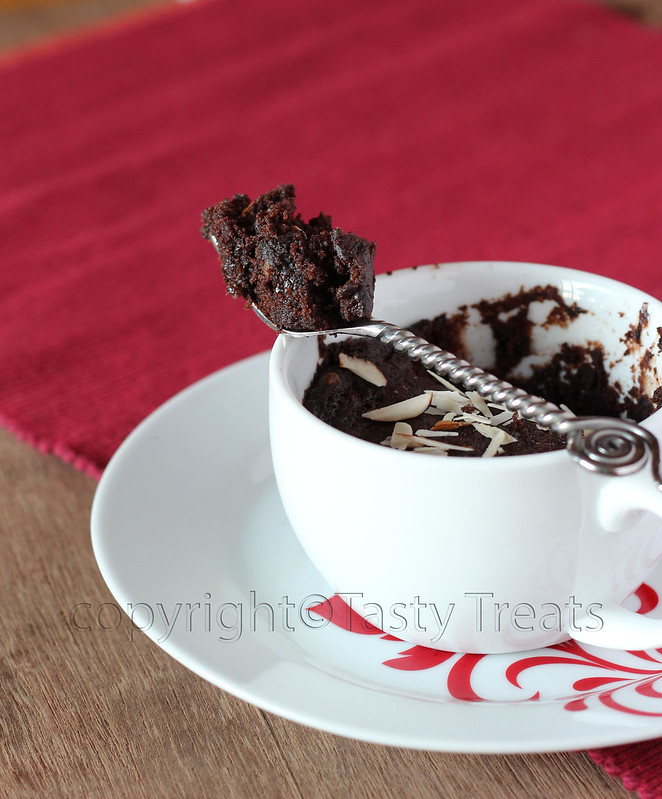
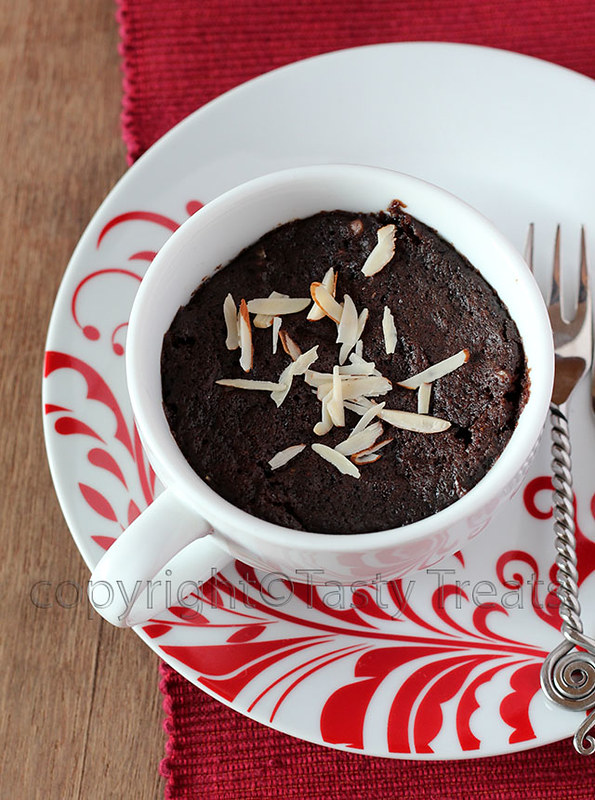
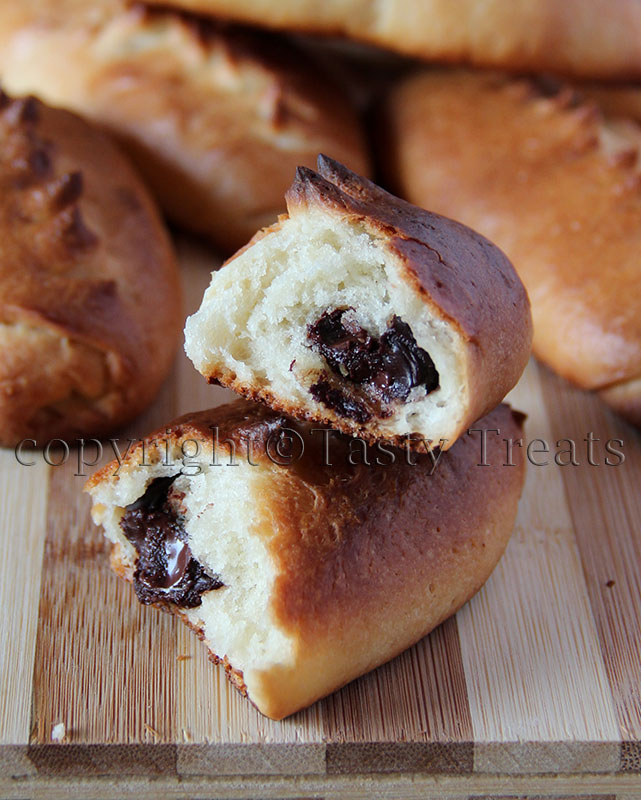
This is a wonderful and very easy recipe making it perfect for beginners. I stuffed about four rolls with some chocolate and left the others plain. All of us at home preferred the plain ones and I will surely be baking these again.
Do take a look at these videos to get an idea of how the bread is cut to create the pattern. Link1/ Link2.
Recipe adapted from Gourmet by Kat
Petit Pains Au Lait
.JPG)
Ingredients:
2/3 cup warm whole milk (plus a few teaspoons more if needed)
1 tsp instant yeast
1/4 cup sugar
1 2/3 cup all-purpose flour
3/4 cup bread flour*
1/4 tsp salt
60 gms butter, soft at room temperature
extra milk for brushing
Method:
*If you don’t have bread flour, put 2/3 tsp vital wheat gluten in your 3/4 cup measure and top up with all-purpose flour. Mix this well.
Or if you don’t have vital wheat gluten, then just use 3/4 cup all-purpose flour.
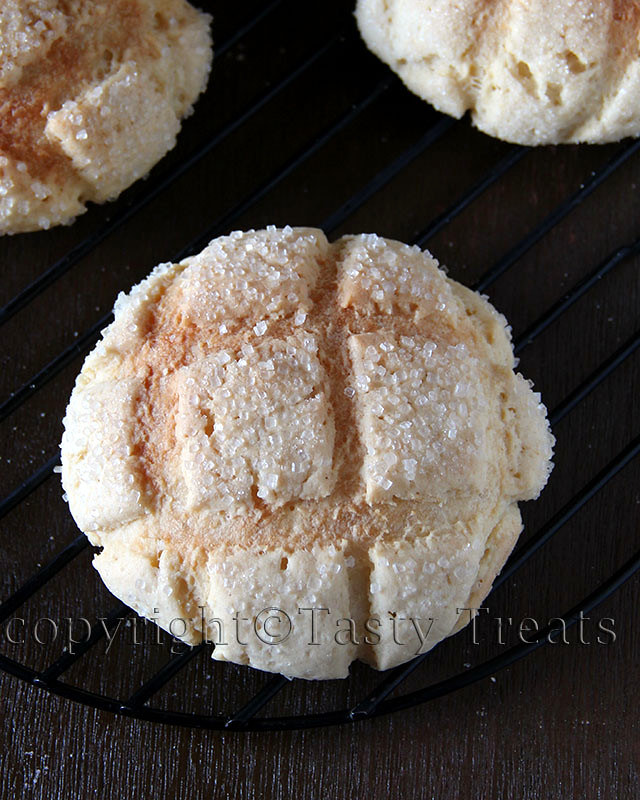
**This topping is optional. The pearl sugar looks pretty and adds a little crunch. If you can’t find pearl sugar, use large crystals of sugar or even regular granulated sugar.
I used my stand mixer to knead the dough, you can also use the food processor or knead by hand. Put the warm milk, yeast and sugar in the bowl. Mix on low speed. Then add all the flour and the salt and mix until the mixture looks crumbly. Add the butter and knead until you have a soft, smooth and elastic dough that’s not sticky. Add a little more milk (in teaspoonful at a time), if your dough is dry, until you have the required consistency of dough.
Shape the dough into a ball and place it in an oiled bowl. Turn it over to coat with oil. Cover loosely and set aside to rise until double in volume, about 1 1/2 hours. Turn the dough out onto a clean surface. The dough will be easy to work with and not sticky, but if needed, just lightly dust your palms with flour. Deflate the dough gently, and divide it into 10 equal pieces. Let them rest for 15 minutes.
Roll out each piece of dough, one at a time, into a circle of about 4” in diameter. Slowly roll up the circle from one end, Swiss roll/ jelly roll style into a cylinder. Pinch the seam closed neatly, and place them on a greased or parchment lined baking sheet with the seam side facing down. Cover loosely and let them rise for an hour or so till almost double in size.
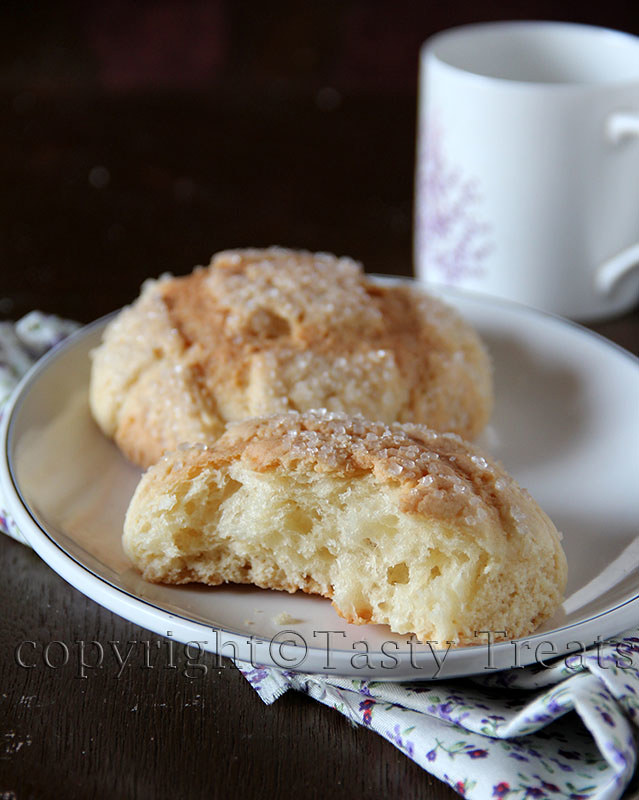
Brush them lightly with milk and using a pair of sharp scissors, make diagonal cuts (not too deep) on the top of the rolls. Sprinkle pearl sugar/ granulated sugar. Bake them at 200C / 400F for about 15 minutes or so until they’re golden brown. Cool on a wire rack and serve them warm or at room temperature.
This recipe makes 10 Petit Pains au Lait. They’re best eaten the same day, though you could warm them up and serve the next day.
.JPG)
.JPG)
.JPG)
.JPG)