Showing posts with label Chocolate. Show all posts

The Birthday Cakes and a recipe for White Chocolate Swiss Meringue Buttercream


Anushka turned 4 last week and this birthday was extra special as it was the first one we celebrated in India. It was more of a family get-together and Anushka got to play with her favorite cousin and had a fabulous time. Growing up all my birthdays were celebrated this way and this evening brought back such wonderful memories.

This birthday was also very different from her last birthdays as I had so much help getting everything ready, having your parents with you is such a blessing, everything is taken care of. The last year with the Minnie Mouse Party there were so many things to be done and as much as I enjoyed planning and organizing everything I remember having panic attacks every few hours. This time though I felt like I had nothing to do. Dad and made sure the house was clean and organised and looked after Anushka when I was busy, mom took care of the food and all I had to do was bake the cake.


The 4 year old "grown-up" gave me very clear instructions for her cake design. Up until two days before her birthday she wanted a blue cake with lots of flowers and butterflies and then suddenly changed her mind and wanted a pink one instead. I rolled the fondant and let her cut out the flowers and butterflies and she was so excited to see them on the cake.

Her day began with a small celebration at school. I sent a small cake with that she cut with her friends. As cream cakes are not allowed I made a simple chocolate cake with chocolate chips. I had planned to write a message with icing but ended up making a simple fondant topper instead.


The main cake was two layers of chocolate cake and one middle layer of orange cake. I filled the cake with whipped chocolate ganache and frosted with White Chocolate Swiss Meringue Butercream (SMBC).
It was the first time that I made SMBC with home-made butter and while it looked perfect somehow it wasn't sweet at all. I thought of adding some honey or corn syrup but just to be sure I asked the experts on HBG in facebook.  Got some wonderful ideas and ended up adding some white chocolate to the buttercream. I'm not so found of white chocolate but in this case it worked like a charm and the flavor was just delicious! 

White Chocolate Swiss Meringue Buttercream


Ingredients:
3 egg whites
3/4 cup sugar
18 tbs unsalted butter, softened but cool, cut into tablesspoons
1 tsp vanilla extract
3 ounces white chocolate, melted and cooled to room temperature

Method:
Make sure your bowl, whisk and all other tools you use to make the meringue are completely free of any grease.
Take the egg whites and sugar in a big metal bowl and place the bowl over a pot of simmering water. Whisk gently but constantly until the mixture reaches a temperature of 140 degrees F on a candy thermometer, or until the egg whites are hot and you cannot feel the sugar granules when you rub the mixture between your fingers. 
Remove from heat and whip the hot mixture, until it turns thick and glossy and white and and about doubles in volume. The bowl will be neutral and not hot at this point.
Switch to the paddle attachment and add the butter, 2 tablespoons at a time, beating continuously on medium speed until it has a silky smooth texture. The mixture may look curdled at some time, but just keep mixing and it will come together soon!
Mix in the vanilla and the melted white chocolate and whip till smooth and creamy.
Use immidiately or refrigerate in an air-tight container for upto 1 week and whip until creamy before using.

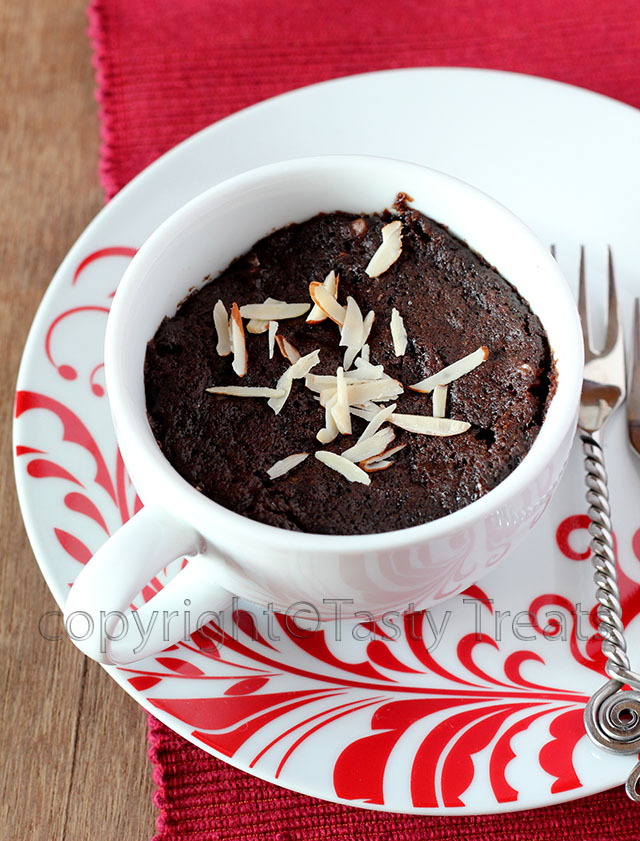
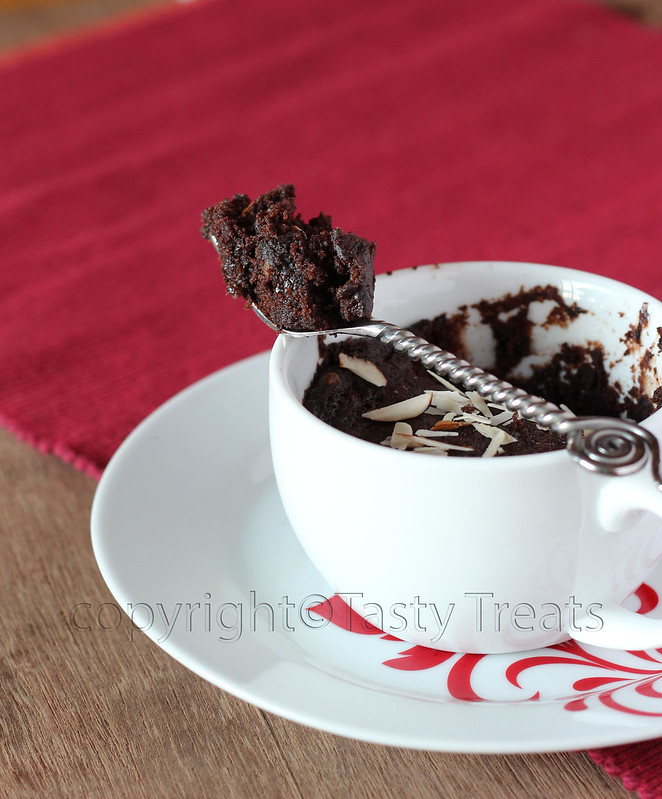
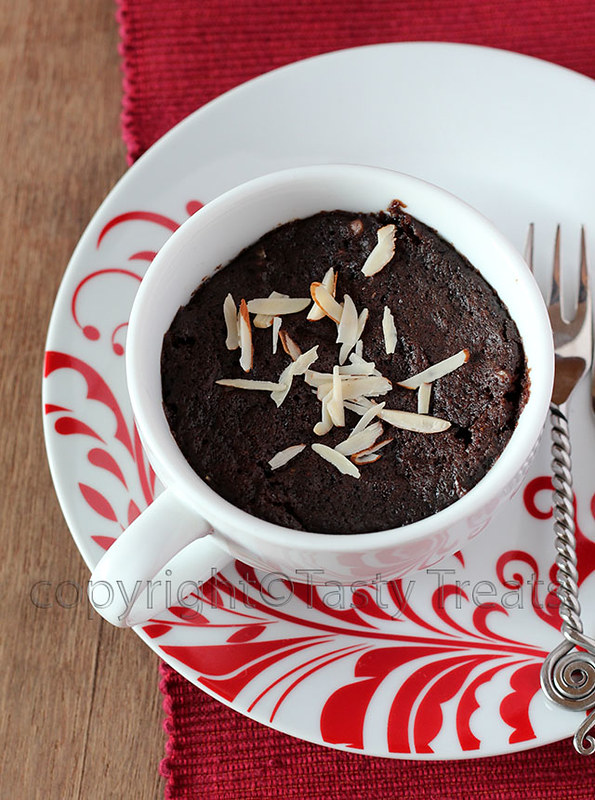
50 Second Eggless Chocolate Mug Cake


Happy Valentine's Day to all! For the last several years I've have always baked a chocolate cake for this day, but this year with Manoj being out of town, the cake plans have been postponed to another day. But again it is impossible to ignore all the chocolate treats that I have been seeing everywhere and what's better at such times than this super easy chocolate mug cake. I have made this so many times, it is just the thing to satisfy all those sudden, irrational and odd time cravings for chocolate cake.


If you are looking for an easy last minute dessert to round up your valentine's day meal or for any other time then this could be it. The cake is moist, chocolaty and uses just basic simple ingredients. You can make it extra special by serving it with a dollop of whipped cream or ice-cream or drizzling or even pouring as much chocolate sauce as you like. Some ganache would be great too.

The only thing to take care is to not overcook the cake. In the microwave a few seconds here or there could make a big difference. 48-50 seconds is what it takes in my microwave works perfectly in mine, make sure to check.

Eggless Chocolate Mug Cake


Ingredients:
3 tbs all purpose flour/ maida
1 tbs cocoa
1 1/2 tbs castor sugar/ super fine sugar
1/4 tsp instant coffee powder
1/8 tsp baking soda
1 tbs finely chopped nuts (I used walnuts)
2 tbs chopped dark chocolate
1 1/2 tbs water
1 1/2 tbs oil
1/2 tsp vinegar
1 tsp vanilla

Method:
Whisk together flour, cocoa, sugar, coffee powder, baking soda. Add the chopped nuts and chocolate and mix. In another bowl whisk the water, oil, vinegar and vanilla until combined. Pour the wet mixture over the flour and whisk gently just until combined. Spoon the mixture into a microwave safe mug and microwave for 50 seconds. 
Cool for a few seconds and enjoy!

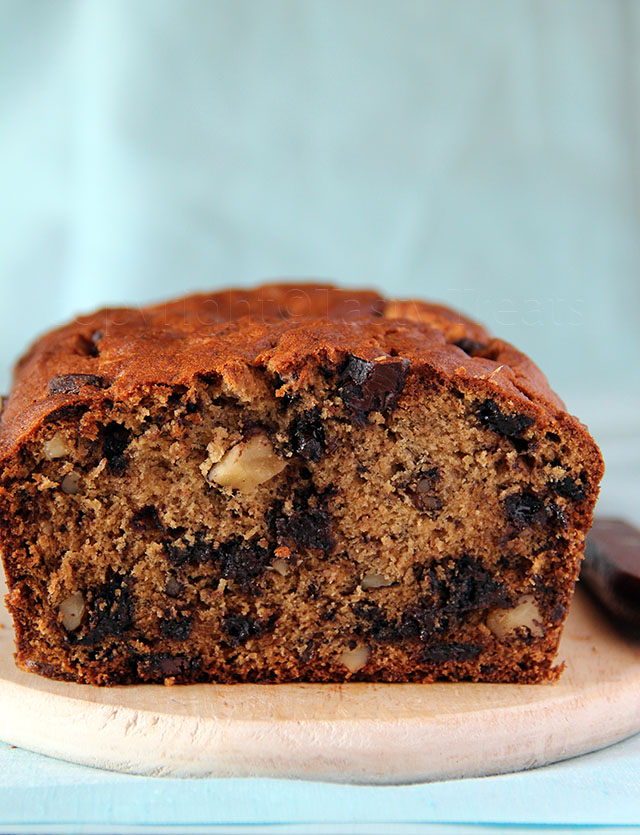
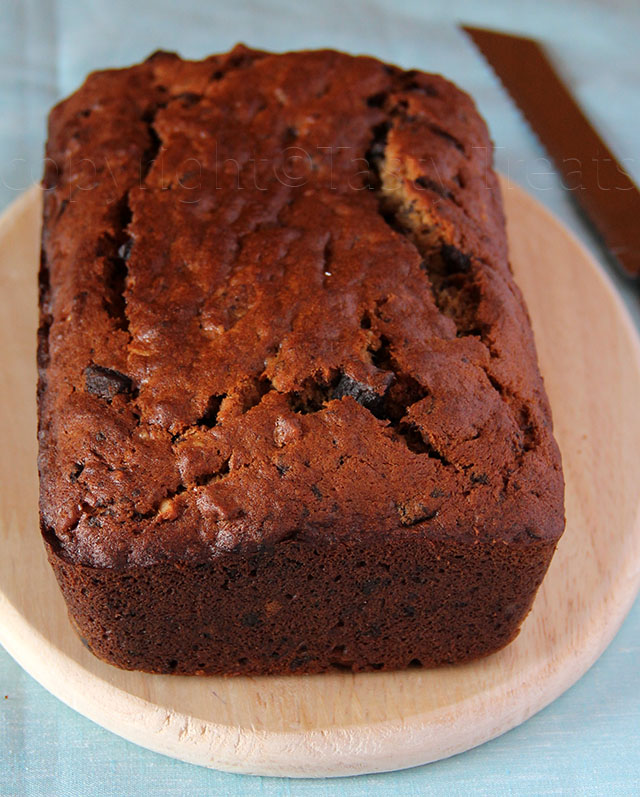
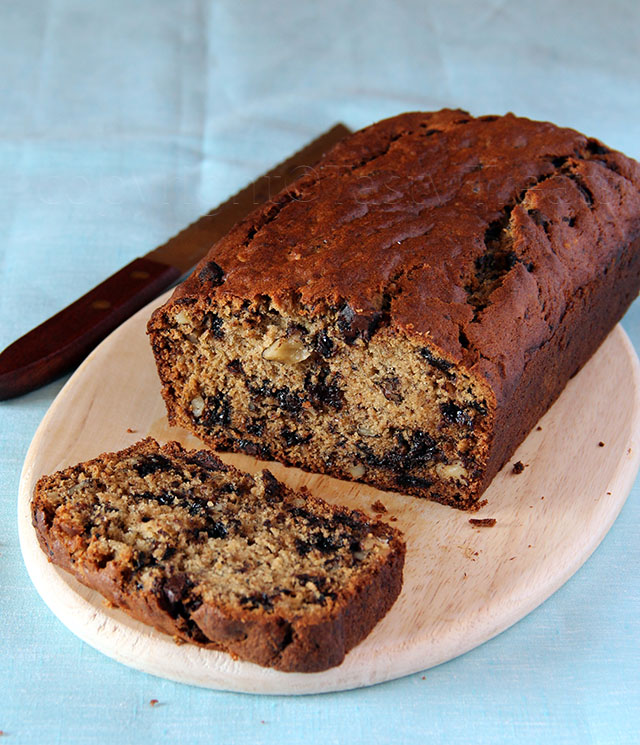
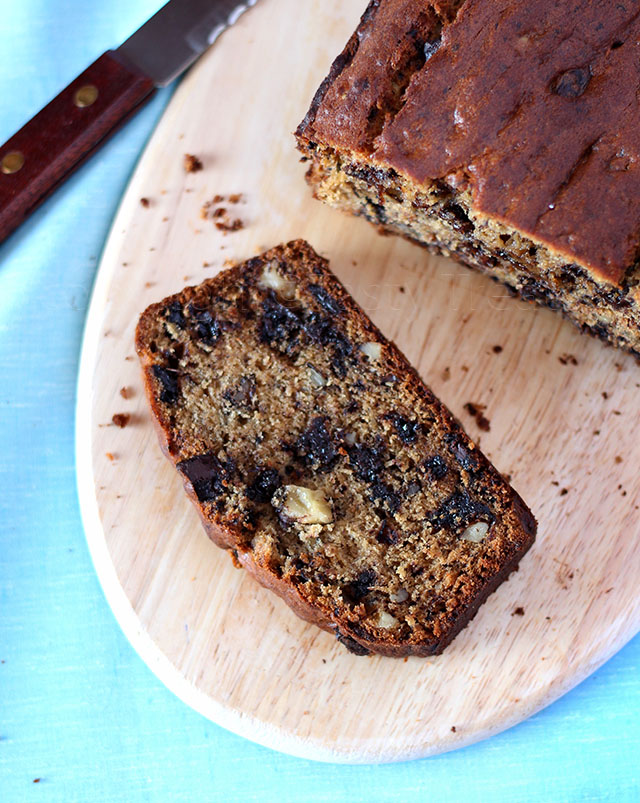
My Favorite Banana Chocolate Chip Walnut Bread


I can never eat an overripe banana, even a small black spot or mushy texture is a big no-no. So all such bananas are usually used up in shakes and I also love them caramelized.


But such overripe bananas are of course best suited for baking and I love banana bread especially when it is loaded with chocolate and nuts.


I have tried a lot of recipes in search for the perfect one and this is my favorite, the best one so far! I first baked this bread last October and its the fourth time that I've baked it again. It's just what I have been looking for and everyone who has had it has loved it! The banana flavor is prominent without being over-powering, it's super moist and it has a ton of chocolate and nuts making every bite absolutely heavenly!
Recipe from Food52.

Banana Chocolate Chip Walnut Bread


Ingredients
3 medium overripe bananas
1 cup light brown sugar (packed)
10 tbs unsalted butter, at room temperature
2 eggs
1/2 tsp vanilla extract
2 cups all purpose flour
1 tsp baking soda
1 tsp baking powder
1/4 tsp salt
1 cup semi-sweet chocolate chips
1 cup chopped walnuts

Method:
Grease and line a 9"x5" loaf pan. Preheat oven to 180C/ 350F.
Beat bananas with an electric mixer until smooth. Add the brown sugar, butter, eggs and vanilla and mix until well incorporated.
Whisk together the flour, baking soda, baking powder and salt. Add to the banana mixture and mix just until combined. Gently stir in the chocolate chips and walnuts.
Pour batter into the prepared pan and bake for 50 minutes or until a toothpick inserted comes out clean.
The top of the cake browns rather quickly, so I tented it with foil after about 25 minutes and then baked until it was done.
Let it cool completely before slicing. To get neat slices use a serrated knife and cut using a sawing motion.
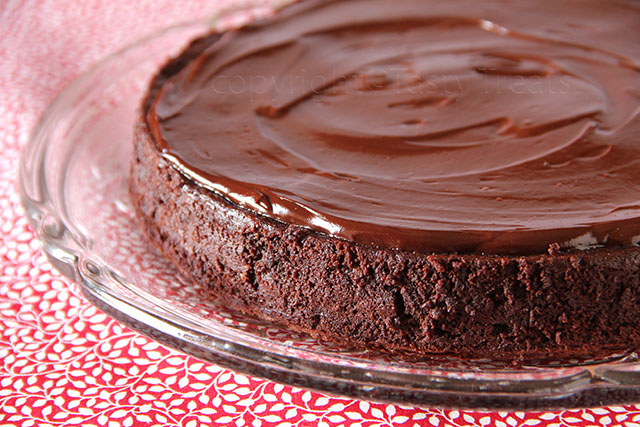
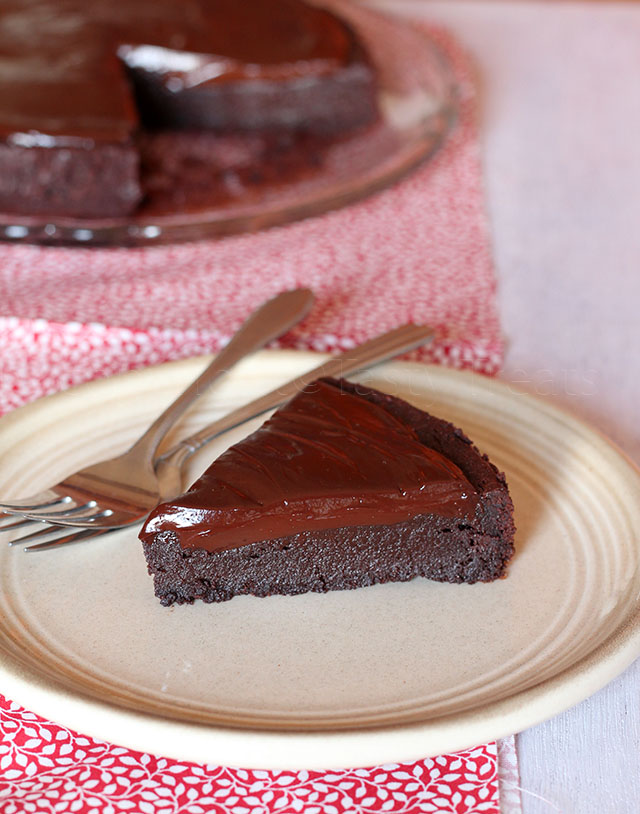
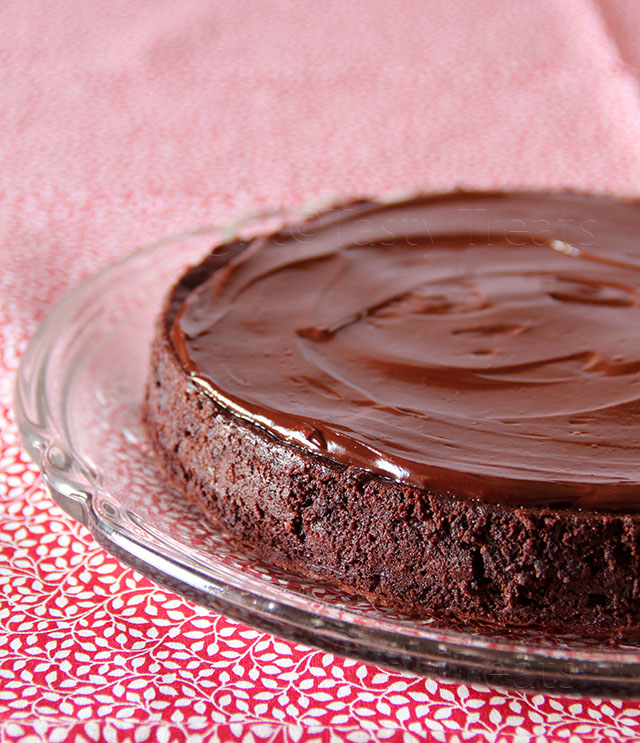
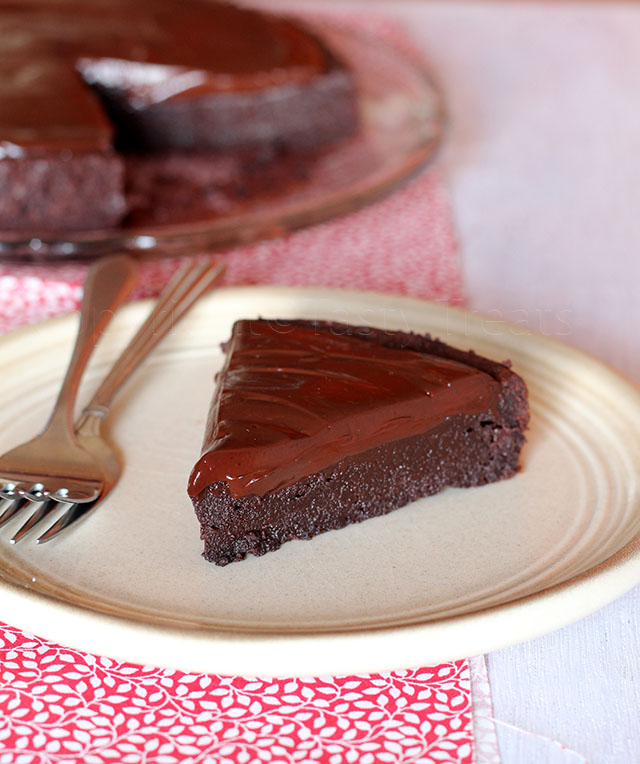
Flourless Chocolate Rum Cake


Hope you all had a very Merry Christmas and are eagerly looking forward to welcoming the new year. For the first time in years I did not bake a fruitcake this time. I just wanted something different. And when I saw the recipe for this cake, I new it would be the perfect treat.


This is one of those amazing, hassle free, one bowl desserts that can be put together in a few minutes and tastes absolutely heavenly. It is amazingly decadent, rich and intensely chocolaty and the rum in the cake takes it to a whole other level.


The original recipe has a fudge icing with rum in it. I topped the cake with ganache and skipped adding any rum to it, as I knew Anushka would want to lick the ganache bowl clean:). Moreover as much as I love the flavor of alcohol in desserts, even a little too much makes me tired and sleepy. But if you can take it, I'd say got for it.
To make it alcohol free, simple substitute the rum with some coffee. I can only imagine how good that would be!!
Recipe from Pastry Affair.

Flourless Chocolate Rum Cake


Ingredients:
 6 ounces semi sweet chocolate, chopped
1/2 cup butter
1/2 cup sugar
4 large eggs
1 1/2 tsp vanilla extract
1/2 cup cocoa powder, sifted
1/3 cup rum

Method:
Grease and line an 8" round pan. Preheat oven to 190 C/ 375F.
Melt the chocolate and butter over a double boiler, stirring until smooth. Remove from heat and mix in the sugar. Make sure the mixture is only slightly warm and whisk in the eggs one at a time, mixing well until smooth after each addition.
Stir in the vanilla extract, cocoa powder and rum and mix until smooth. Pour into the prepared pan and bake for 25-30 minutes or until a skewer comes out with a few moist crumbs. Take care to not over bake the cake.
Cool in the pan for 5 minutes and invert onto a platter. Cool completely and top with the ganache.

Ganache


Ingredients:
1/2 cup cream
4 ounce dark chocolate, chopped
1 tbs rum (optional)

Method:
Heat the cream just until you see bubbles around the edges. Pour over the chocolate and let it stand for about 1 minute.
Stir until smooth. Stir in the rum if using and once cool spread over the cake.

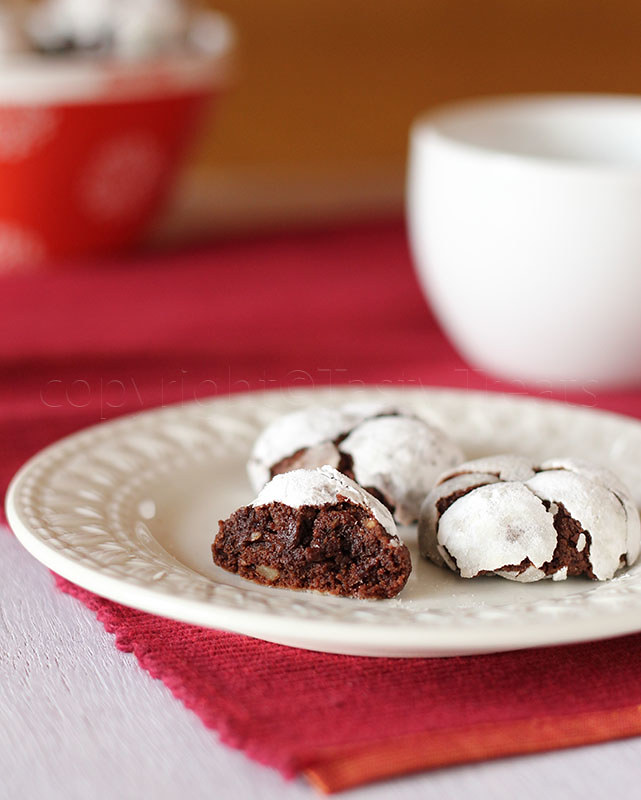
Chocolate Crinkle Cookies...Holiday Baking


Anushka started school last week and that leaves me with a couple of hours each day to do all those things that are otherwise impossible with an hyperactive kid at home. My to-do list just keeps getting longer and now maybe I could catch up with some of them.


I am also looking forward to bake some more. Now that Christmas is just around the corner, I have the perfect excuse to try some cookie recipes that I've had bookmarked forever. Moreover Anushka is turning out be quite the cookie lover and that's gotten me really excited.
I have made these cookies before and they are an absolute treat. Not only are they pretty to look at, they taste heavenly too. Bake them right and they are amazingly fudgy and chocolaty, like the perfect brownie. What I love about this recipe is that there is no butter involved and the ingredients have to be just mixed quickly in one bowl and the dough tastes amazing too.


The one change I made was to use substitute some of the bittersweet chocolate with unsweetened chocolate as I remember finding them a little too sweet for my tastes. With this change though they were just right. Recipe from here.

Chocolate Crinkle Cookies


Ingredients:
1 cup bittersweet chocolate, chopped (I used 1/3 cup unsweetened chocolate)
1 cup brown sugar, packed
1/3 cup oil
2 eggs
1 tsp vanilla extract
1 cup flour
1 tsp baking powder
1/4 tsp salt
1/2 cup walnuts, chopped (optional, but highly recommended
1/2 cup powdered sugar

Method:
Melt the chocolate over a double boiler. 
Add the sugar and oil and mix well.
Make sure that the mixture is almost at room temperature and add the eggs one at a time, whisking well after after each addition.
Add the vanilla.
Combine flour, baking powder and salt. Add to the chocolate mixture. Stir in nuts.
Cover and chill the dough for two hours or until firm enough to roll.Preheat the oven to 175C /350F.
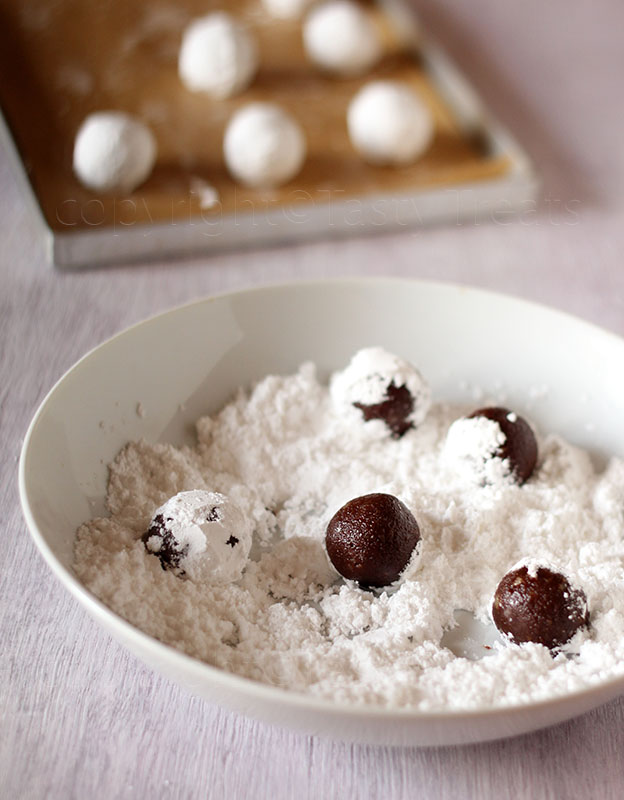
Form into 1" balls and roll in the powdered sugar until completely coated. 
Place in a parchment covered cookie sheet about an inch apart and bake for 8-10 minutes.
Cool on wire racks. 
I baked my cookies for 8 minutes, they will be soft when you get them out of the oven, but wait for  a few seconds and they will be firm enough to transfer them to the rack and will get firmer when completely cool.
Please, do not overbake the cookies. They look the best on the day they are baked, but they taste just as great for a couple of days more.

The Minnie Mouse Party - Cakes, Decorations and Games


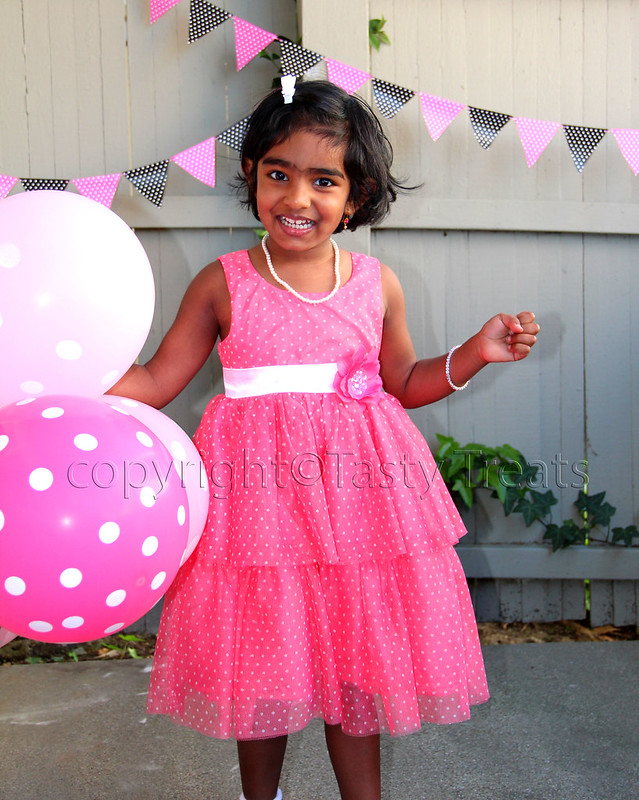
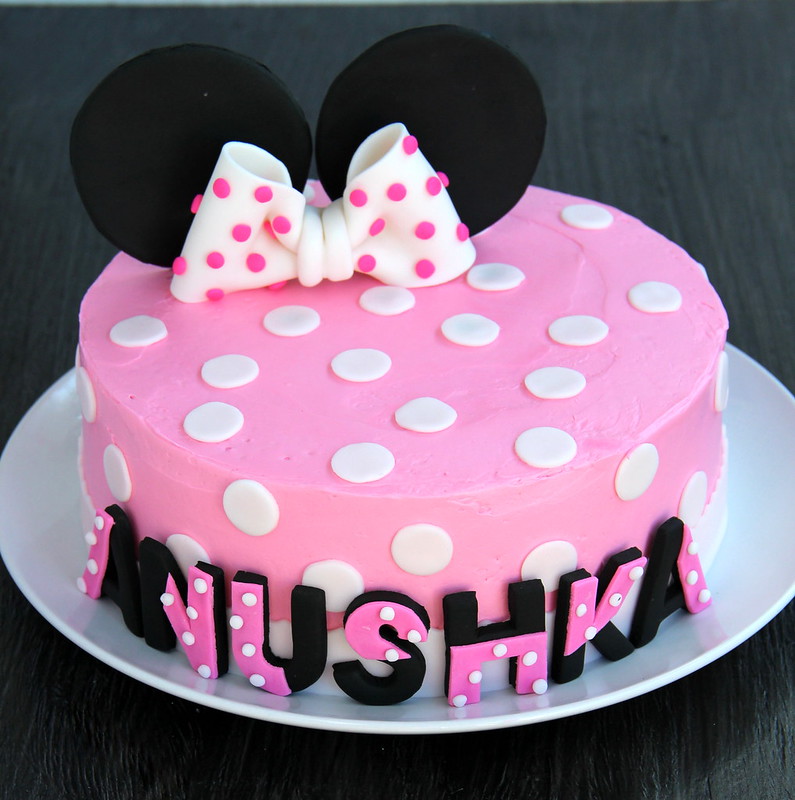
Anushka turned three a few days ago and this year we celebrated her birthday "Minnie Mouse Style"! It was so exciting planning the party, working with all pink and black and getting all the decorations ready. There were a lot of times when I could involve Anushka, especially when there was glue involved and she so enjoyed messing everything up:)

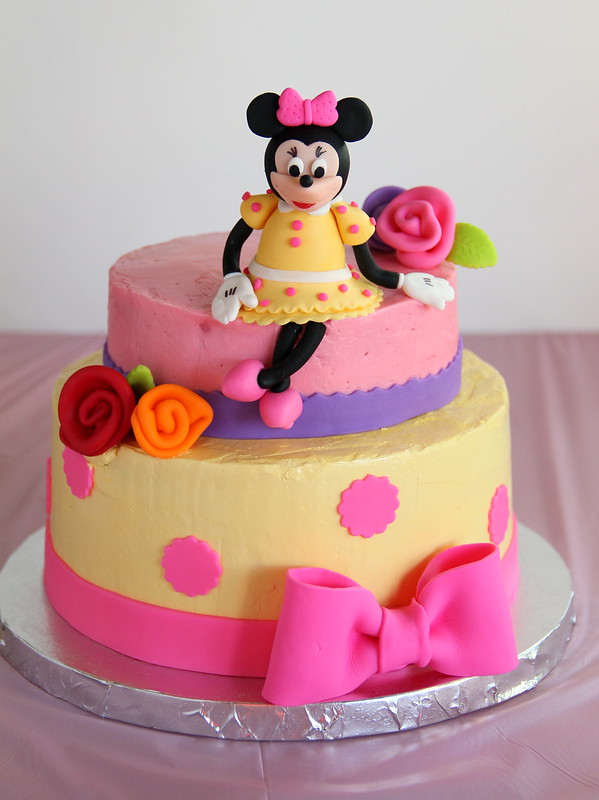
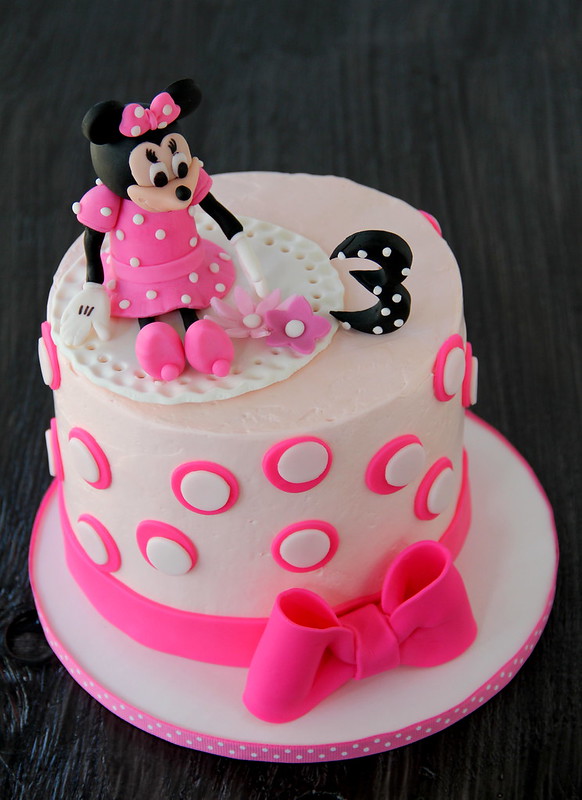
Then of course there were the cakes and lots of them...(Links to the recipes below the pictures)


Chocolate cake filled with Strawberry Whipped Cream and frosted with SMB

Vanilla Chiffon Cake with Strawberry Cream filling and SMB frosting

I love tall cakes and attempted a tiered one this time, my first! I kept the top tier short though or else we would have ended up with too much cake. The Minnie Mouse figurines gave me a few sleepless nights, it was not easy getting the face right and I was so relieved when I was done. All in all we had two fun evenings with friends and I still cannot believe that it's been 3 years!!
Just sharing a few more pictures and details from the parties....

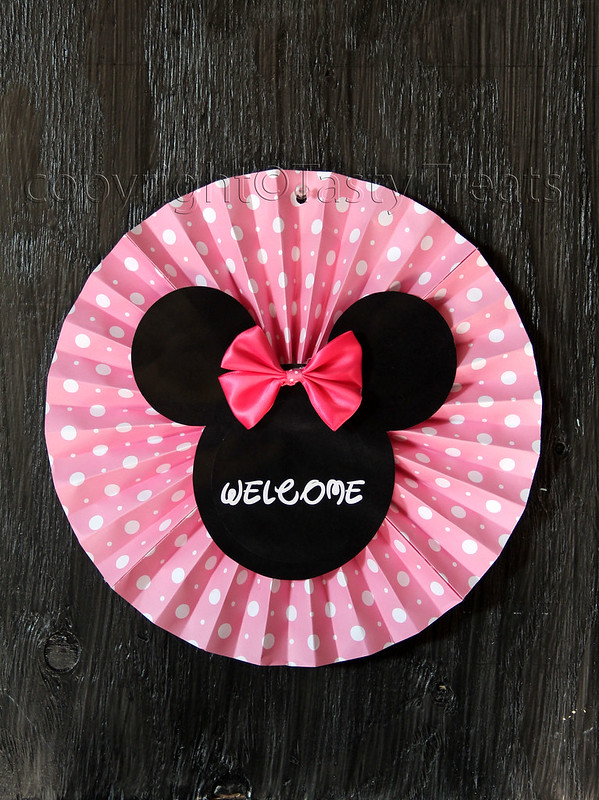
Welcome sign on the door...


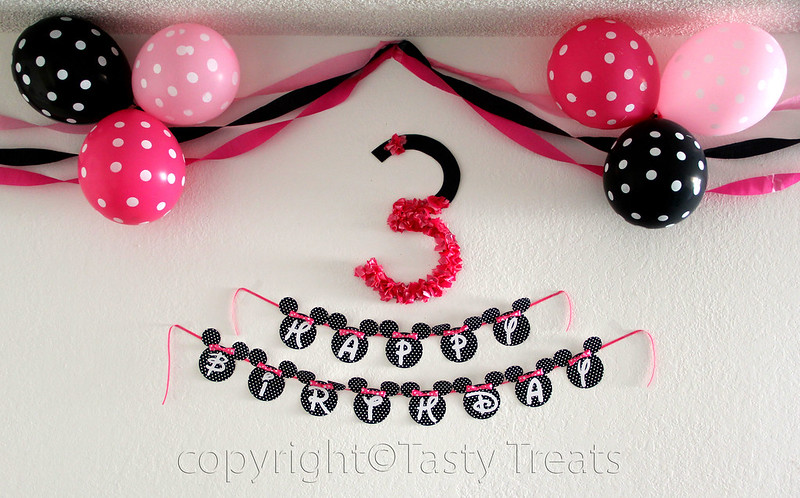
The banner was designed in paint and then printed and cut into shape. The number 3 is cut out of stiff felt and I glued some pink tissue flowers on it.

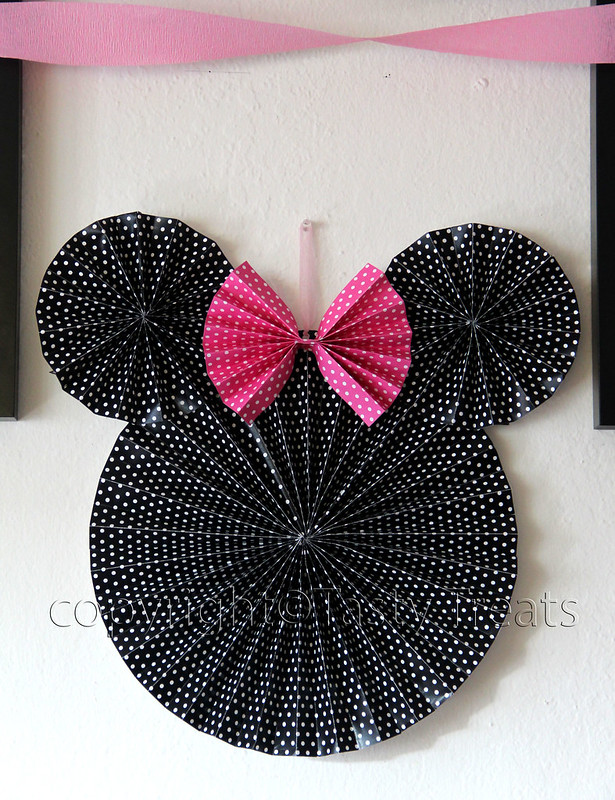
Made this out of paper pinwheels, my favorite thing!


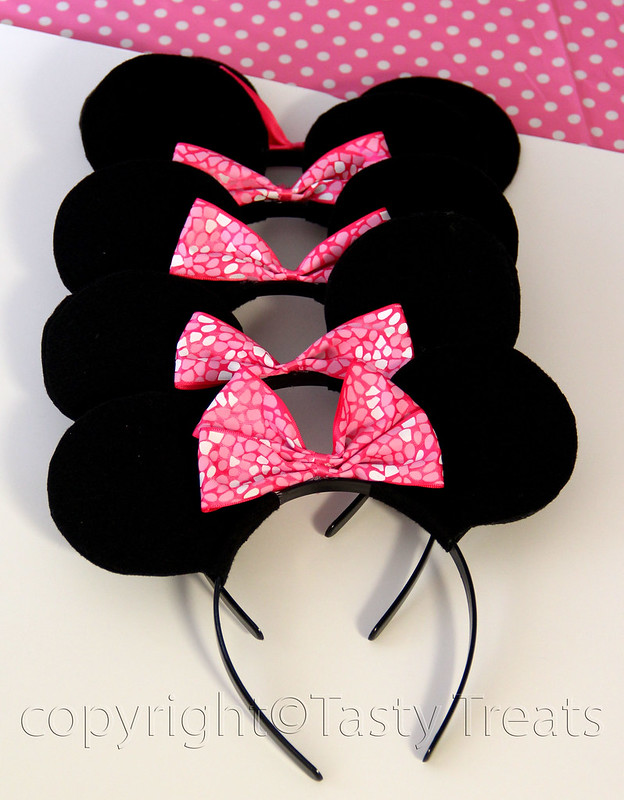
I made these Minnie Mouse Ears kind of following the tutorial here. But I took the easy way out and bought black plastic hairbands. I used stiff black felt with the sticker on the back, so all I had to do was cut the ears using this template and then wrap them around the band and stick them together. They were very stiff and stood up straight. I made the bows and hot glued them on the bands. Anushka loved these and still wears them all the time.

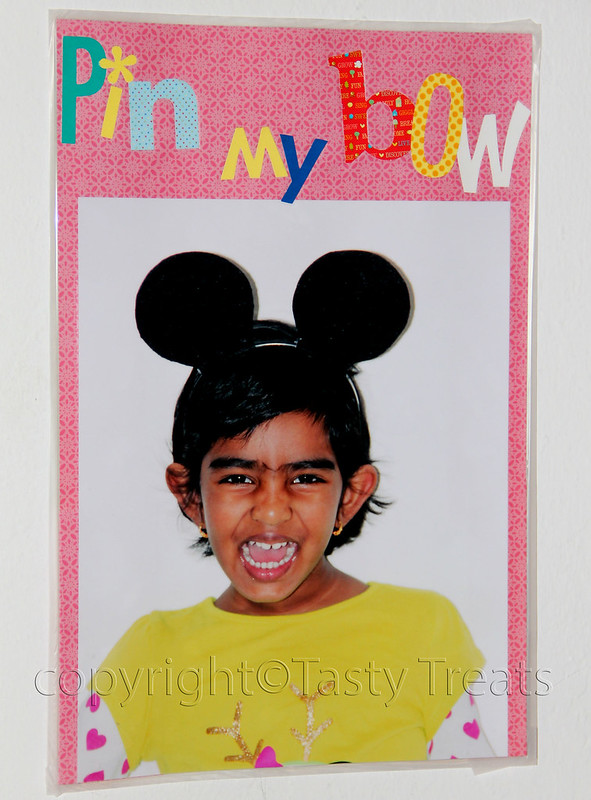
Here is a great game for a Minnie mouse party...


The blind-folded birthday girl pinning her bow...


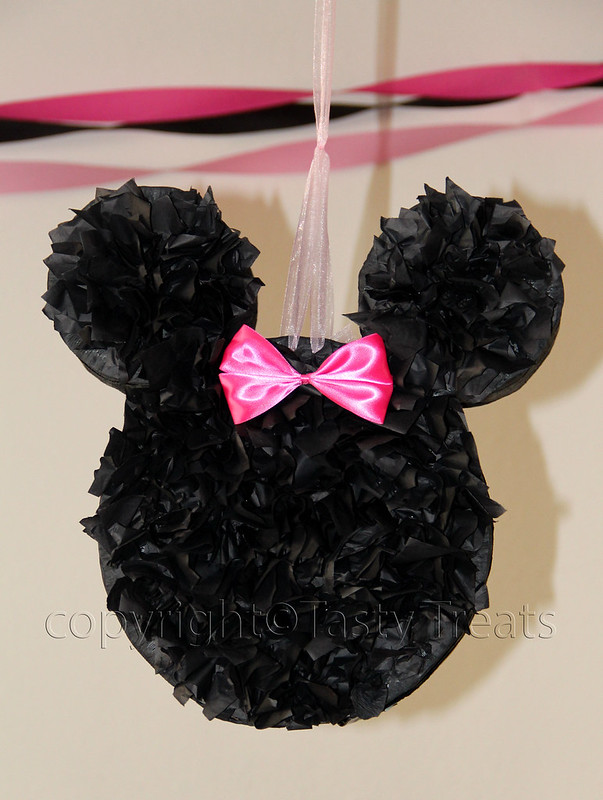
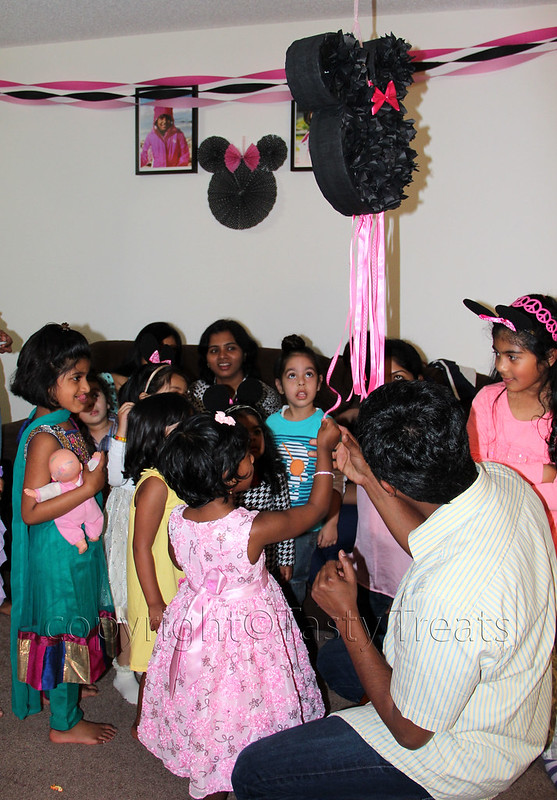
Last but my favorite...the pinata, I was so happy with the way it turned out and the kids always love it. I got the idea from here but made it a pull string one. It's perfect for kids this age especially if you're having an indoor party.


"I want to pull"...the birthday girl goes first and I had my fingers crossed the whole time praying all the kids get a turn.


It was an amazing experience planing the party and Anushka had a great time. Here's the exhausted birthday girl with her favorite gifts...


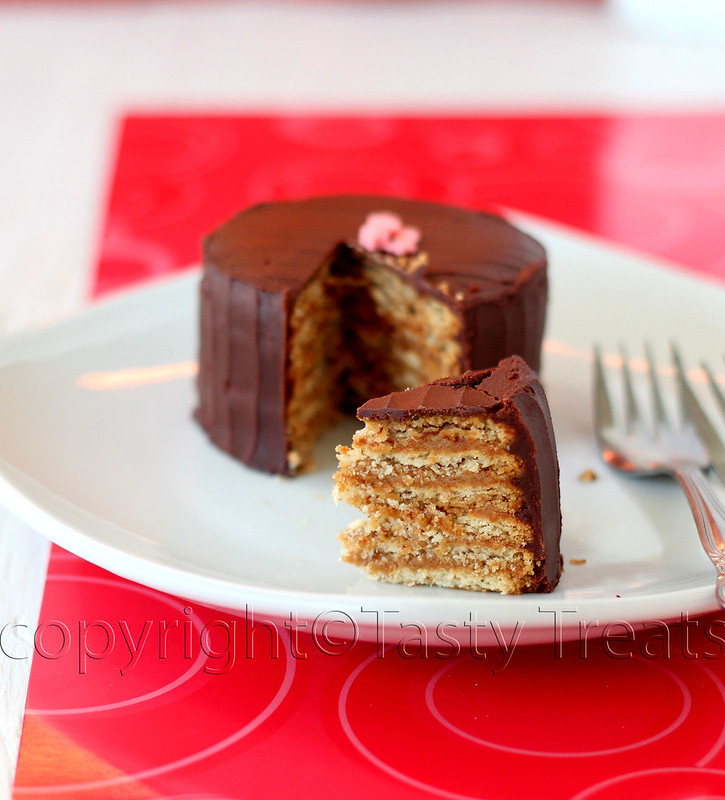
Chocolate Biscuit Cake


Here's wishing you all a Very Happy Valentines Day! 
I've been celebrating the whole week, doing all kinds of crafts for Anushka's school. I've cut and glued so many hearts, Valentines Day has never been more real! To me its another day to be around chocolate and if I'm really lucky maybe I'll have something new by the end of the day:)
I'm going to be doing a lot of baking in the coming weeks, so I decide to make this super simple no-bake dessert instead. This recipe was given to us by one of our teachers when we were in the 6th grade and it was probably the first dessert I ever made. The original recipe used a simple buttercream frosting but I like this fudge frosting much better. I used to make it so often back then, my brother and I just loved it. 
You can easily adjust the amounts to make as many cakes as you like or you can pile the biscuits high and make a really tall cake. This is also just the thing to make with your kids. Anushka loved dipping the biscuits and stacking them.

Chocolate Biscuit Cake


Ingredients:
1/2 cup milk
2 tsps instant coffee powder
1/2 tbs sugar
12 digestive biscuits

Quick Fudge Frosting:
50gms bittersweet chocolate
1 tbs butter
1/2 tbs golden syrup or light corn syrup


Method:
Warm the milk slightly and dissolve the coffee powder and sugar in the milk. Keep the milk aside to cool.
Dip one cookie at a time in the milk and stack them neatly one on top of another to make two cakes of 6 cookies each. 
Place the stacked cookies in the freezer while you make the icing.
Melt the chocolate over a double boiler until melted and smooth. Stir in the corn syrup and butter until melted. Keep aside to cool until the frosting is thick enough to frost with.
Remove the biscuit cakes from the freezer and frost both the cakes. Decorate as desired and keep refrigerated.

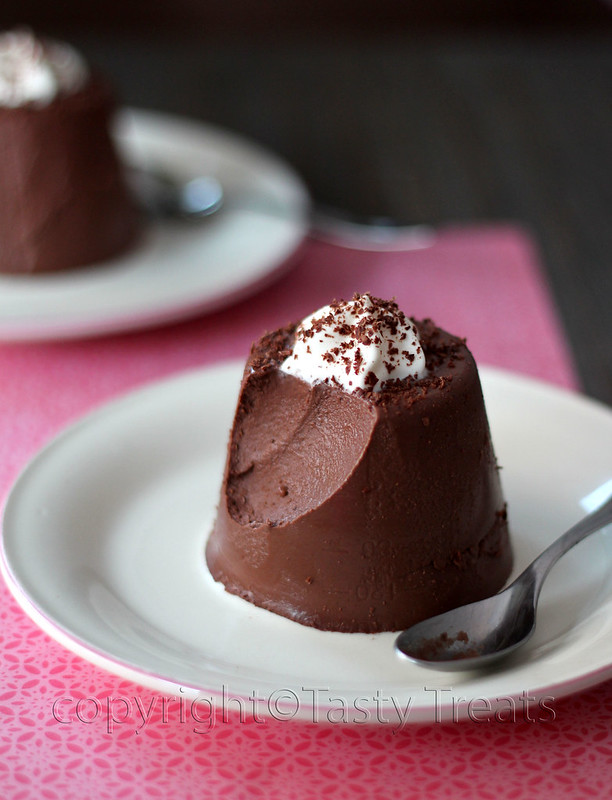
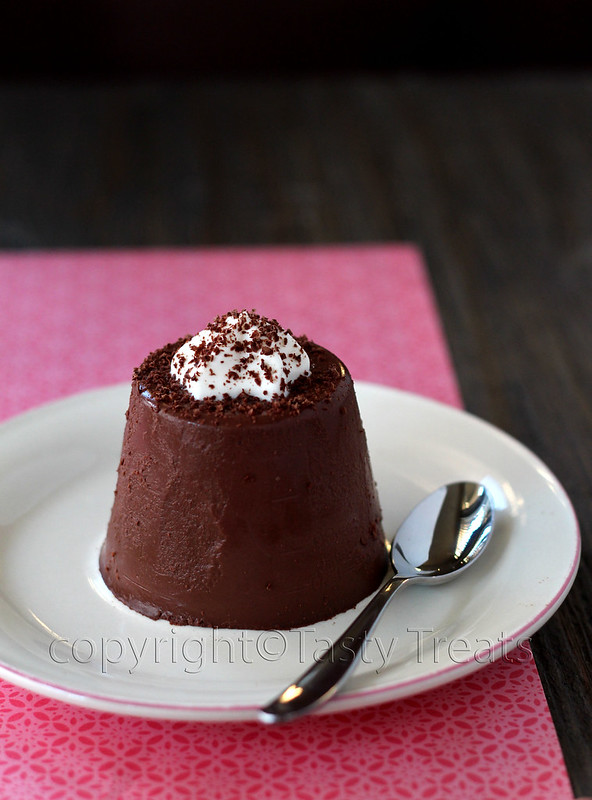
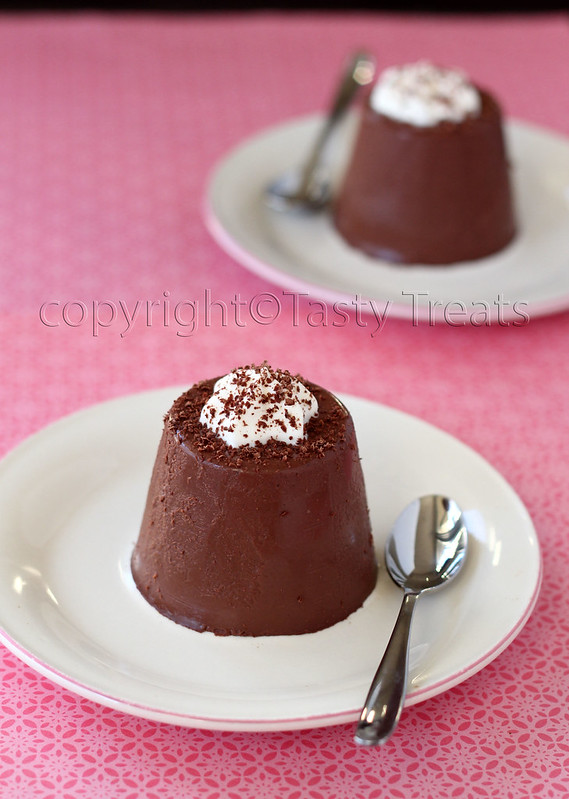
Chocolate Panna Cotta


Today is going to be a really exciting day for Anushka. She has a school picnic and will be taking the Bart to a park with all her classmates. I know she is going to be so happy and excited, she just loves the 'choo choo train'. With all this excitement I couldn't sleep and was up so early, its just 7.00 and I'm done with all my work. A good one hour before Anushka wakes up and just enough time to finish this post.

I borrowed this amazing all chocolate book from the library last week and have been drooling at the pictures and reading about chocolate every free minute. Yesterday I got super tempted and got all the ingredients ready for a chocolate mousse. But over whipped cream happened and I had to drop the plan. Then I remembered this recipe that I had bookmarked a couple of days before that called for just the amount of cream I had left.


The panna cotta is super chocolaty and makes an amazing quick dessert. What I loved about it is that it uses whole milk instead of cream and it has pure chocolate flavor, so use the best one that you can get. The original recipe does not call for any additional sugar but I thought it needed some more and the amount of gelatin can definitely be reduced. I have made the changes below to the recipe that I adapted from here.

Chocolate Panna Cotta


Ingredients:
3/4 cups whole milk
2 tbs sugar
1tsp vanilla extact
pinch of salt
1 1/4 tsps powdered unflavored gelatin
2 tbs water for the gelatin
4.5 oz dark chocolate (I used semi-sweet)
2 tbs cream

Method:
Take the water in a small bowl and sprinkle gelatin evenly over it. Let stand for about 5 mins until softened. Melt the gelatin in the microwave or over a double boiler.
Heat the milk and sugar and bring to a simmer. Remove from heat.
Stir in the melted gelatin and salt. 
Melt the chocolate over a double boiler making sure no water or steam mixes with the chocolate. Strain and pour the hot milk mixture over the chocolate. Add the vanilla and carefully emulsify with a hand blender (I added the milk in three batches and just mixed it really well with a spatula). Add the cream and stir just to incorporate. 
Let cool to room temperature and pour into 4 small serving glasses and refrigerate for atleast 4 hours.

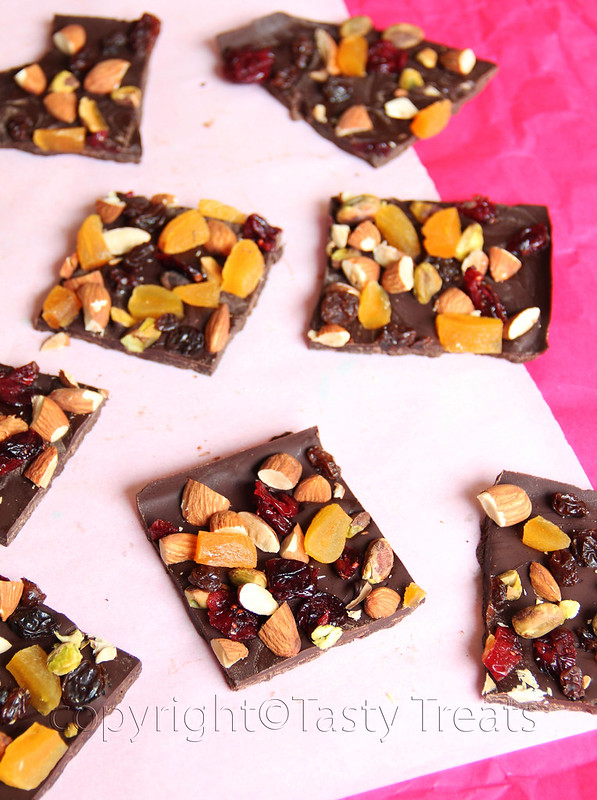
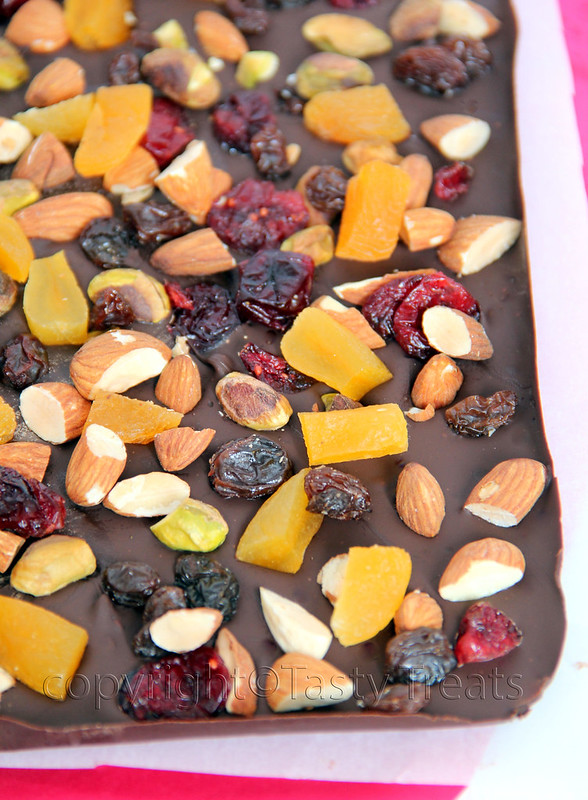
Fruit and Nut Chocolate Bark


It's the season where everyone is looking for the perfect gifts for their loved ones. It's all the more special if its something homemade, something that looks fabulous and at the same time requires so little effort. These bars are so easy to make and there is no baking involved!! It's just the thing to involve your kids in and they'd be so excited! Melt the best chocolate you can find and top it with your favorite fruits and nuts and pack them in cute little bags and you've got the perfect gift! And Chocolate does make one Smile!!

Fruit and Nut Chocolate Bark


Ingredients:
12oz bittersweet/ semisweet/ milk chocolate
1/2 cup mixed dry fruits (raisins, cranberries, apricots)
1/2 cup mixed nuts, roasted and chopped roughly (almonds, pistachios or any other nuts)


Method:
Line a 9" square pan with parchment paper, coming up the sides a little bit.
Take the chocolate in a bowl and place over a bowl of simmering water, making sure that the bottom does not touch the water. Stir occasionally until the chocolate is melted and smooth.
Pour into the prepared pan and swirl the pan to cover the base completely or use a spatula to spread the chocolate into an even layer.
Immediately sprinkle the dry fruits and nuts all over the melted chocolate and press lightly into the chocolate.
Keep aside in a cool and dry place until the chocolate sets.
Once set, cut or break into pieces and store in an airtight container for upto one week.

Sending this to Christmas Food Fair

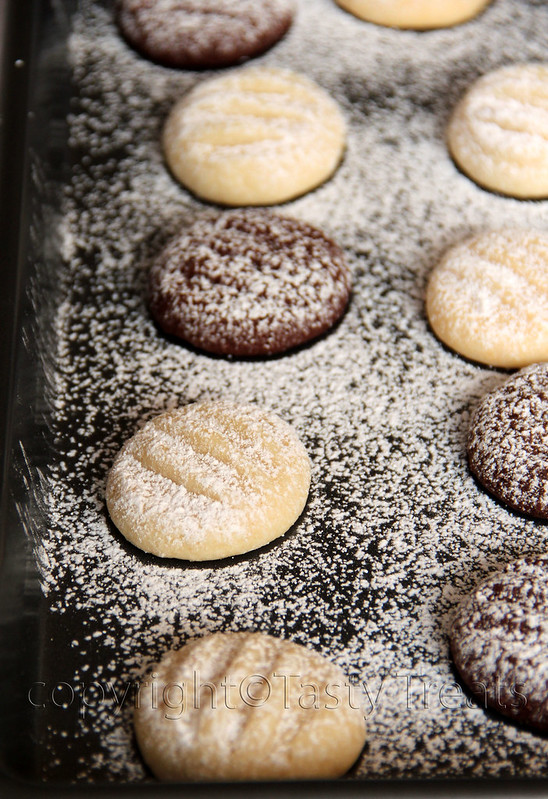
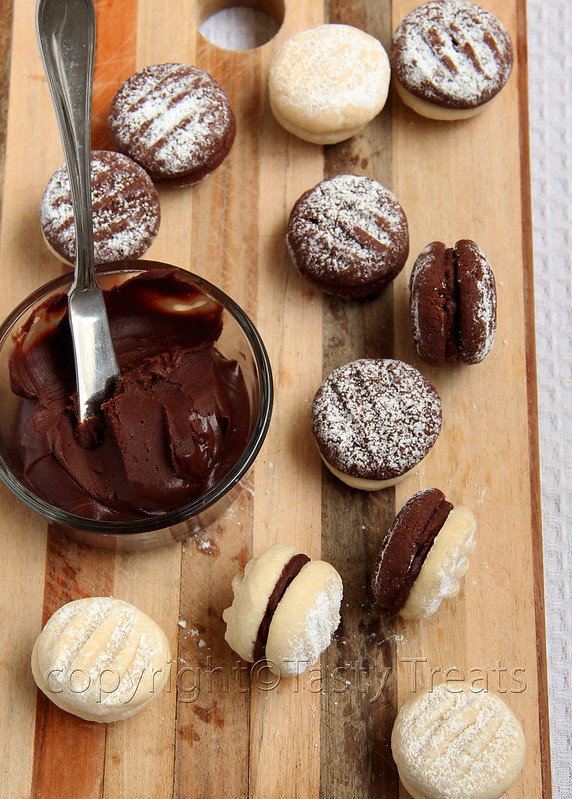
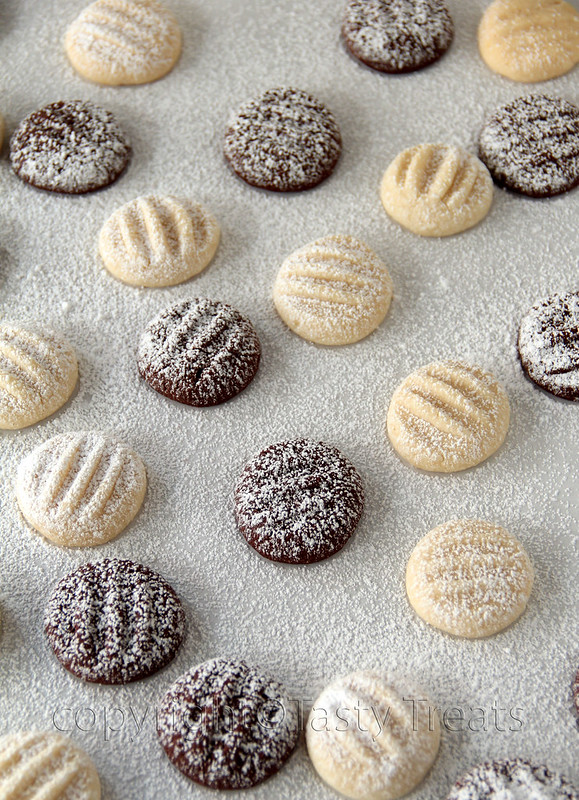
Chocolate and Vanilla Melting Moments with Chocolate Truffle


Anushka's school closed for holidays last week and as always we had potlucks on the last days of school.  I made these cookies for one of them. They were so buttery and delicious and they literally melt in your mouth.


These snowy pillowy cookies are so apt for this season too.I can't believe that another year is coming to an end so soon, but I do love this time of the year. Love the reds and greens everywhere and the brightly lit trees. Carols playing everywhere and all the yummy treats!


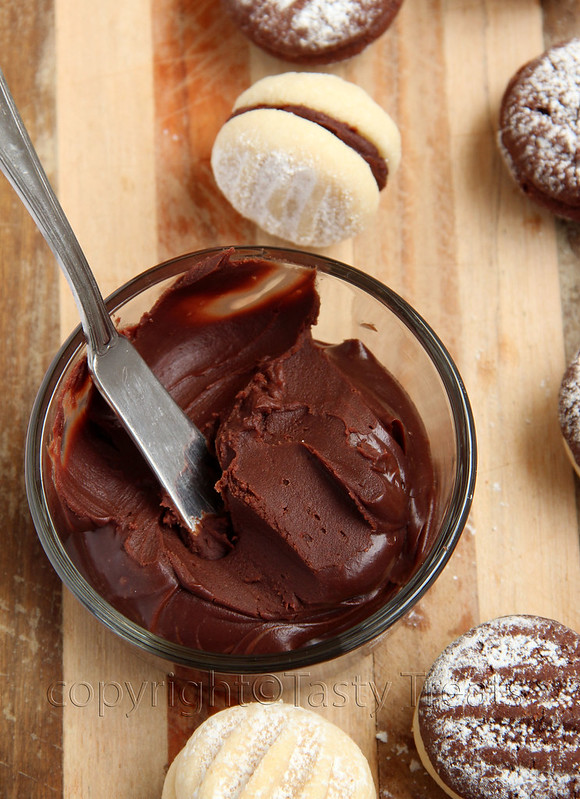
I sandwiched the cookies with some chocolate truffle, but that is just optional. Adding the truffle makes them more of a dessert cookie but I loved them plain too. Recipe is adapted from the Australian Women's Weekly.

Melting Moments


Ingredients:
Vanilla Cookies:
125g  butter, at room temperature
1/2 tsp vanilla extract
1/4 cup icing sugar
3/4 cup all purpose flour
1/4 cup vanilla custard powder or cornflour
icing sugar for sprinkling on the cookies

Chocolate Cookies:
125g butter, at room temperature
1/2 tsp vanilla extract
1/2 cup scant icing sugar
1/2 cup all purpose flour
1/4 cup cocoa
1/4 cup cornflour
icing sugar for sprinkling on the cookies


Method:
Sift the flours together and the cocoa for the chocolate cookies.
Cream the butter, icing sugar and vanilla extract until light and fluffy.
Stir in the sifted flour/ flour cocoa mixture in two batches.
Take small portions of dough (I measured 10g of dough for each cookie) and roll into balls using slightly floured hands. Place about 2 inches aparton a cookies sheet lined with parchment paper.
Flatten slightly with a floured fork. Bake at 350F for about 15 mins. Let stand for 5 minutes and then lift onto wire racks to cool completely.
Sandwich the cookies with chocolate truffle, preserves or buttercream.
Makes about 25 sandwich cookies.

Chocolate Truffle


Ingredients:
100g semi-sweet chocolate
75ml heavy cream
1 tbs butter, softened

Method:
Take the chocolate into a bowl. Heat the cream until you see bubbles at the edges of the pan. Pour the cream on the chocolate and add the butter. Let stand for a couple of minutes, then mix and stir well until the mixture is smooth and well combined.

Sending this to Christmas Food Fair