Showing posts with label Events. Show all posts

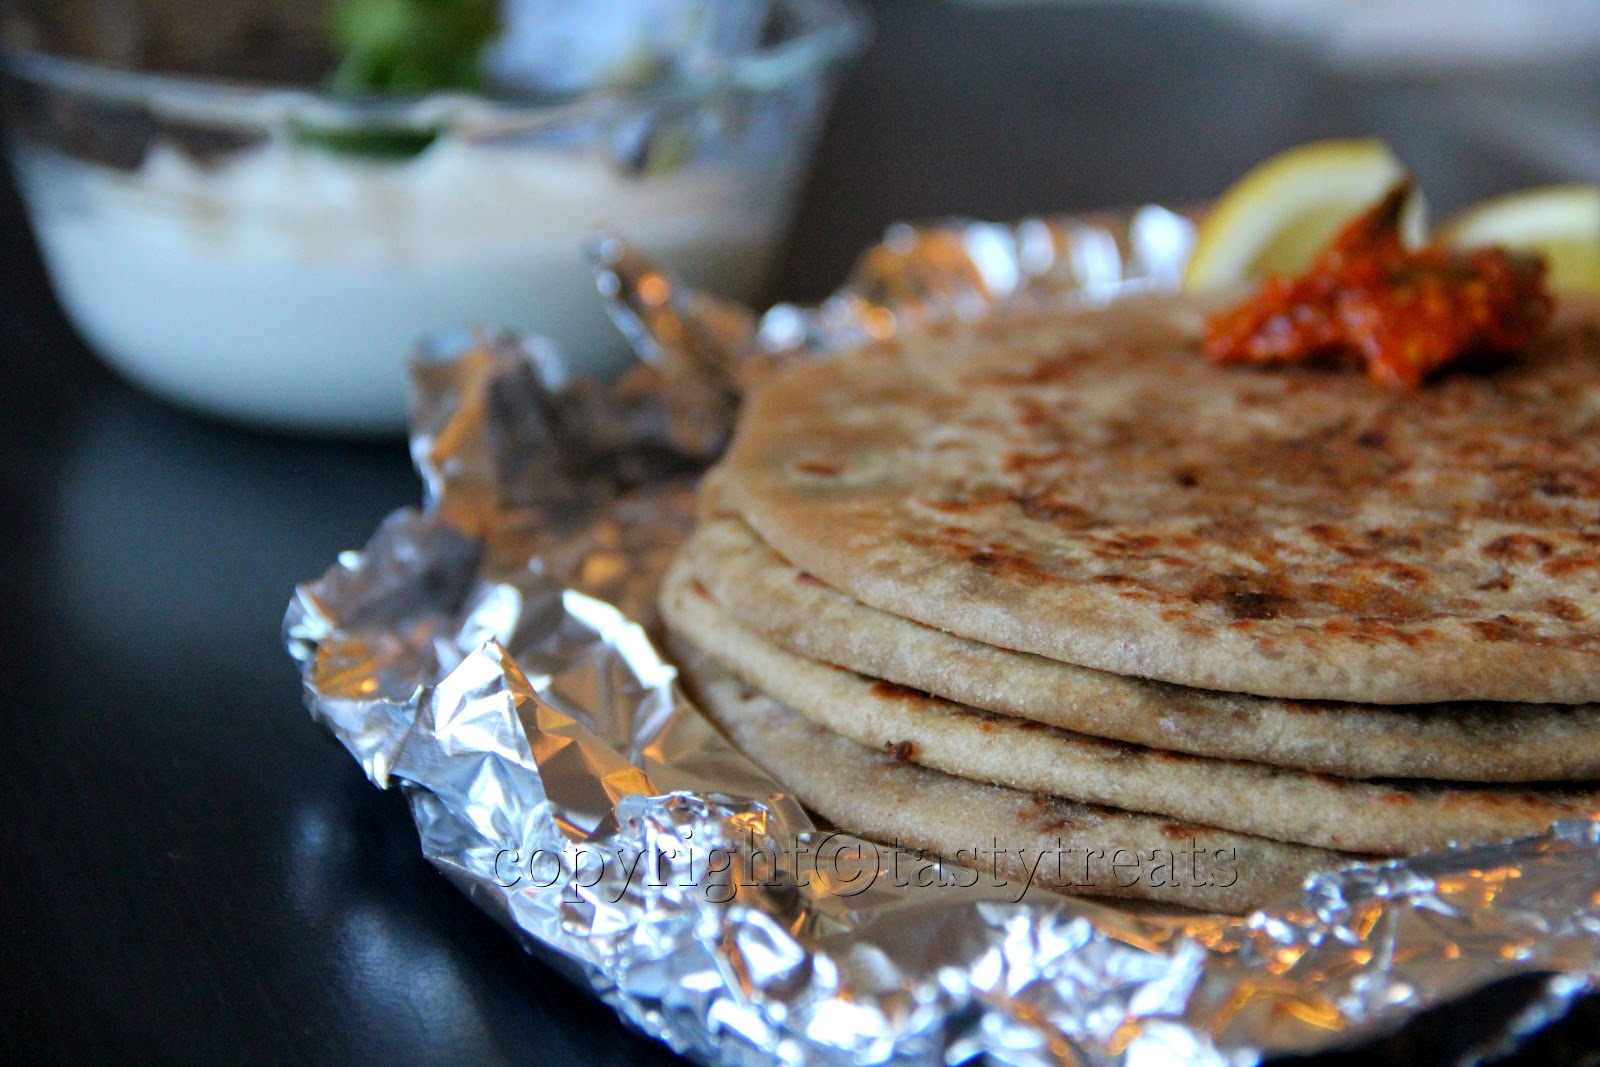
Kheema Paratha


Parathas are one of my favorite dishes for any time of the day. Serve them with some salad and they make the perfect meal. In my kitchen, leftovers from any dry dish preparation end up inside a paratha or in a sandwich. Kheema paratha is a rare indulgence, but a dish we love. Here's how I make it...

Kheema Paratha


Dough:
Ingredients:
2 cups wheat flour
1/2 tsp salt
1 tbs oil
water as needed

Method:
Mix the flour, oil and salt in a bowl. Add water gradually to form a soft dough. Cover and let the dough rest for atleast 30 minutes.


Kheema:
Ingredients:
1 lb lamb mince
1 cup finely chopped onion
1 small tomato, finely chopped
1 tbs ginger garlic paste
1 tsp red chili powder or to taste
1/4 tsp turmeric powder
1/2 tsp cumin powder
1 1/2 tsp coriander powder
3/4 tsp garam masala powder
salt to taste
big squeeze of lemon juice
1/4 cup finely chopped cilantro


Method:
Heat 1 tsp oil in a pan and saute the onions until golden. Add the ginger garlic paste and fry for a few seconds.
Add the tomato and cook till soft and pulpy. Add the spice powders and fry for a few seconds.
Add the kheema and mix well to break down the lumps. Add salt and mix until combined. Cover and cook on medium low heat for about 10 mins.
Uncover and cook off the excess moisture. Finally stir in the lemon juice and chopped cilantro. Keep aside to cool.


To make the parathas:
Divide the dough into about 10 portions. Roll one ball of dough into a small circle, slightly thicker in the center. Place about 1/4 cup of kheema in the center and bring up the sides to cover and pinch the ends together to seal the opening. Flatten with your hand to form a disc. Dust with flour and pat the disc with your rolling pin to flatten and distribute the filling evenly. Roll gently to make slightly thick parathas.
Place the paratha on a hot griddle and cook on both sides till puffed and done. Smear with some butter/ ghee and serve hot with raita and pickle.

This goes to Indian Food Palooza.

Chocolate Sorbet


You really cannot ignore Valentines Day, even if you want to. The TV, internet and every store will serve as a constant reminder. I was at Costco yesterday and almost every shopper had a bouquet of flowers or a big box of chocolates in their cart. I probably was the only exception and I almost went back to get some chocolates for myself, almost! We look at Valentine's Day and all such other 'Days' as an excuse to splurge, on food that is! Going out was not an option this year, so I had planned to make some of our favorite dishes at home. The little one however had her own plans and decide to skip her nap today, Manoj was held up at work and got home really late. All I could make was a quick pasta dish. Dessert, which had to be chocolate, was already made over the weekend. 
I love all kinds of fruit sorbet but I was a little hesitant to try this, wondering how chocolate and water, considered to be enemies, would work together. But the resulting mixture was heavenly, so incredibly chocolaty. We even had a couple of shots of it before it went into the ice cream machine. Besides a sorbet makes me feel good, atleast I am avoiding the cream. If you are chocolate crazy like me try this, I promise you'll love it!

Chocolate Sorbet


Ingredients:
2 1/4 (555ml) cups water 
1 cup (200 gm) sugar
3/4 cup (75 gm) unsweetened cocoa powder
pinch of salt
6 oz (170 gm) bittersweet/ semisweet chocolate, finely chopped
1/2 tsp vanilla extract


Method:
Use a large saucepan, or the mixture will boil over.
Mix together 1 1/2 cups water, sugar, cocoa and salt in a large saucepan and bring the mixture to a boil, whisking frequently. Let it boil, continuing to whisk, for 45 seconds.
Remove from heat and add the chocolate. Stir until it melts completely and then stir in the vanilla and remaining water. Transfer the mixture to a blender and blend for 15 seconds.
Chill the mixture thoroughly and then freeze it in your ice cream machine as per instructions. 
If the mixture has become too thick to pour into your machine, just whisk it thoroughly to thin it out.
Transfer the sorbet into a container and put some plastic wrap on it touching the sorbet. Then cover with the lid and store in the freezer.
Recipe from Smitten Kitchen.

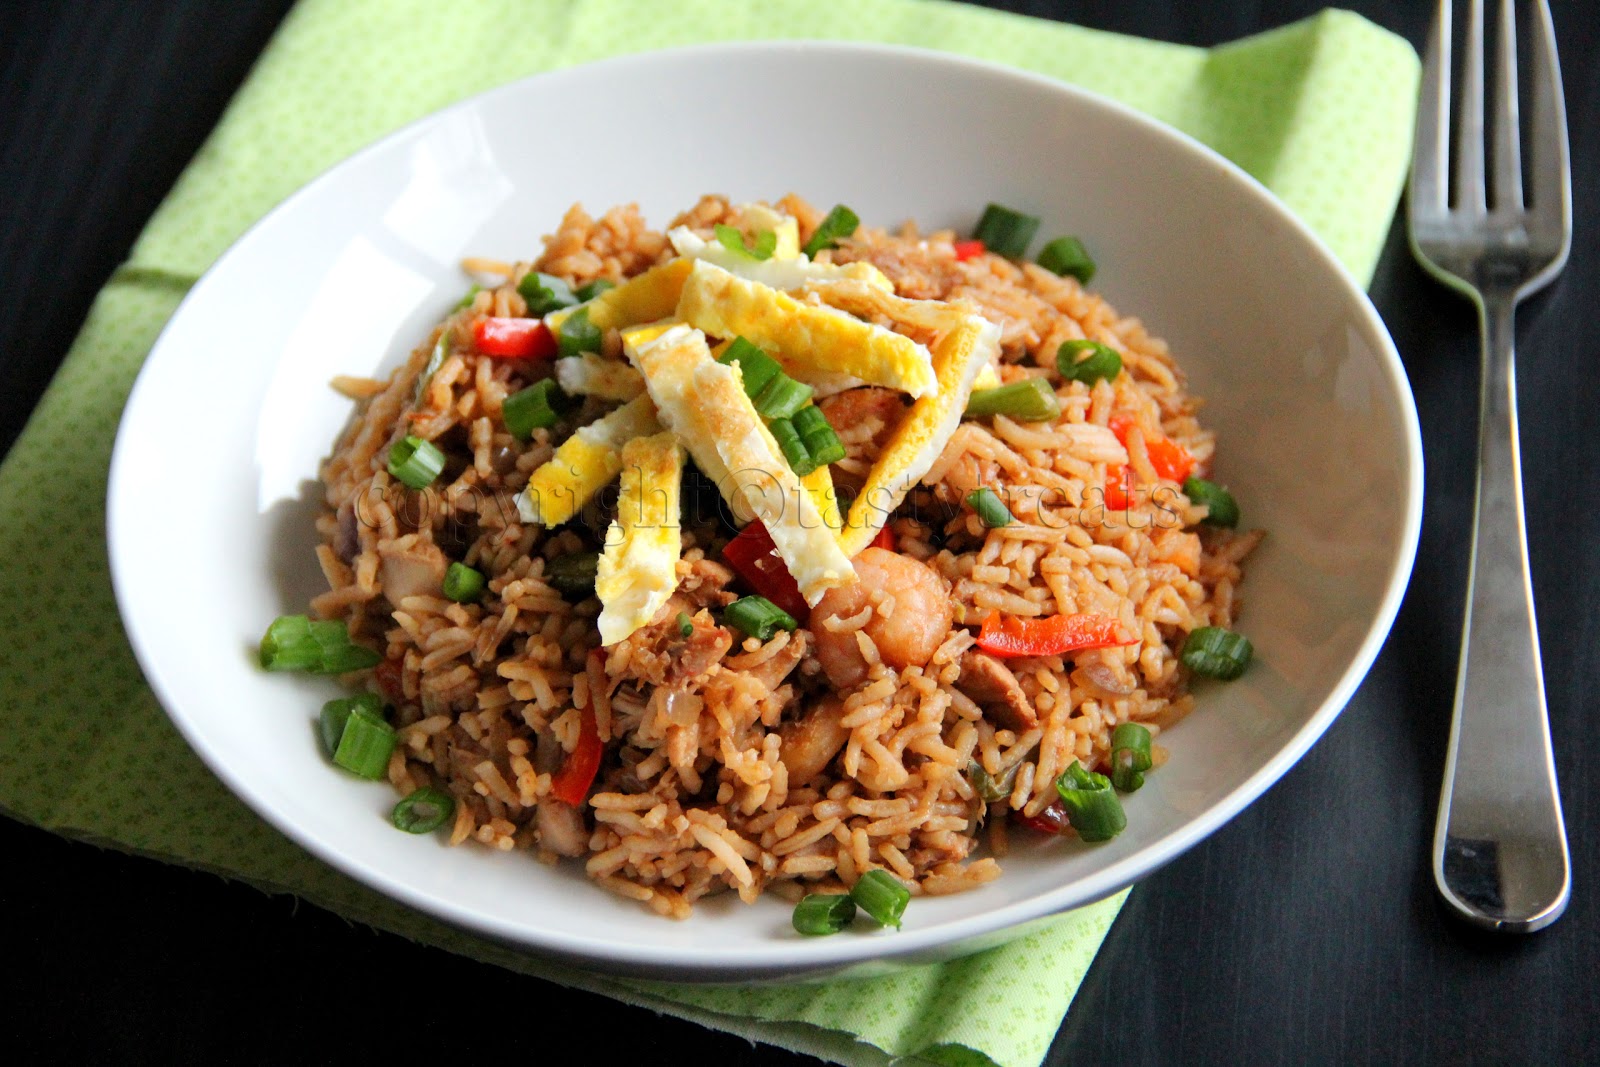
Nasi Goreng - Indonesian Fried Rice


I love my new camera!! The best feature is its low light performance. I cook mostly in the evening or at night and could never take a decent picture (I don't have a lightbox) and my previous camera never did justice to the food. That problem is solved now!! Ofcourse the best pictures are still captured in natural light, but when there's none, a good great camera definitely helps. These pictures were taken on a cloudy, gloomy day when there was no sun  in sight and they are not bad at all. I thank Manoj every day for the best gift ever :)!!
I have been a little busy recently, have so many posts in my drafts and I had another one ready when I realised that the deadline for Taste and Create is this weekend. I was paired with Corina from Searching for Spice. There were a couple of sweet dishes I had decided to try but in the end I chose this yummy rice dish (been having too much dessert lately!!). The only change I made was to add some leftover rotisserie chicken. A wonderful one pot meal, with all my favorite things in it!!

Nasi Goreng


Ingredients:
2 eggs
1 cup basmati rice
3 shallots, finely chopped
1" piece of ginger, finely chopped
3 cloves of garlic, finely chopped
2 small chilies, finely chopped
1 tbs chili sauce (I used siracha)
2 tbs soy sauce
1 tsp brown sugar
1 red pepper, cut onto small strips
15 green beans, chopped into 1" pieces
1 chicken breast, cooked and cut into small pieces
1/2 cup small cooked shrimp
2 tbs oil
salt to taste
spring onion greens for garnish


Method:
Cook the rice. When still warm, separate the grains with a fork and keep aside to cool completely.
Heat a little oil in a wok. Beat the eggs lightly and add to the pan. Sprinkle some salt. Flip after a couple of mins and cook till done. Remove and keep aside. When cool cut into strips.
Heat the remaining oil in the same wok. When smoking hot, add the shallots, ginger and garlic. Saute for a minute and then add the vegetables and little salt. Fry for about 2 mins and then add the shrimp and chicken and fry for another minute. Add the sauces and mix well. Add the rice and fry till well combined and heated through.
Serve hot topped with green onions and omelette strips.

Strawberry Chocolate Mousse Cake (Eggless)


We celebrated our 5th anniversary last month. 5 years sounds like such a long time and yet I remember all the details of our wedding like it were only yesterday. I guess we never forget our most special moments:). Manoj surprised me with the best gift ever, my first SLR!! God, I screamed so loud and it was midnight, I'm sure I scared some neighbours:). I can finally stop borrowing from my neighbor!!
 I had friends coming over in the evening, there was dinner to prepare and so much more to do, but all I wanted to do was play with my new toy :). Ironically I was so busy until the last moment, I couldn't click any pictures of the food. Thankfully the cake was made the previous night and the first thing I did in the morning was take pictures of it.
I have been thinking of making a mousse cake for such a long time now. It had to be eggless (a jain couple among friends). I wanted to go chocolate as usual, but another friend is not a fan of chocolate (I know, Incomprehensible!!!) and is always disappointed when it comes to desserts at our home. So I went with strawberry for her and to make me happy I added a thin layer of bittersweet chocolate mousse in the middle. For the cake base, I made a strawberry version of the custard powder snack cake I posted before this. I used strawberry custard powder, the cake had only a slight strawberry flavor, but yummy, and the color was what got me excited...such a beautiful pink!! Since the cake will be refrigerated, it has to be soaked really well with syrup. Some parts of my cake were not soaked that well, so was a little firm for a  mousse cake, so be really generous with the syrup! The end result was one fabulous and delicious dessert, all gone by the end of the evening, except for one slice I saved for a picture.

Eggless Strawberry Mousse Cake

Ingredients:
Cake:
1 1/2 cups all purpose flour
3/4 cup strawberry flavored custard powder
2 1/4 tsp baking powder
3/4 cup sugar
1/2 tsp vanilla extract
150 gm butter (very soft)
1 cup milk

Strawberry Mousse:
16 oz strawberries, washed and hulled or use frozen
1 1/3 cups sugar
2 tbs gelatin
2 cups heavy cream

Bittersweet Chocolate Mousse:
5 oz bittersweet chocolate, chopped into small chunks
3/4 cup cream
1/2 tsp gelatin
1 tbs water

Simple Syrup:
1/2 cup water
1/4 cup sugar

Strawberries - washed, hulled and sliced for decoration
Some melted chocolate for drizzling


Method:
Cake:
Preheat the oven to 350F/ 180C. Grease and line a 9" round spring form pan.
Whisk all the dry ingredients together in a bowl. Add the vanilla, milk and butter and mix until smooth.
Pour into the prepared pan and bake till done, about 35-40 minutes.
Cool in the pan for 10 mins and then remove onto a wire rack to cool completely.
It's best to bake the cake a few hours or even a day in advance. Wrap the cooled cake well in saran wrap and store in the fridge.

Simple Syrup:
Heat the sugar and water on medium heat, just until the sugar dissolves. Remove from heat and cool the syrup.

Chocolate Mousse:
Take 1 tbs water in a small bowl and sprinkle gelatin over it. Keep aside to soften. Heat 1/4 cup of cream till it just begins to boil. Pour over the chocolate. Mix well, if the chocolate has not melted completely heat for a few seconds in the microwave. Mix well till smooth and lump free.
Heat the bowl of gelatin over a double boiler till the mixture is transparent and the gelatin has completely dissolved. Add it to the chocolate mixture and stir well. Keep aside and let it come to room temperature. Do not let it set.
Whip the remaining cream till it just begins to hold soft peaks. Add 1/3 of the whipped cream to the cooled chocolate and whisk gently to lighten the mixture. Gently fold in the remaining whipped cream.

Strawberry Mousse:
Wash and hull the strawberries. Heat the strawberries and sugar in a pan, until the fruit has broken down and the sugar has dissolved. Strain the mixture to remove the seeds and pulp and return to a clean sauce pan. Add the gelatin to the strawberry sauce and heat until the gelatin has dissolved. Remove from heat and set aside to cool.
Whip the cream till it just begins to hold soft peaks (do not over whip). Fold in the cooled strawberry mixture gently into the whipped cream.

Assembling the cake:
Level the top of the cake. Spray the cake with syrup or spoon the syrup on the cake until it is moist, but it should bot fall apart. The cake should feel very moist. Place the cake inside the spring form pan that it was baked in.
Keep the strawberry slices along the sides of the pan. Spoon the chocolate mousse over the cake and spread it to form an even layer. Cover the pan with a saran wrap and refrigerate while you make the strawberry mousse.
Spoon the strawberry mousse evenly over the chocolate layer. Drizzle some melted chocolate over the mousse. Again wrap the pan with the plastic wrap and refrigerate till set, about 4-5 hours. Carefully run a paring knife along the sides of the pan to remove the cake. Enjoy your fabulous dessert. The cake can be stored covered in the fridge for upto 2 days.

Entries to Foodography Photo Contest

Sending in my entires pictures to Foodography Photo Contest at Beloved Star. Head over to the wonderful blog to participate.


Cherupayar and Kachil Puzhukku (Mung and Yam Curry)


For as long as I remember, Cherupayar puzhukku and kanji has been the standard dinner on Saturdays at my mothers place. I think it was my mom's idea to take a break and avoid cooking anything elaborate at least for one  meal. It must have been so hectic to come back from work late in the evening and then cook a meal, check on our studies and take care of all the other chores. Of course my brother and I would protest every single time, we hated Kanji and wanted something "special".
I still try my best to avoid Kanji but I love this puzhukku and all its variations. I add any one or a combination of raw bananas, kachil (purple yam), chena (elephant foot yam) or chembu (taro) along with payar. Manoj eats it with rice or chappatis, but I like to have a bowlful of just the puzhukku with a big dollop of plain yogurt. Yumm!


Cherupayar and Kachil Puzhukku
Ingredients:
1 cup whole mung beans
250 gms kachil,chena, chembu or raw bananas or a combination of these
1/4 tsp turmeric powder
1 tsp salt
1/2 cup fresh coconut, grated
4 dry red chilies or to taste
1 1/2 tsps cumin seeds
1/4 tsp peppercorns
2 cloves of garlic
1 sprig curry leaves

Method:
Cook the mung and the kachil separately along with some salt and turmeric powder. You can cook them together in the pressure cooker but the kachil may take longer than the mung, so its best to cook them separately.
Grind the coconut, chilies, cumin seeds, peppercorns and garlic along with some water. The paste should be a little coarse. Add the paste and curry leaves to the cooked mung and kachil. Mix together. The mixture should not be very dry, so add water accordingly and check the seasonings. Bring the mixture to a boil and simmer for 5 minutes. Serve hot.

This goes to Priya's CWS - Mung Beans and The Kerala Kitchen, guest hosted by Fajeeda.


Baked Mava Coconut Potli

     
Hope you all had a wonderful Diwali. I wanted to post this earlier, but got busy with other things and found no time to edit the pictures. Besides Diwali was a little different this year, we were unable to meet any friends or go to the temple. It was a hectic week for Manoj at work and I had a class that evening. Yesss....I have finally enrolled for the Wilton Cake Decorating Course (I've been soooo eager to go )!! I made Rava Laddoos to take along with me to class and everyone loved it. All the discussions that day were centered around Diwali, Indian food and our traditions. Everyone wanted to taste some Biryani and I've promised to make some for the last class. 
Well today is Halloween and Anushka will be a "Pink Leopard". I can't wait to take her for 'Trick or Treat' around the block. She is too young to understand any of it, but she sure will be excited seeing all the colorful candy!!


Back to the recipe, I made these Mava Potli's on the morning of Diwali. It's adapted from a recipe from the Femina Book of Anytime Treats. The original recipe calls for steaming the potlis, but I baked them because I wanted them to be crisp on the outside. I used AP Flour, but I'm sure it will be great to substitute some of it with wheat flour. Make sure to roll the dough as thin as possible. They taste best when hot, just like samosas.

Baked Mava Coconut Potli
Ingredients:
For the shell:
250 gms all purpose flour
1 tsp baking powder
30 gms sugar
1 tbs ghee

For the filling:
150 gms mava (milk reduced to a granular consistency)
75 gms icing sugar
100 gms fresh coconut, grated fine
2 tbs cashew nuts, chopped fine


Method:
For the shell:
Mix all the ingredients for the shell. Add enough water to make a smooth dough. Knead well. Cover with a damp cloth and keep aside for about 30 mins.

For the filling:
Roast the coconut on medium flame till it dries out a little, do not brown it.
Add the ghee, mava and sugar to the pan. Keep stirring on low heat till the mixture comes together and leaves the sides of the pan. Remove from heat and stir in the chopped cashew nuts. Keep aside to cool.

Divide the dough and the filling into 16 portions. Roll into thin discs and keep a portion of the filling in the middle. Pull up the edges to form a dough and seal securely.
Bake at 350 F/ 180 C for about 20 - 25, turning once till browned.
Serve hot.

P.S.  I thought my potlis looked more like one-eyed monsters with their head blown out!! Perfect for Haloween too, don't you think :)
 -
Sending this to 
Only Sweets & Desserts guest hosted by Gayathri, event by Pari 
Anu's Diwali Event
Khushi's My Diwali My Way


Gajar/ Carrot Burfi


I'm sure everyone is busy preparing for Diwali. I soo miss India during this time. Cleaning our homes, making all kinds of sweets and distributing them to friends, getting all dressed up and the sound of fireworks throughout the day. This weekend was all about getting our home ready, putting up the lights and making some sweets.
Our Diwali celebrations began yesterday at our local library. The family story time session was focused on Diwali which included a short video showing the celebrations in India and a story that was narrated in Hindi. We were all given a sticker in the shape of a footprint, 'Goddess Lakshmi's footprint', and there were all kinds of stuff to decorate it. It was fun and another chance to dress up my doll :)


Manoj has been asking me to make gajar ka halwa for a while now. When I showed him how simple the recipe actually was he offered to make it himself. That's not an offer I receive very often, so of course I accepted. We just decided to make it into a Burfi so we could control the portions we ate, much better than having bowlfuls of halwa.
This recipe is almost the same as halwa, just added more milk and cooked it for a while longer to help it set.

Gajar/ Carrot Burfi
Ingredients:
2 tbs ghee
3 cups of grated carrot
3 cups whole milk
1/3 cup to 1/2 cup sugar, depending on taste
1/4 cup almonds, finely chopped
1/4 tsp cardamom powder
any nuts, raisins for garnish


Method:
Heat 1 tbs ghee in a heavy bottom or nonstick pan and saute the carrots till it changes color and looses some moisture. Add the milk and cook over medium heat, till the milk is completely absorbed.
Add the sugar and cook till the mixture is thick and comes together in the middle of the pan. Add the remaining ghee, cardamom powder and chopped almonds and mix well.
Remove from heat and spread onto a greased dish. Cut into pieces when cold and store in the refrigerator.

Sending this to
Only Sweets & Desserts guest hosted by Gayathri, event by Pari 
Denny and Krithi's Serve It - Festival Potluck
Anu's Diwali Event
Khushi's My Diwali My Way


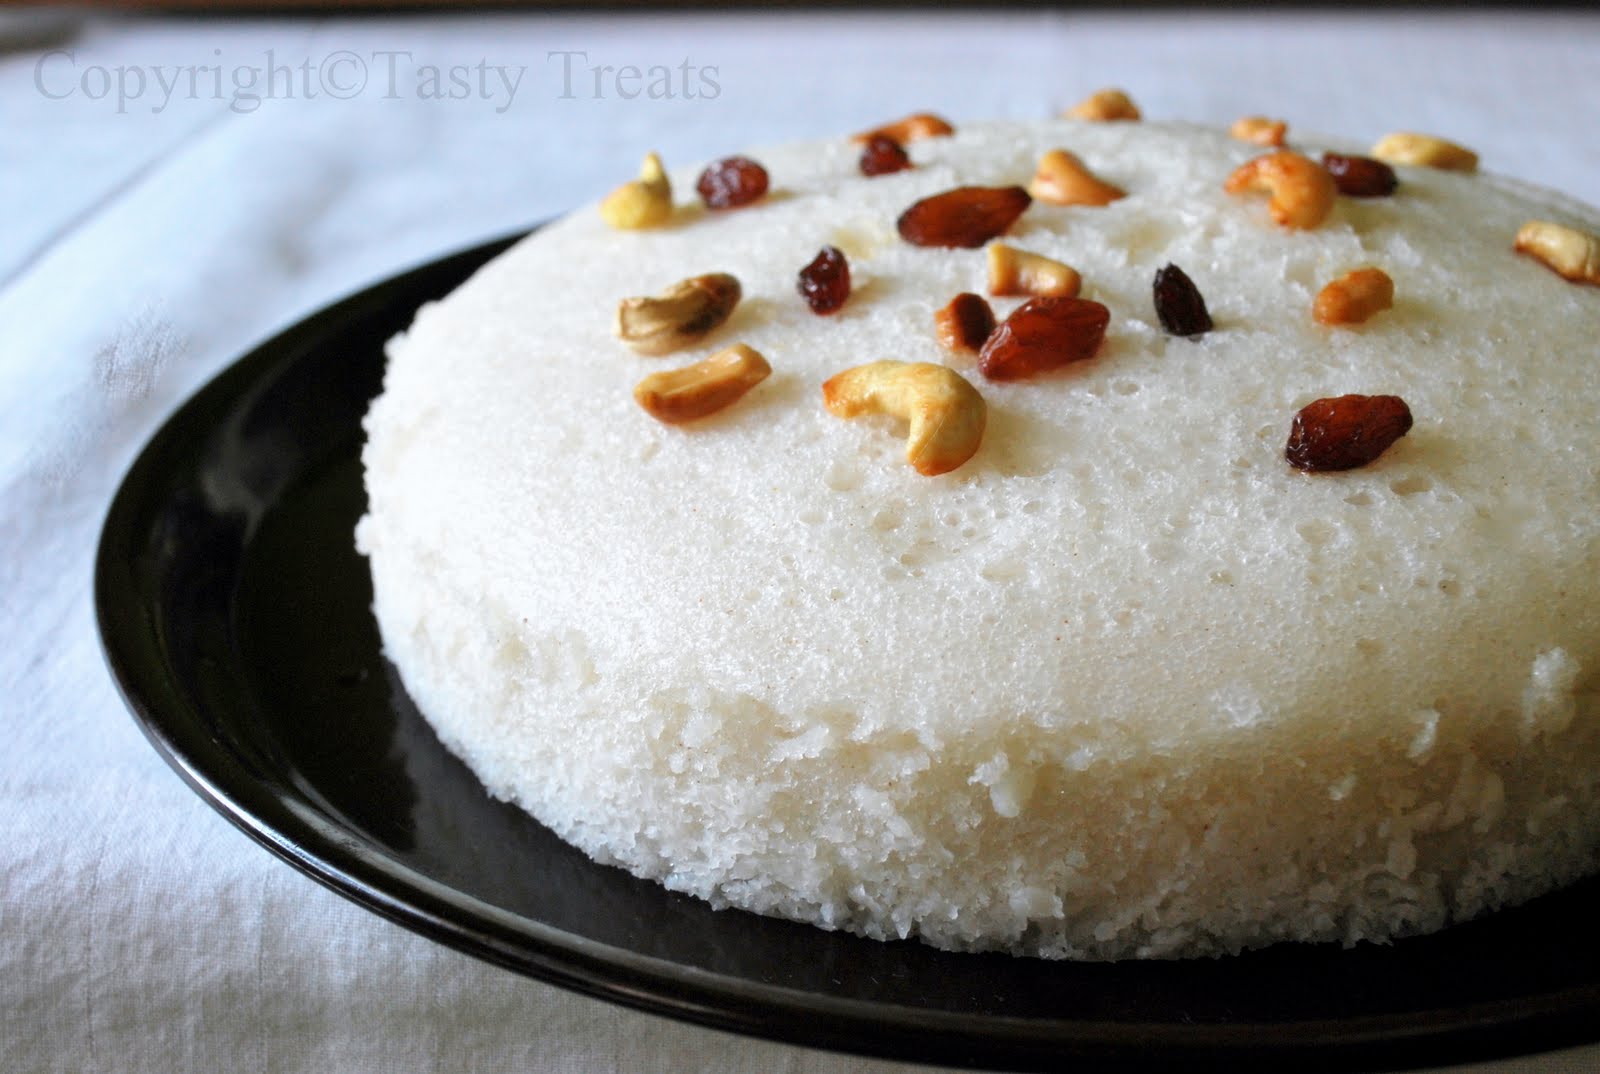
Vatteppam/Vattayappam – Kerala Special for Indian Cooking Challenge


I'm currently on vacation in India at my parents place and having a wonderful time. This trip has been pending for a long time and I'm realizing that three years is really a looong time. Everyone and everything seem so different from what I remember...lot to catch up!!
I'm a little late in posting, been a little busy and a little lazy, but really enjoyed this challenge. Vattayappam is a familiar dish and we make it almost the same way. Love it for breakfast. This recipe for Indian Cooking Challenge is from Shn's Mishmash.


I'm skipping the recipe this time, do visit Mishmash for a detailed description.

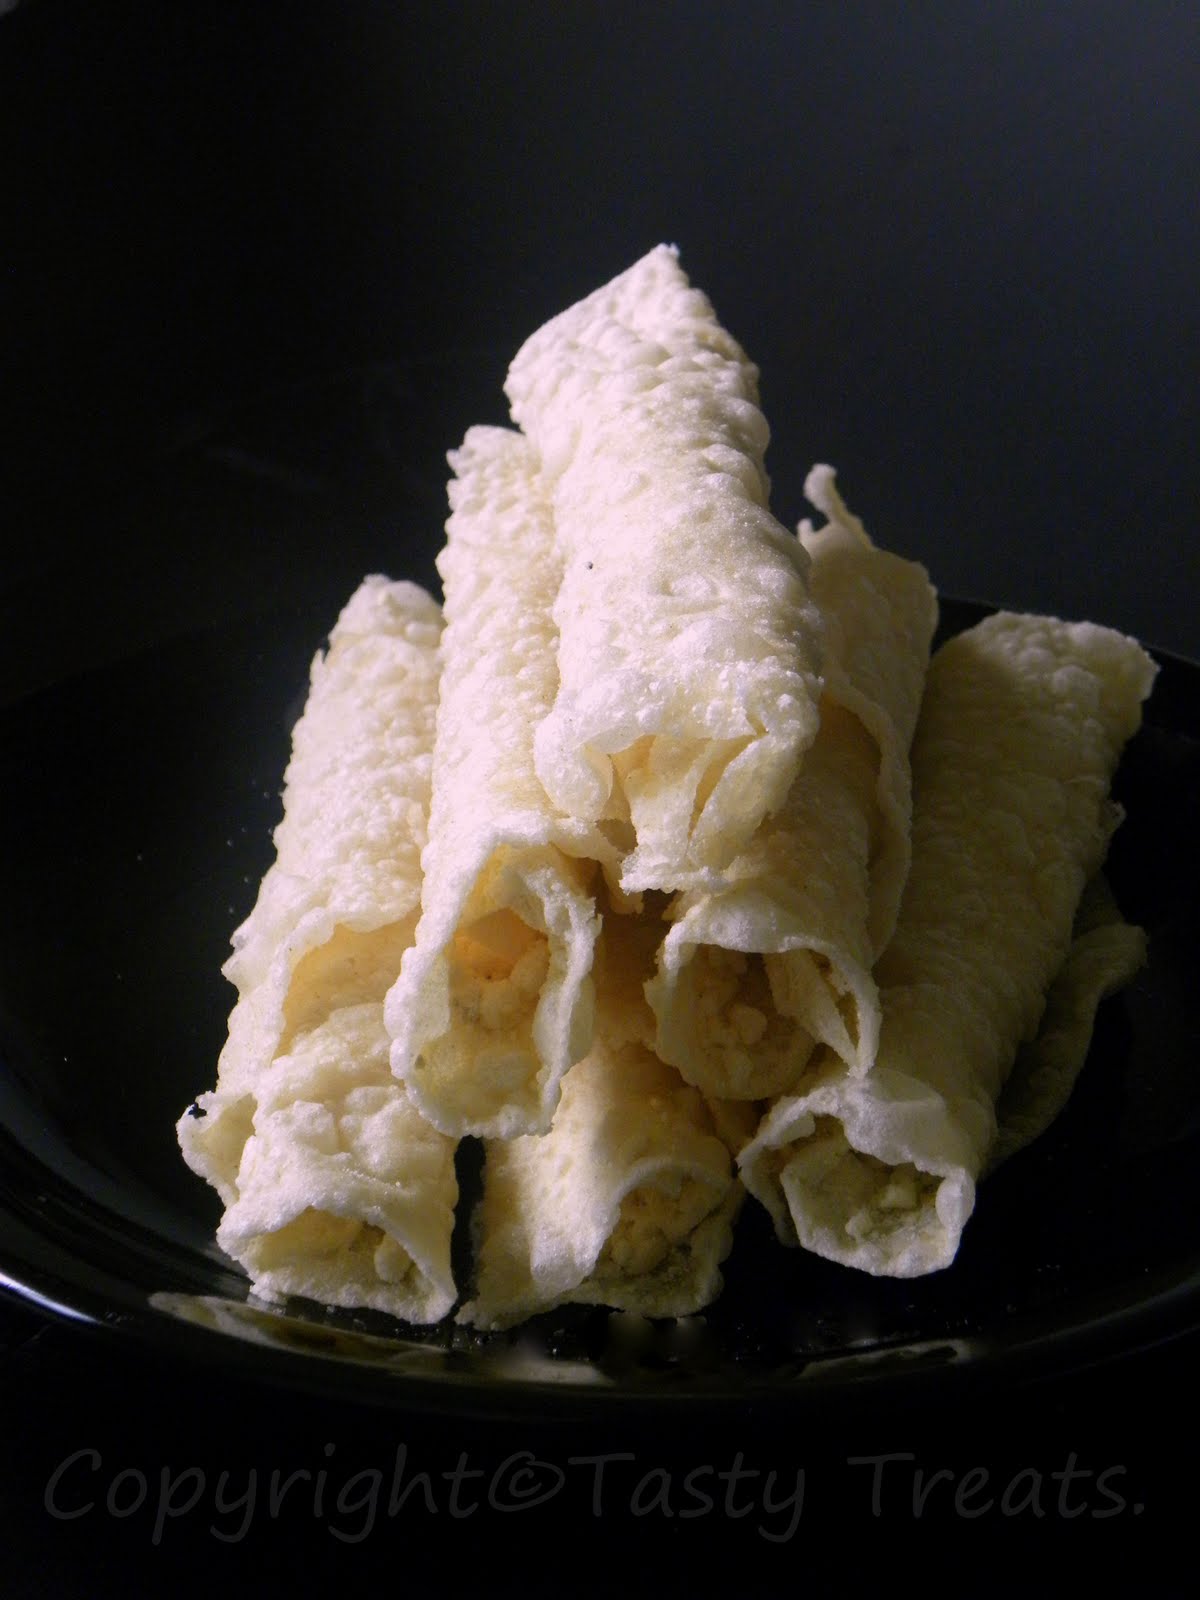
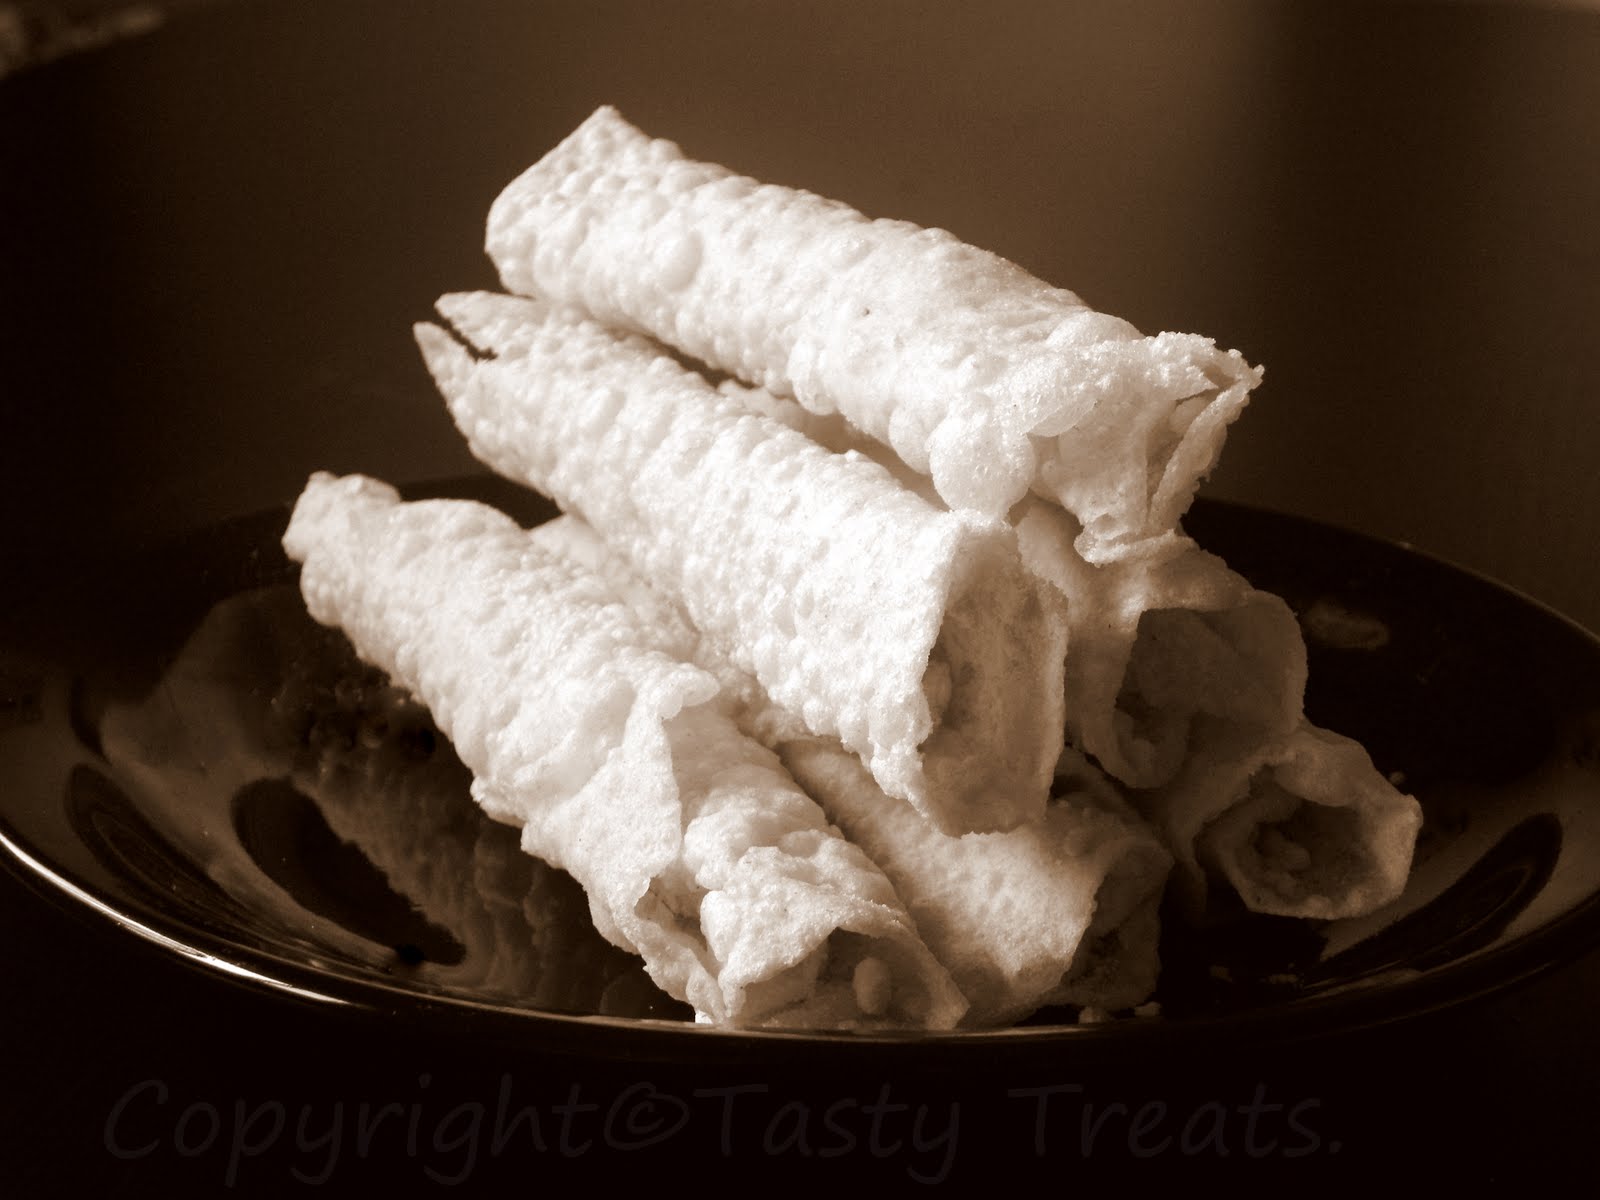
Suruttai Poli - Indian Cooking Challenge


Indian Cooking Challenge this month was all about Surattai Poli, a delicious sweet snack. This was a welcome break from all the cake and chocolates we've been having for the last few days. I made it last evening and we finished it this afternoon, irresistible!! The recipe was shared by Nithya, big thanks to her.


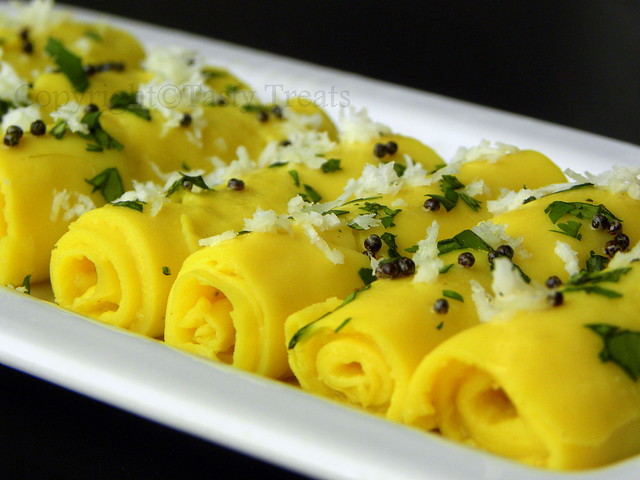
Khandvi - Indian Cooking Challenge


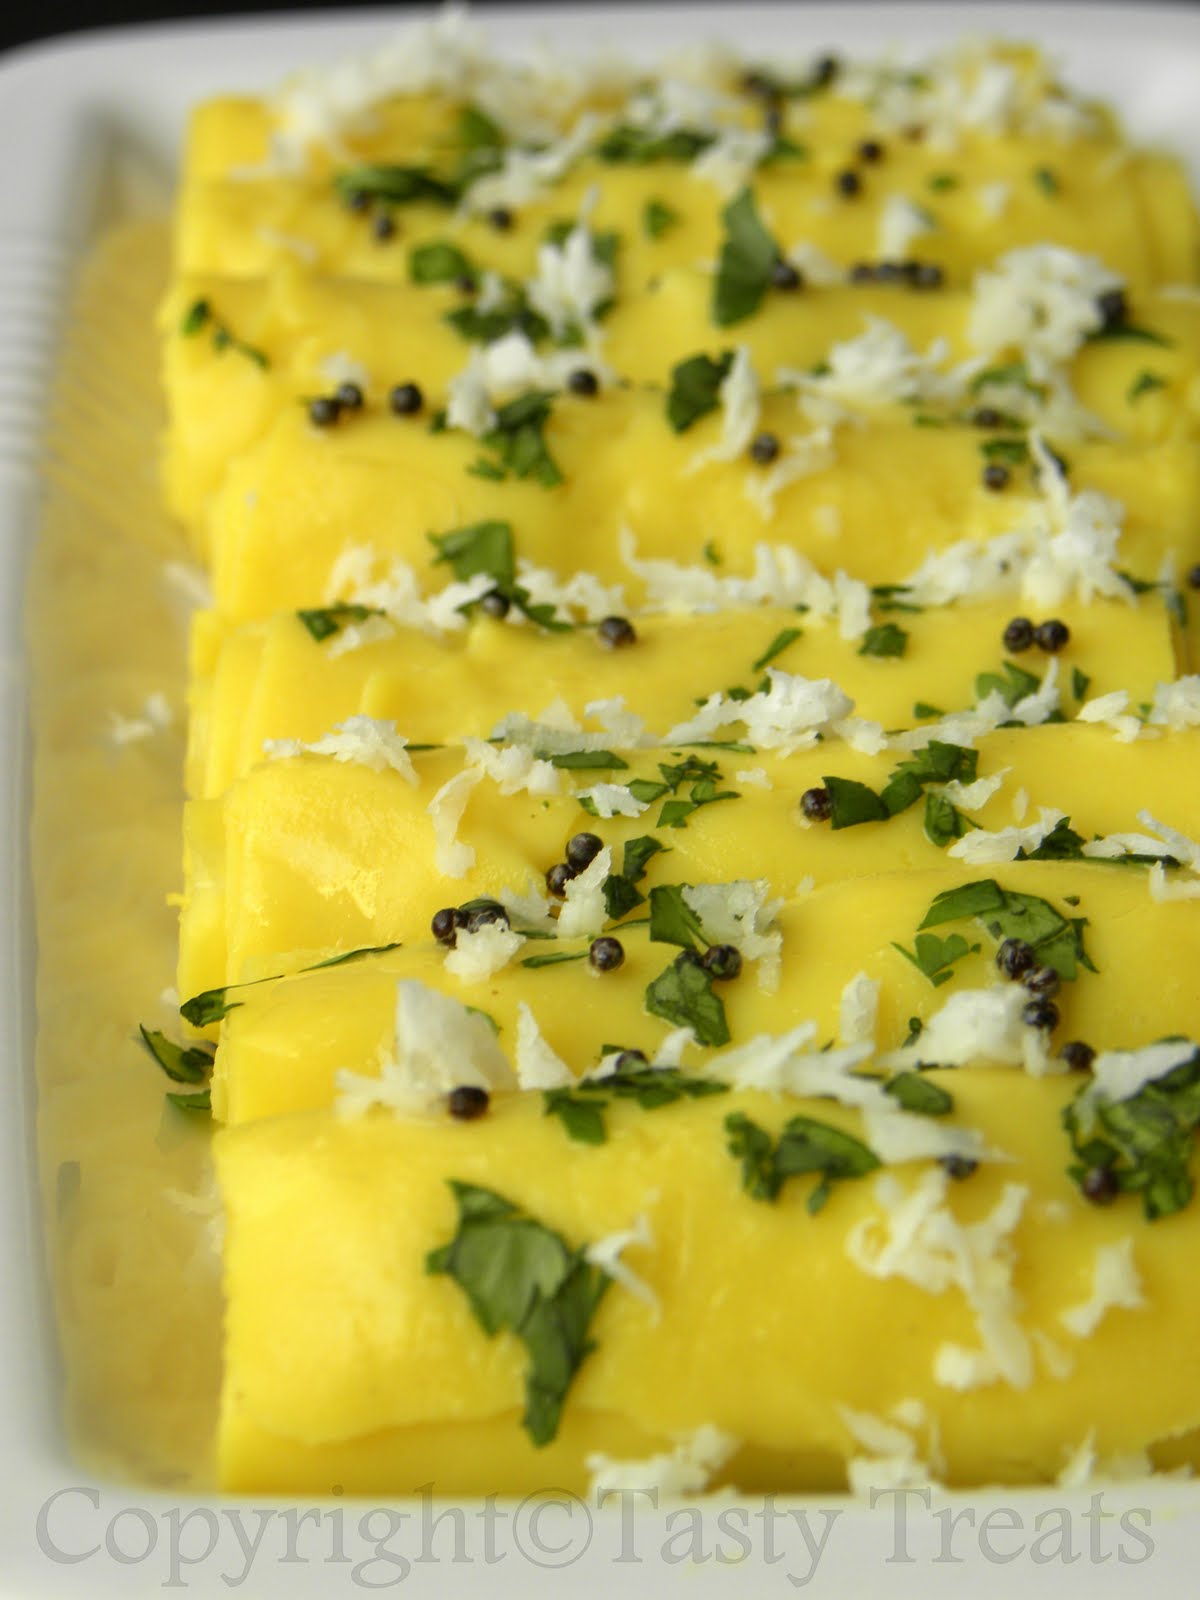
I missed almost all the previous Indian Cooking Challenges, but not this one! I would never give up an opportunity to make khandvi...its one of my favorite Gujarati snacks. They don't always come out great and even this time I barely used half the batter, the rest was too cold to spread:(. But I did enjoy the challenge and the dish was awesome. I made it this morning and after some quick pictures we had it for breakfast...a welcome change. YUMM!!


Moong Dal Halwa


I was so excited when Srivalli chose Moong Dal Halwa for Indian Cooking Challenge this month. It's one of my favorite dishes, perfect for the winter and it's been atleast a couple of years since I had some. I missed the last few challenges and I was praying that the next one would not involve any deep frying. So this was just perfect.
I followed the second recipe, the only change I made was reducing the ghee to just 2tbs. That probably made a difference to the consistency of the halwa, we could only have it warm as it used to become stiff when cool. Also added cardamom powder. The halwa was yumm and just irresistible.


Pinapple Upside Down Cake and Vegan Fruit and Nut Cake - Last Bakes of 2009

There was a time when I used to bake every second day or so. In the last couple of years all that butter, sugar and flour have started showing at all the wrong places and on top of that we realized that Manoj's cholesterol was a little high. It was time to change our eating habits and I must say its been really difficult. Both of us are crazy about junk and fast food and could happily have just that all day. Some changes we made were giving up eating out, no fried foods (except when visiting friends), its all about simple home made meals now. I bake only on special occasions, when visiting friends or when I'm having friends over. We are getting results and we feel so much better now.
Anyways, here are the two cakes I baked last month.

Pineapple Upside Down Cake


I made the Pineapple Up-side Down Cake to take along to a friends place. I've had this recipe bookmarked for a while, it's from My Kitchen Snippets. See the recipe here. Just substituted pineapple and cherries instead of peaches.


The cake came out beautifully and was perfect. The sponge by itself was moist and buttery and delicious. I made two mini cakes, so I could taste it before I took it to my friends place. This recipe is definitely a keeper, can't wait to try it with peaches.

Vegan Fruit and Nut Cake


Whats Christmas without a fruit cake! I had a tough time selecting a recipe as the ones I had used alcohol and that's off limits for me. I also wanted an eggless cake and one that was not loaded with calories. After a lot of hunting I finally saw this recipe at Jugalbandi and it was perfect for my needs. That's a blog u can trust and there were so many people vouching for the recipe, I had no doubts what so ever.


I followed the recipe as is. I did not soak the fruits, used half orange juice and half water and totally left out the alcohol. The cake was fabulous, I could not believe that its vegan and was better than any fruit cake I ever baked. Manoj is already asking me to bake another one, guess he won't have to wait long.


This is a must try!!

****************************************************************
Both the cakes are going to Sara's Cakes and Cookies event and to Divya's Show Me Your Cake event.